Reviewing available models
Invite-only access
Access to Cleura AI Services is currently invite-only.
To review all currently available models, log into the Cleura AI Inference Dashboard with an Admin API key.
In the left-hand pane, click Models. A list of every available model appears in the main pane. Each row shows the model’s provider, type, health, and creation date.
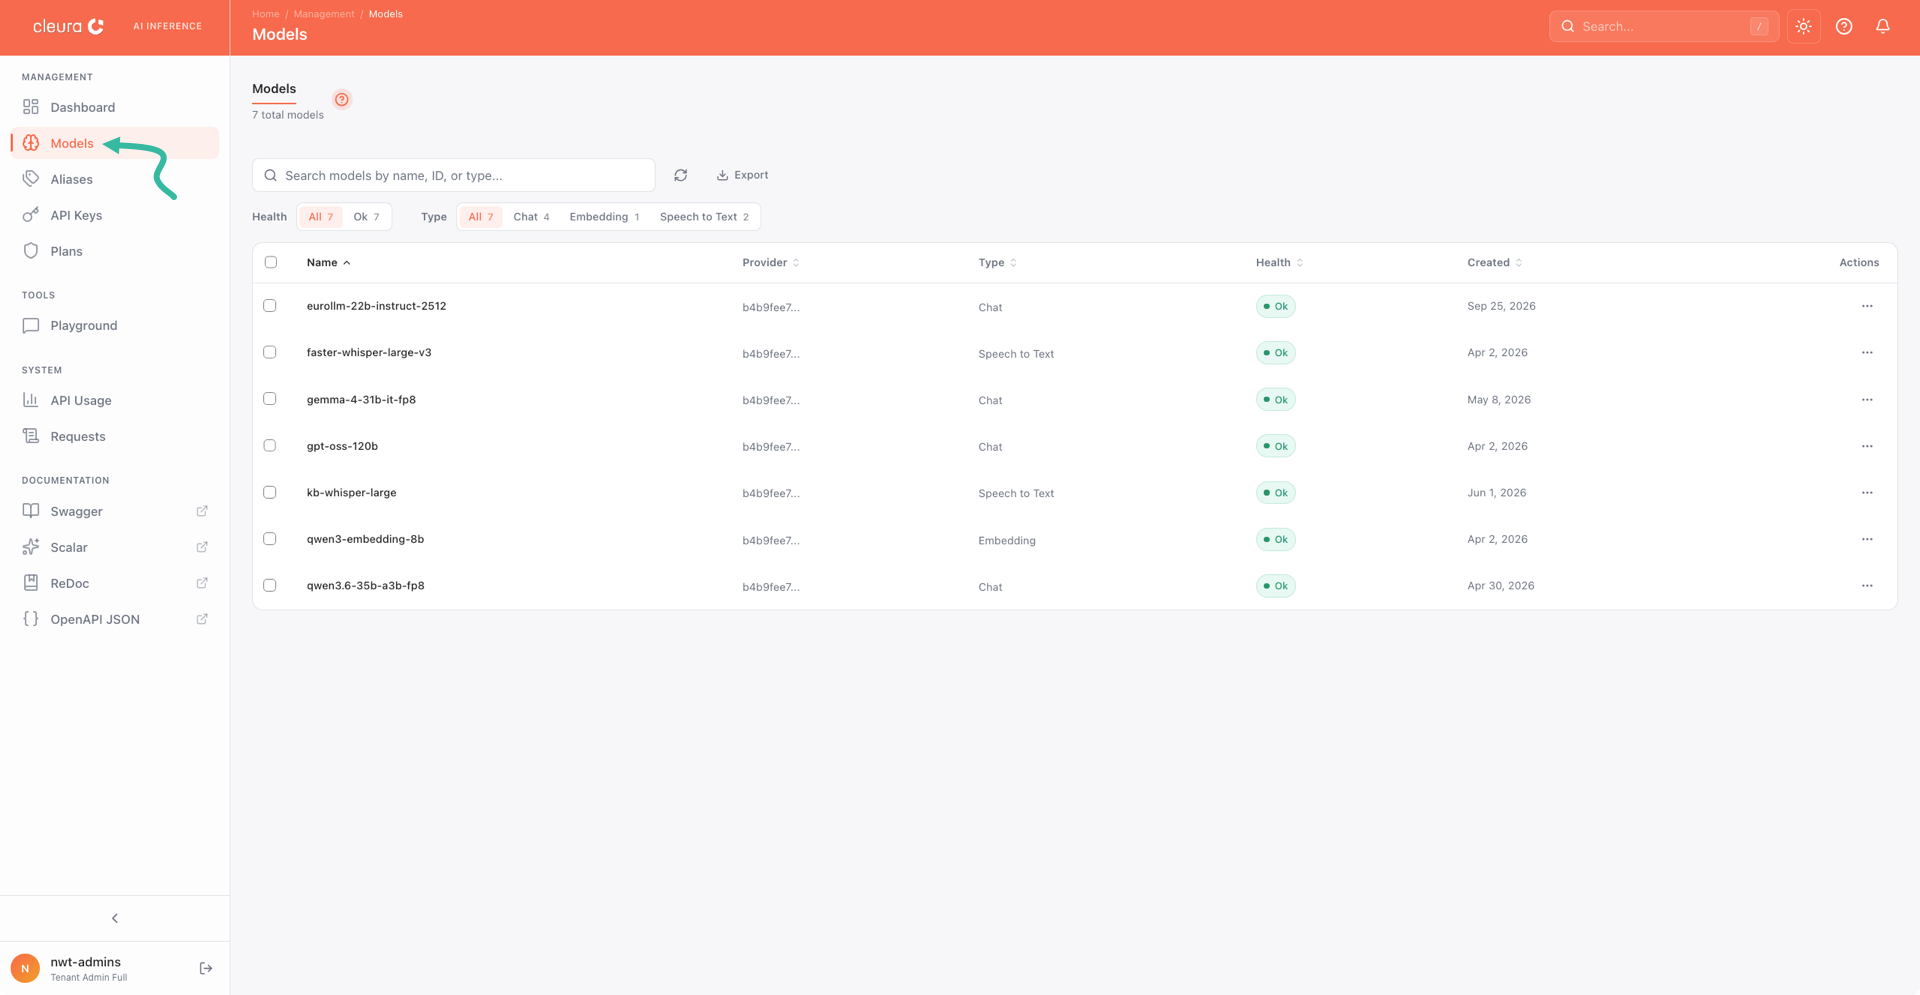
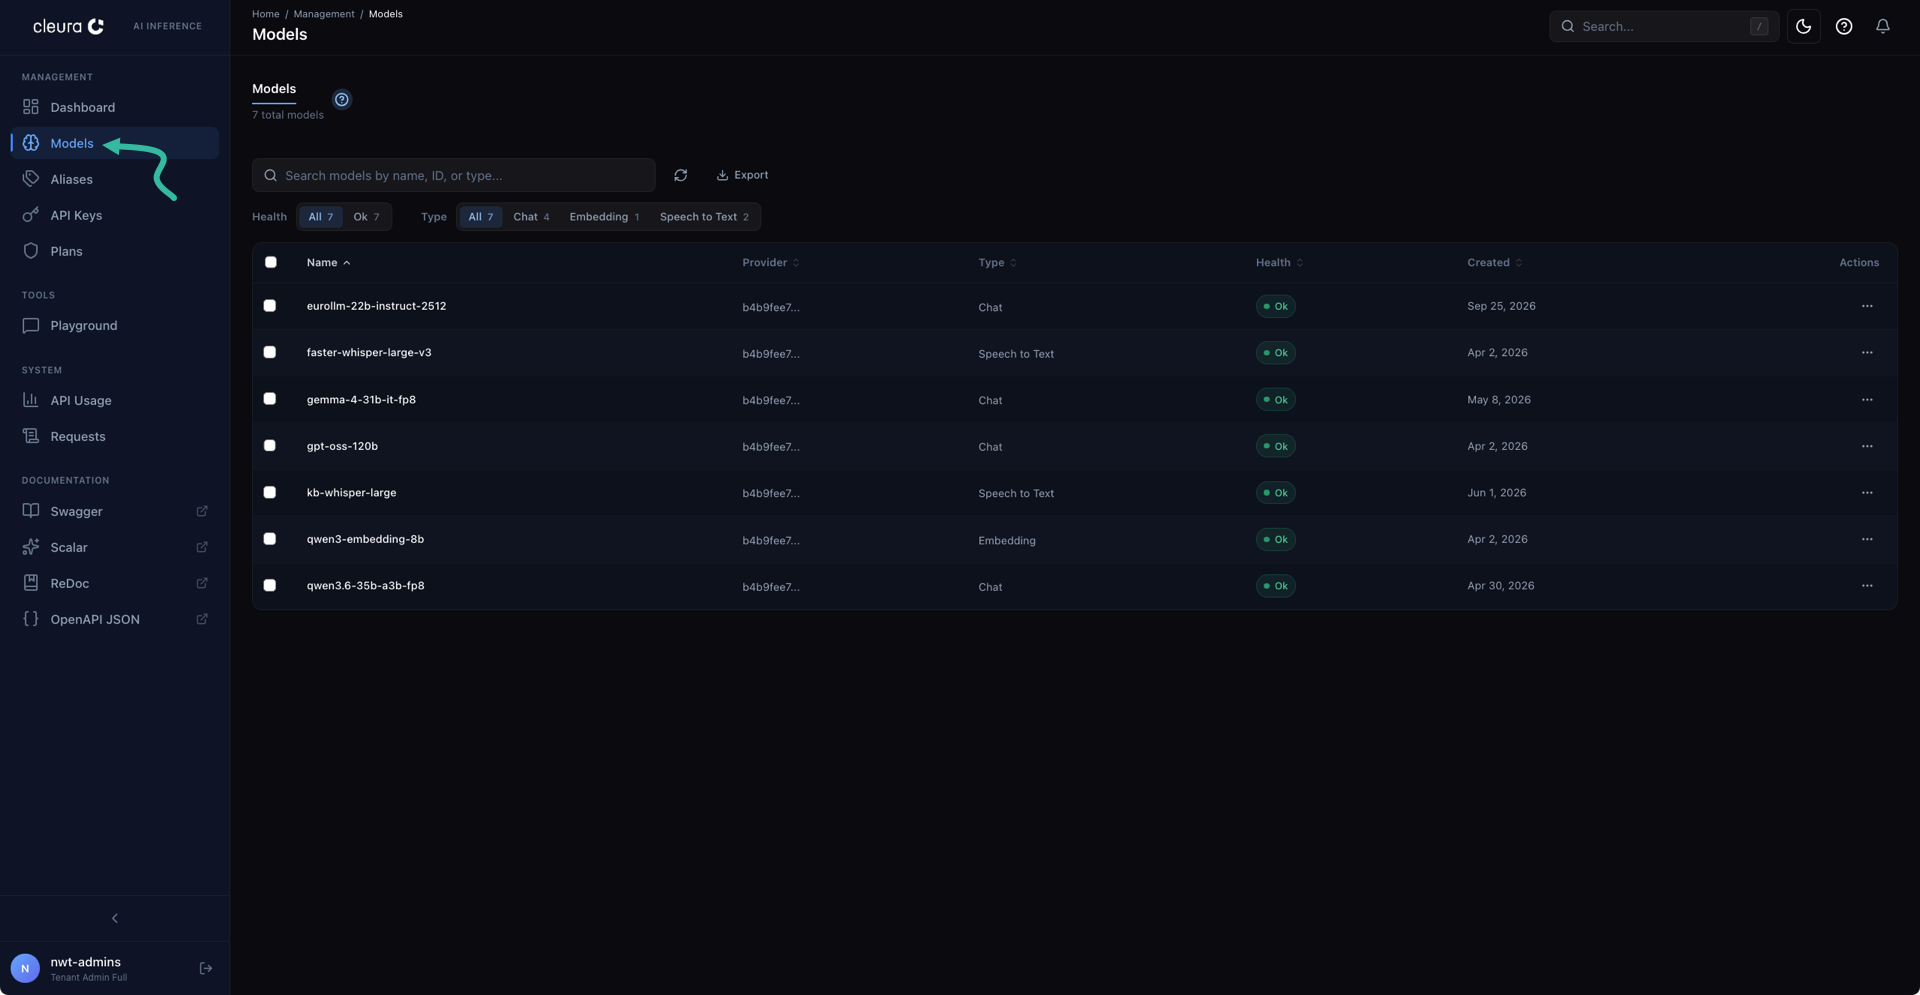
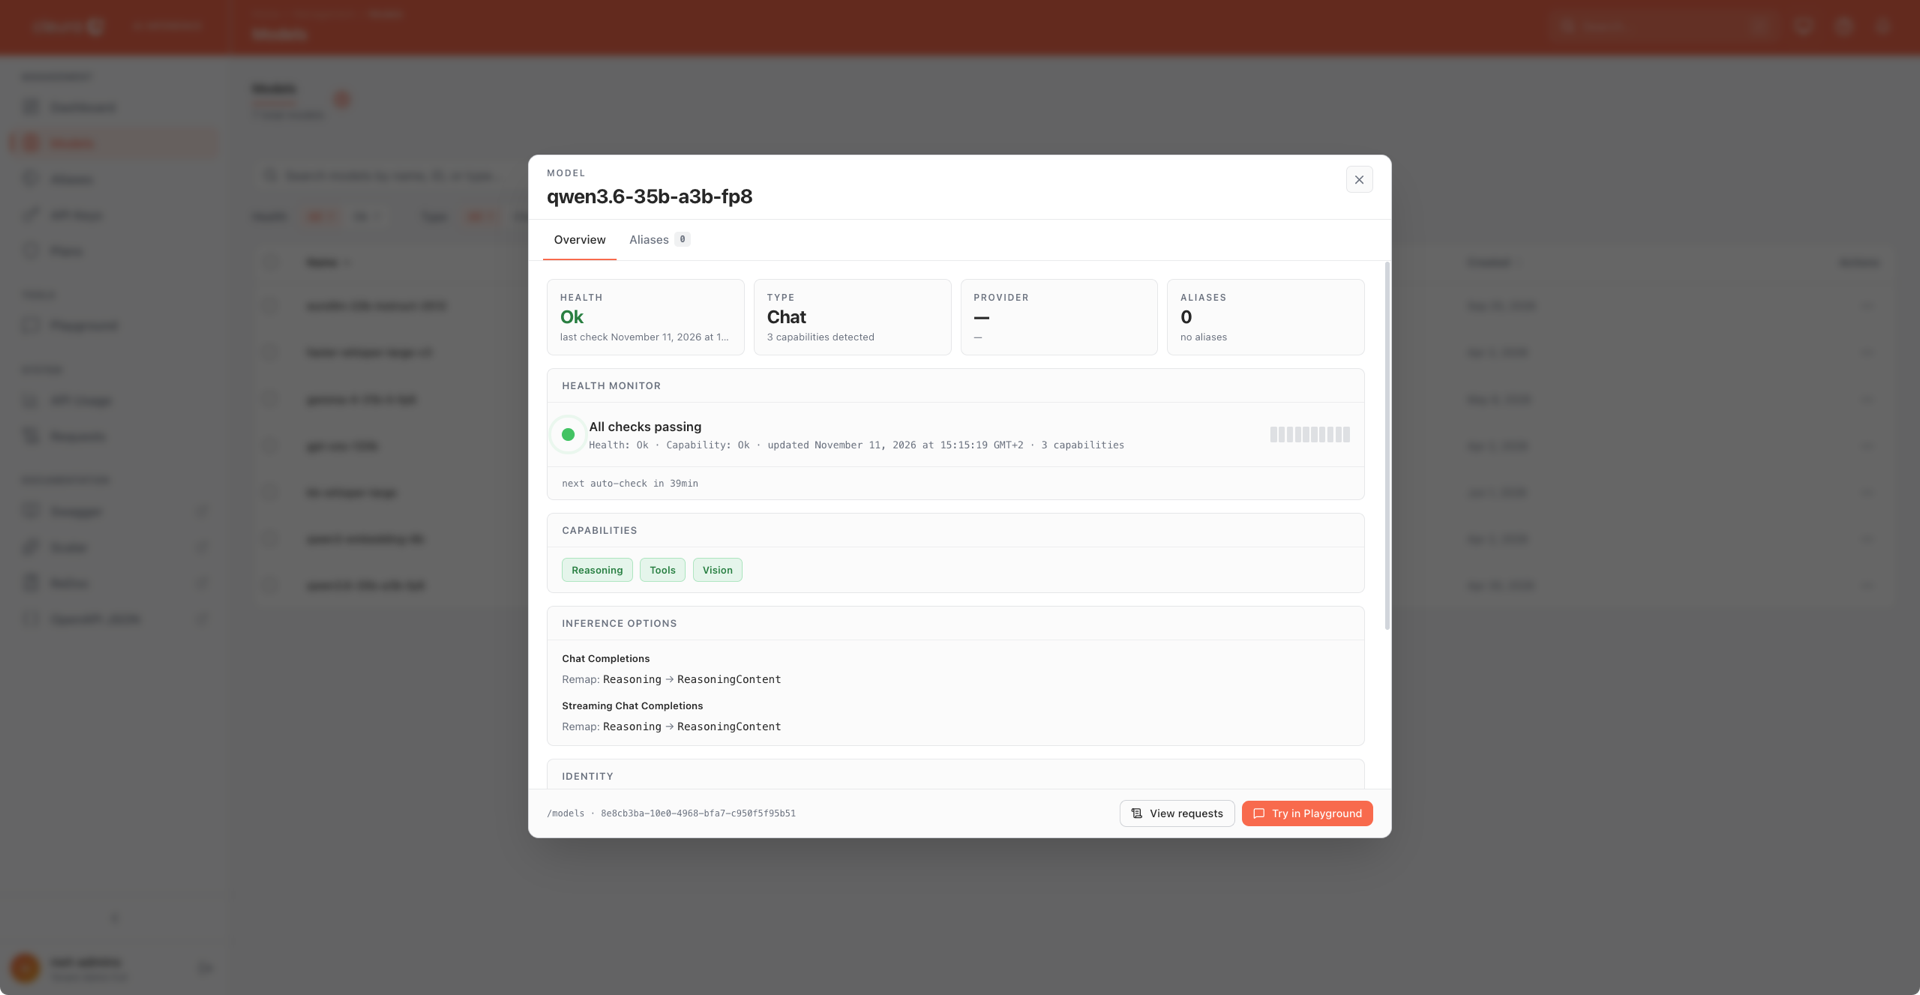
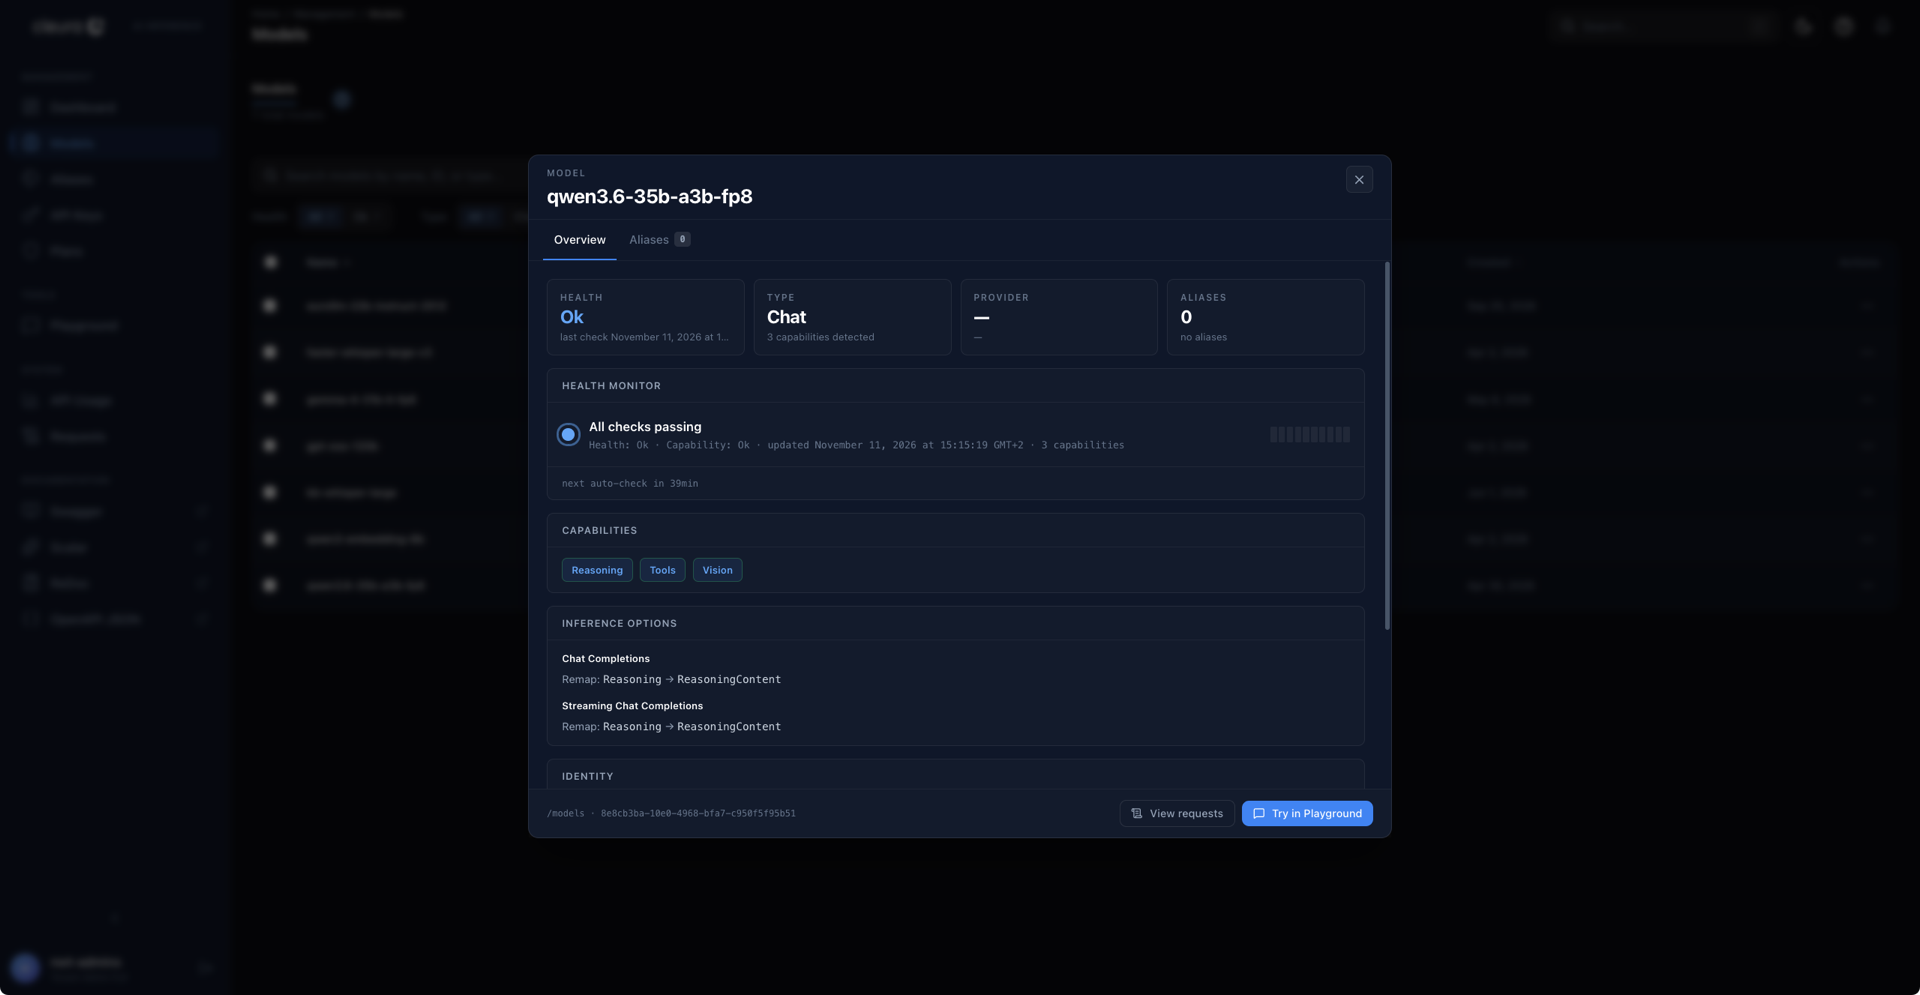
To inspect a model, click its name. The dialog that opens has an Overview tab with the model’s health, type, and capabilities, and an Aliases tab with its aliases. From this dialog, you can also click View requests or Try in Playground.
Setting aliases
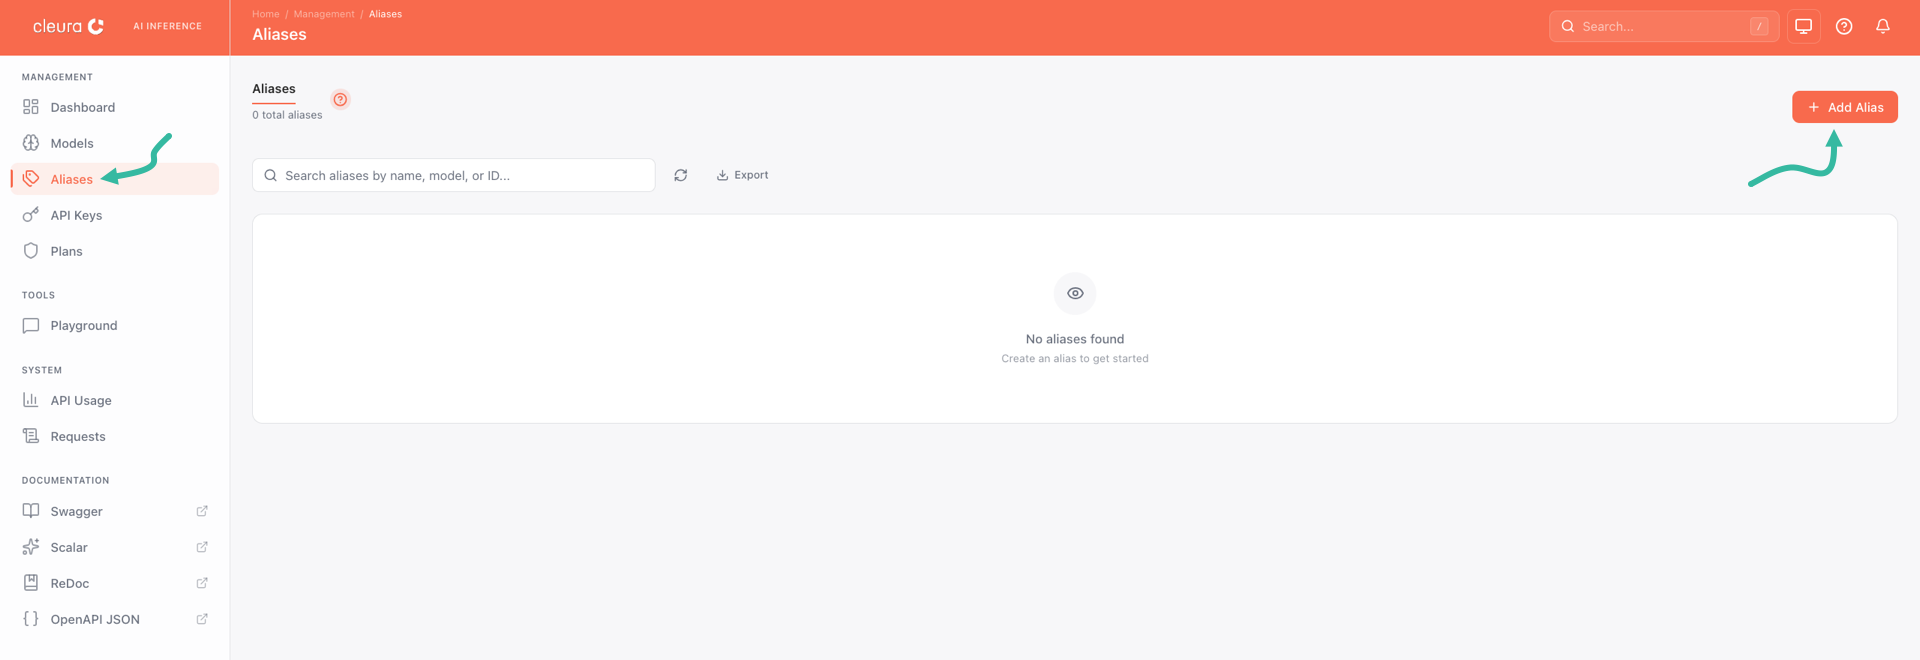
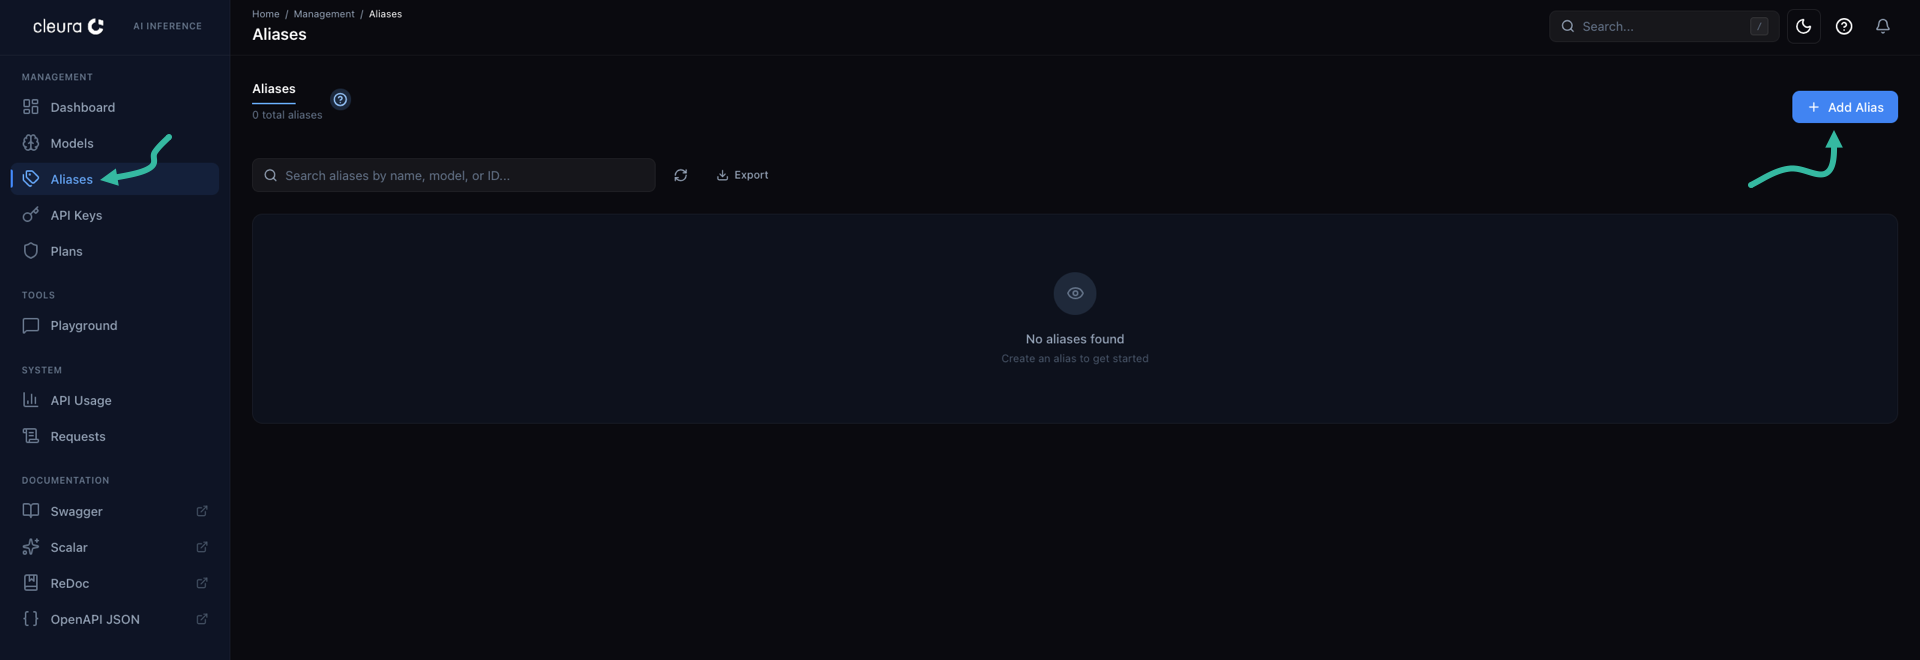
An alias is a short name that stands in for a model’s full name. A short alias makes the model easier to reference. To create one, click Aliases in the left-hand pane, then click Add Alias in the top-right corner of the main pane.
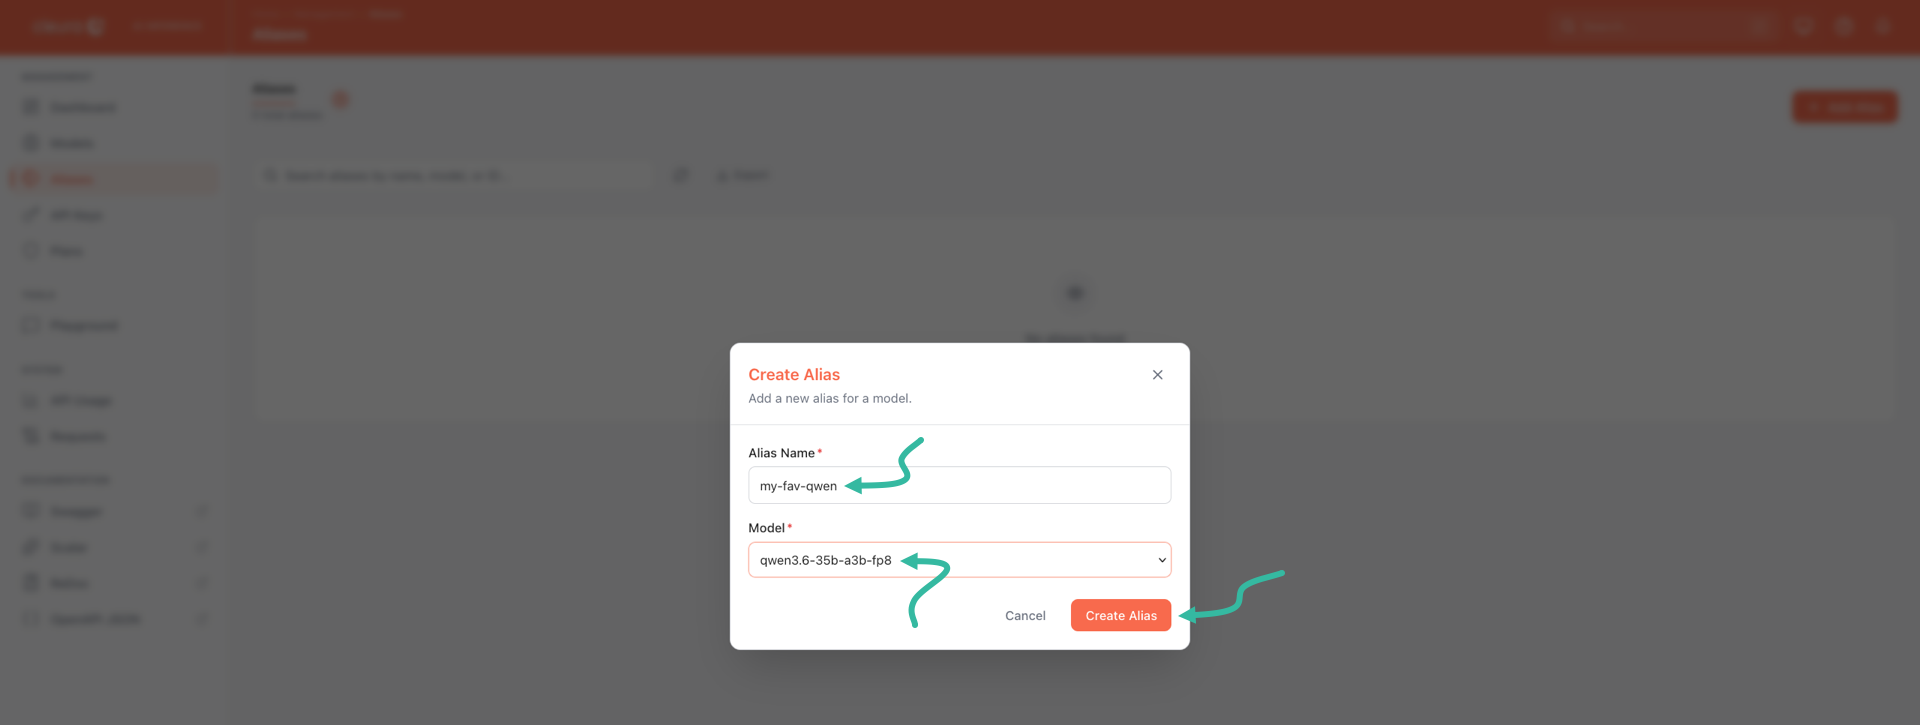
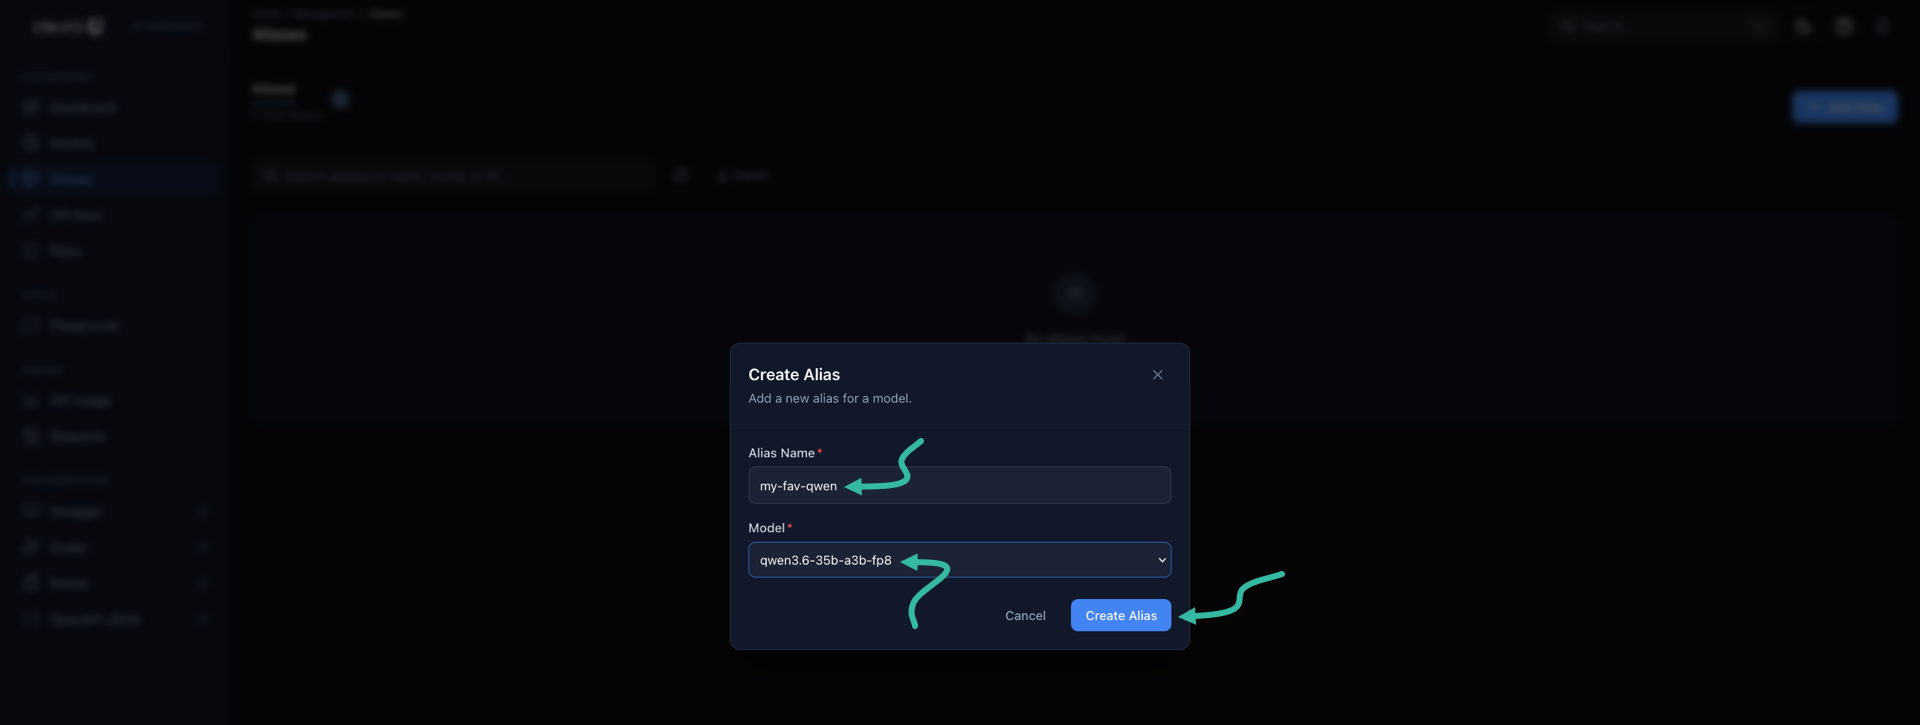
The Create Alias dialog opens. Enter a name in the Alias Name text box, then pick the target model from the Model drop-down menu. Click Create Alias.
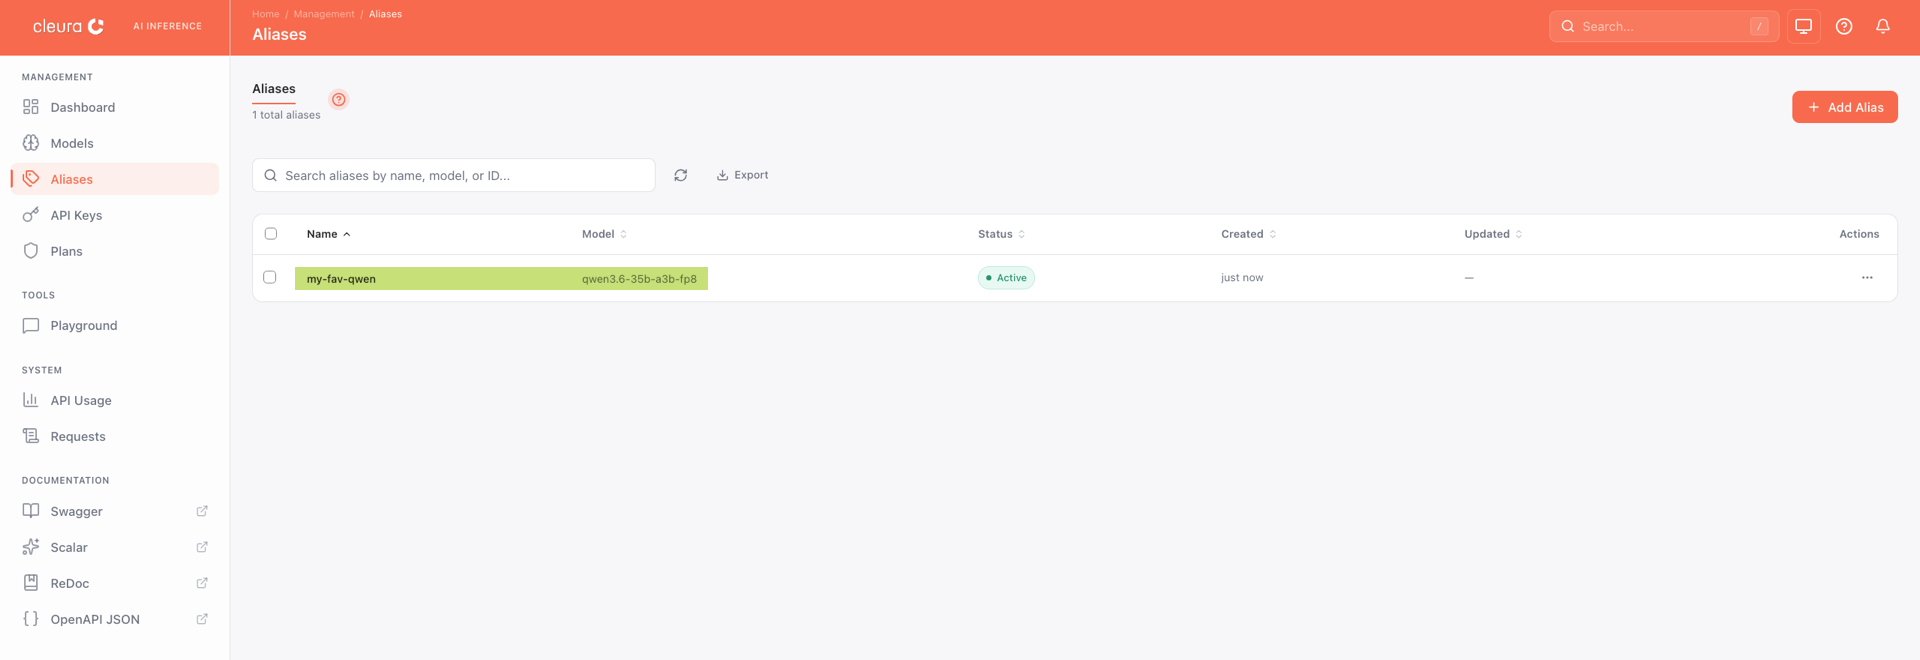
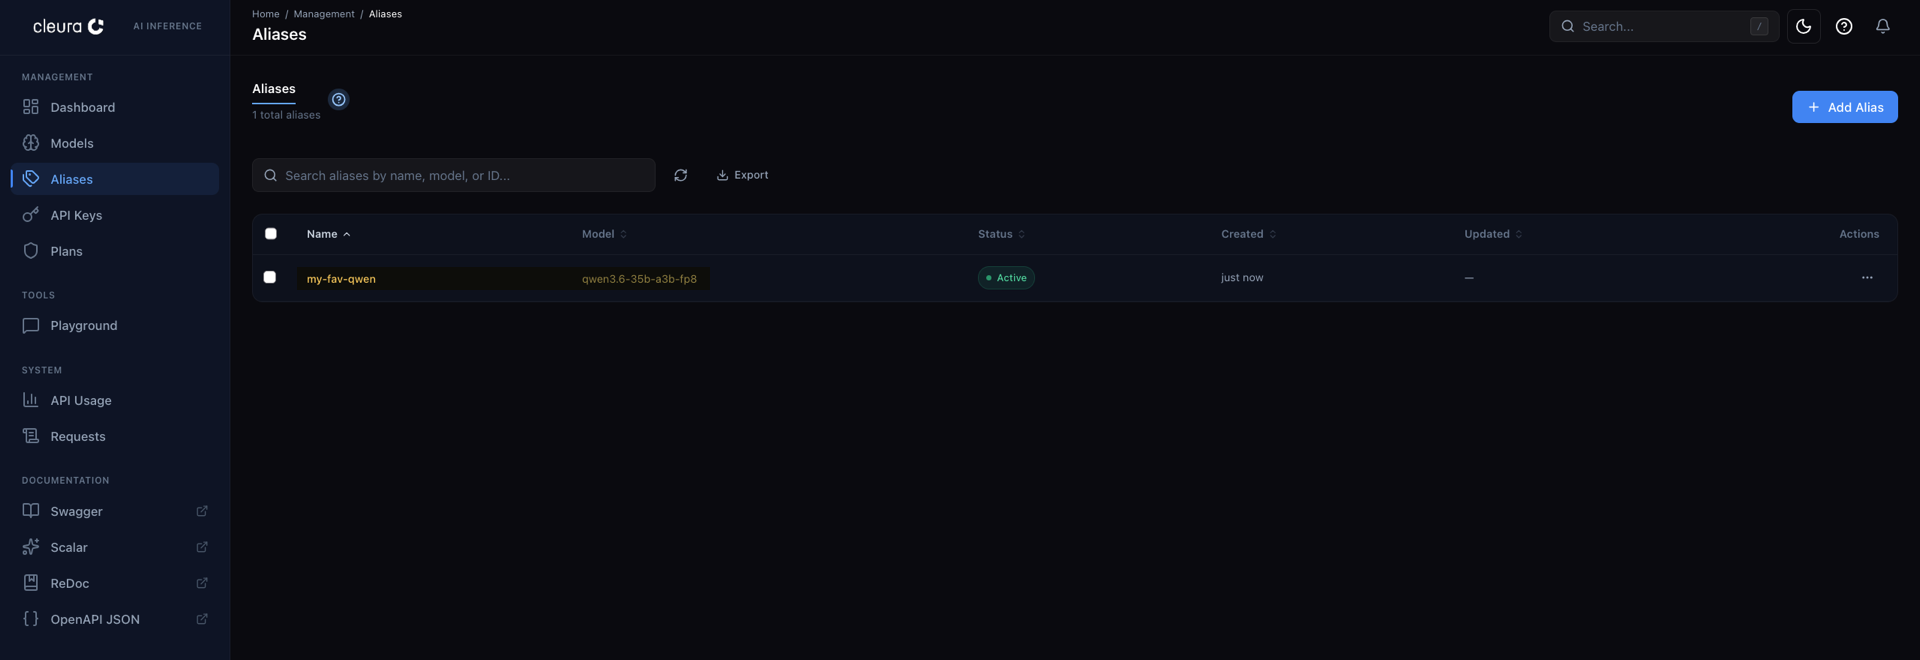
The new alias now appears in the list, mapped to the model you chose and marked Active.
In the example below, the alias my-fav-qwen points to the model qwen3.6-35b-a3b-fp8.
Viewing requests
A request is a single call that an application or the Playground made to a model. To review the requests for a model, click Requests in the left-hand pane. Then, in the main pane, choose the model in the model filter above the request list. All matching requests appear, with their status, token counts, and creation time.
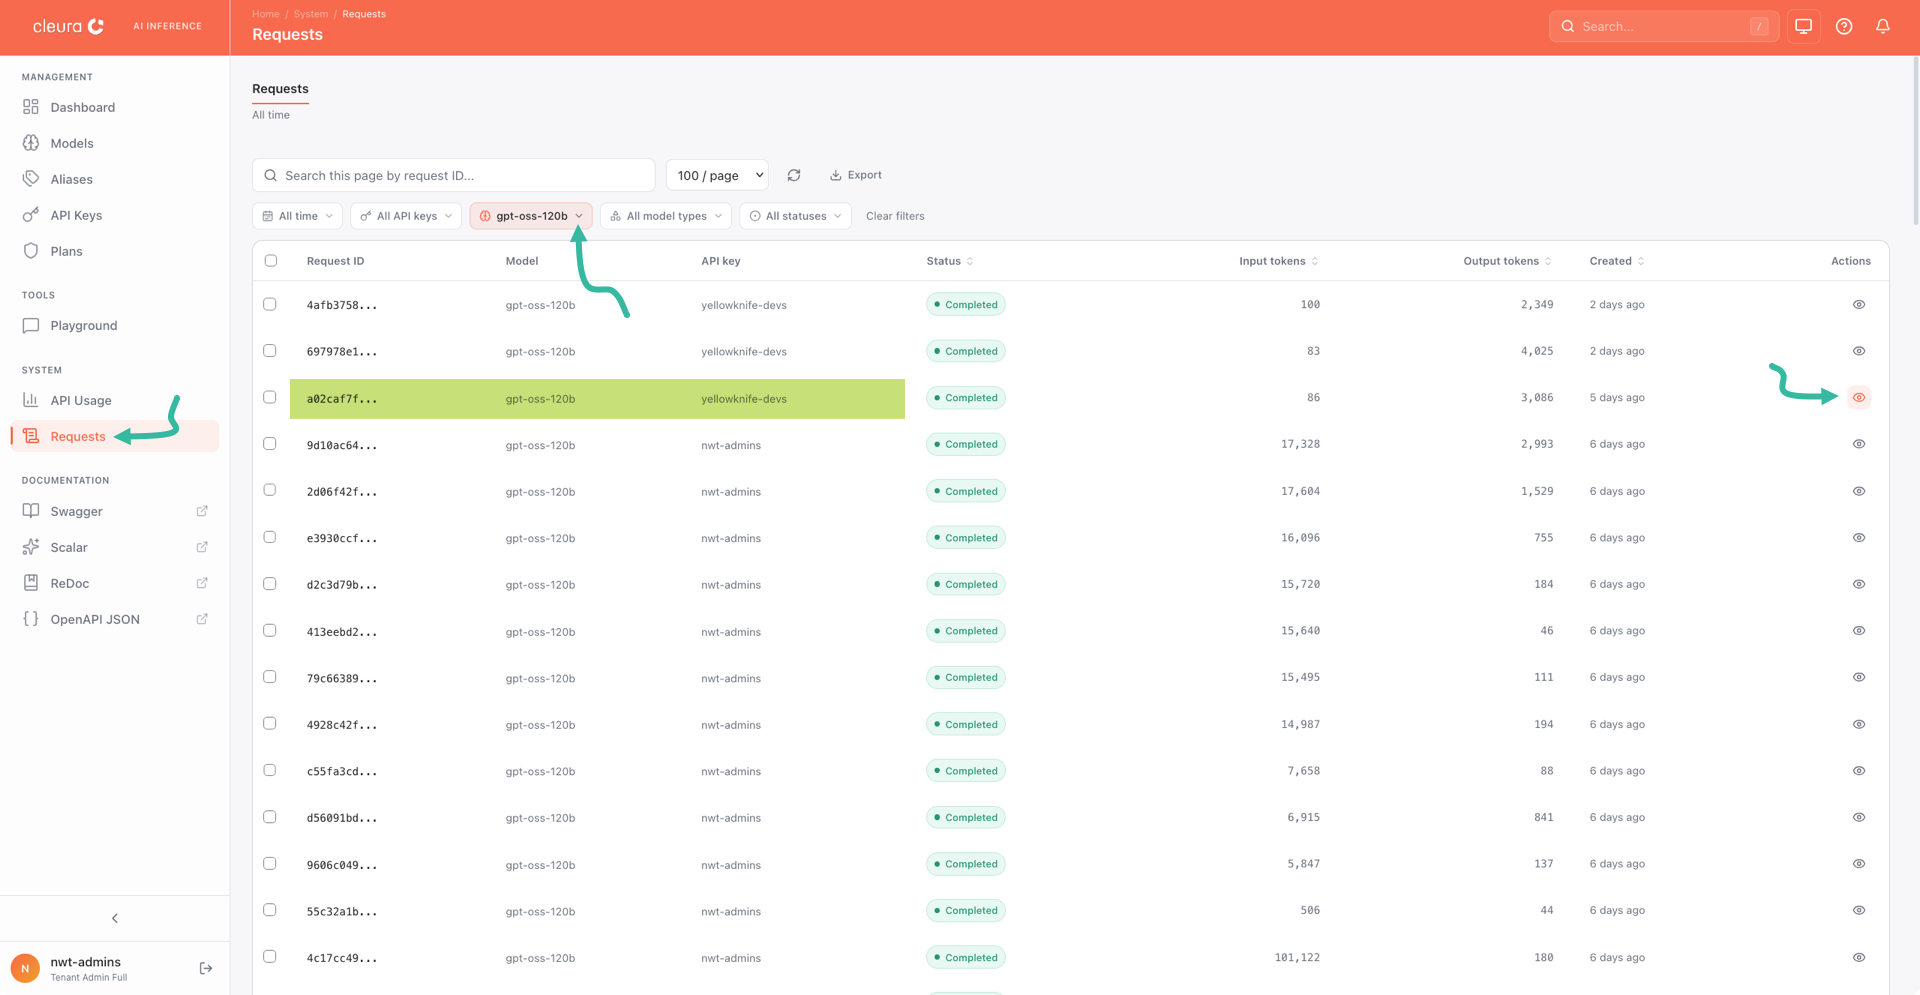
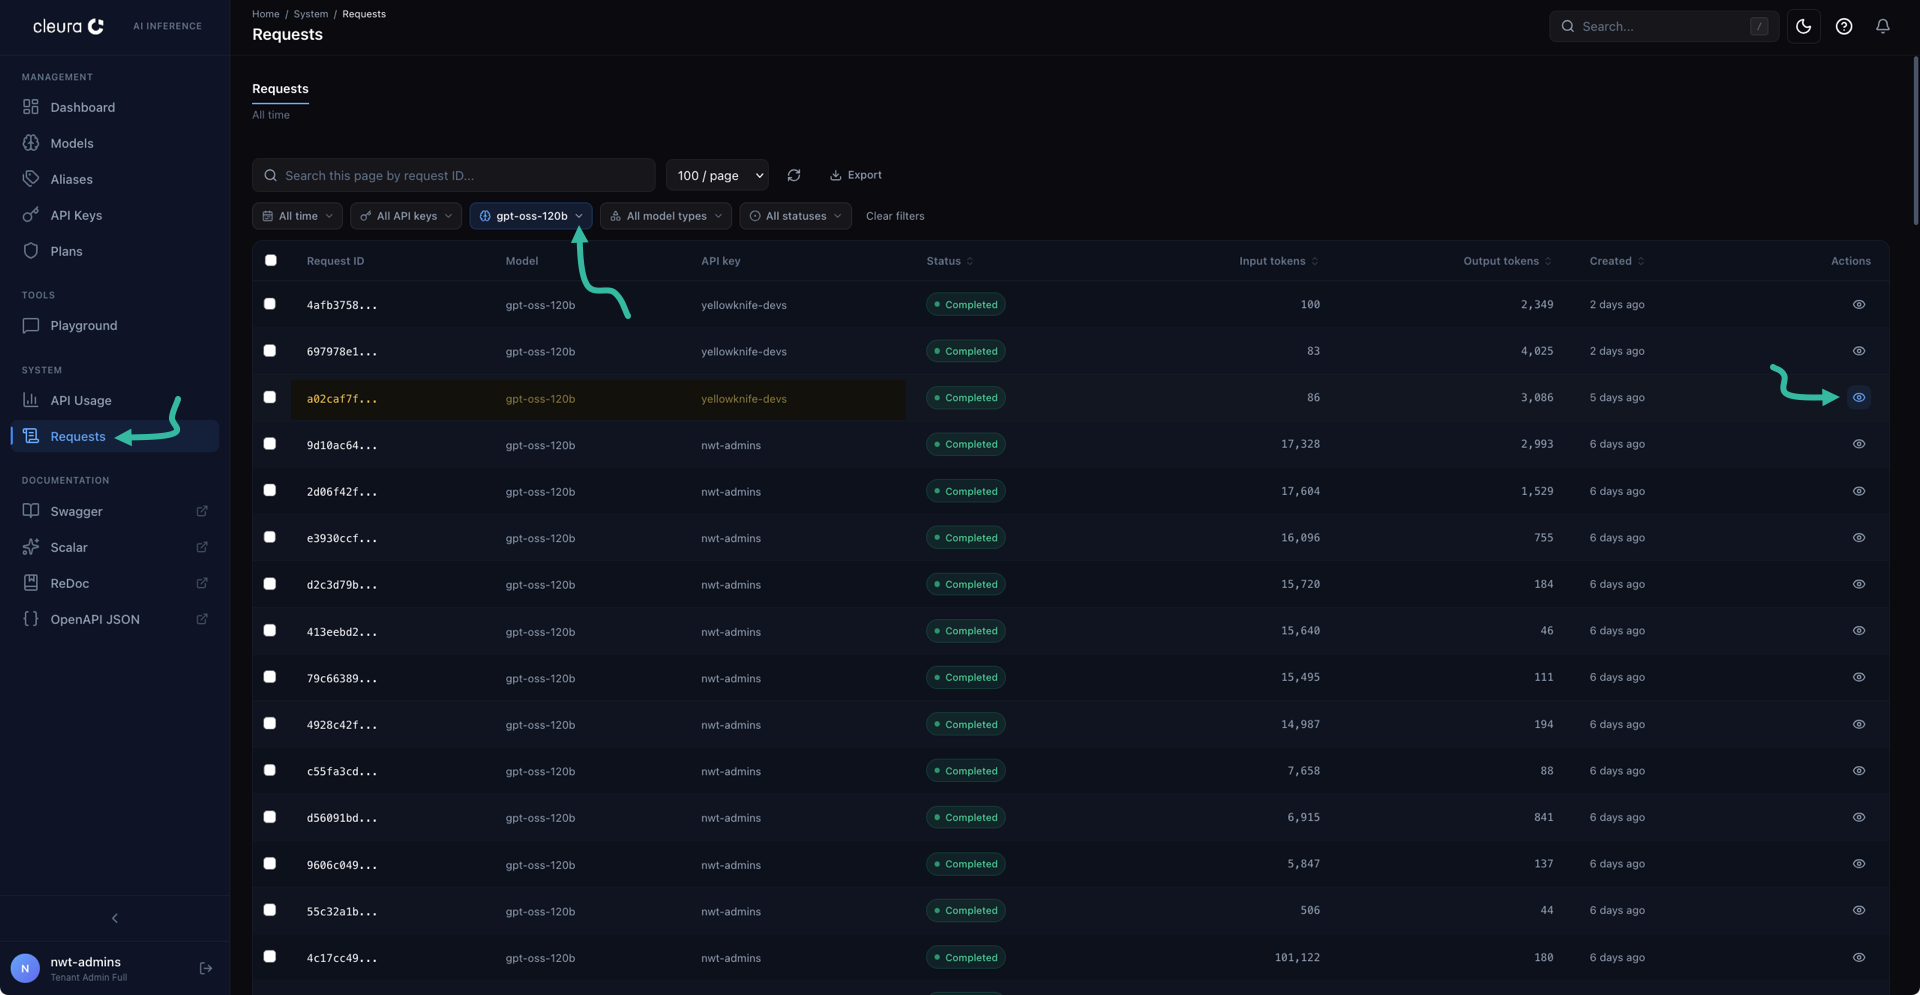
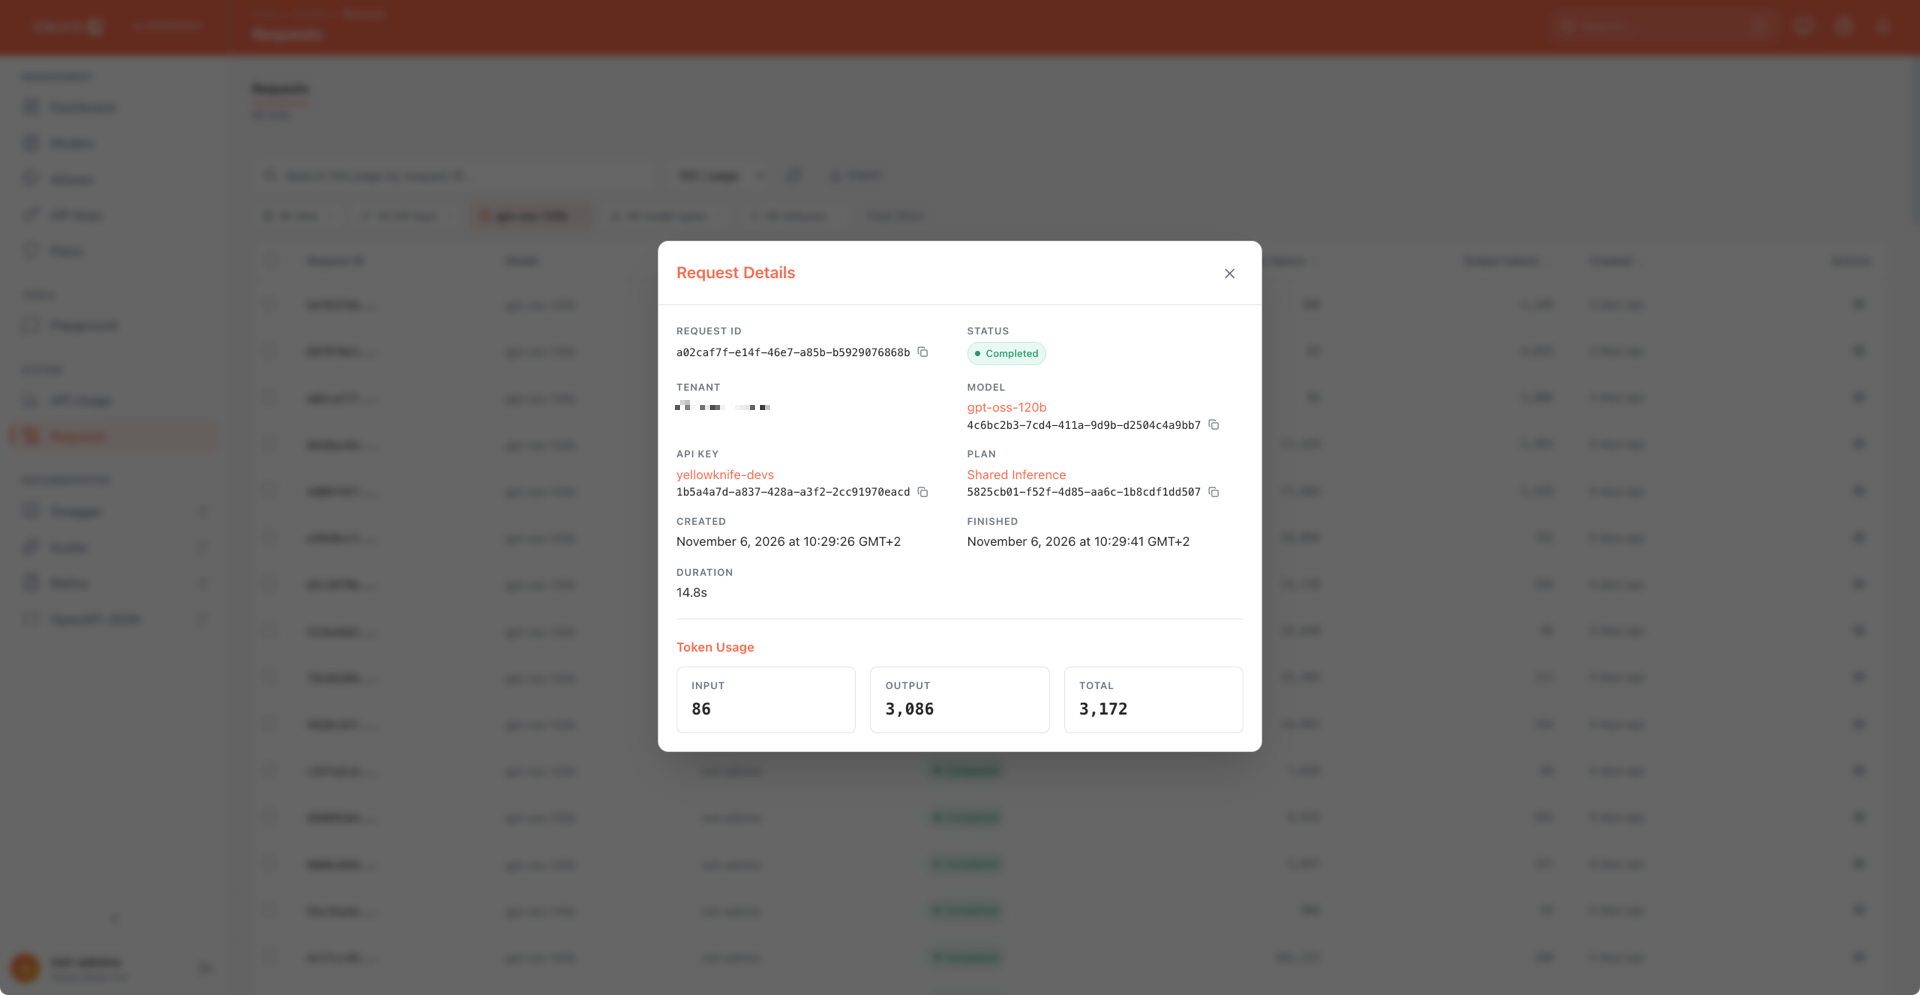
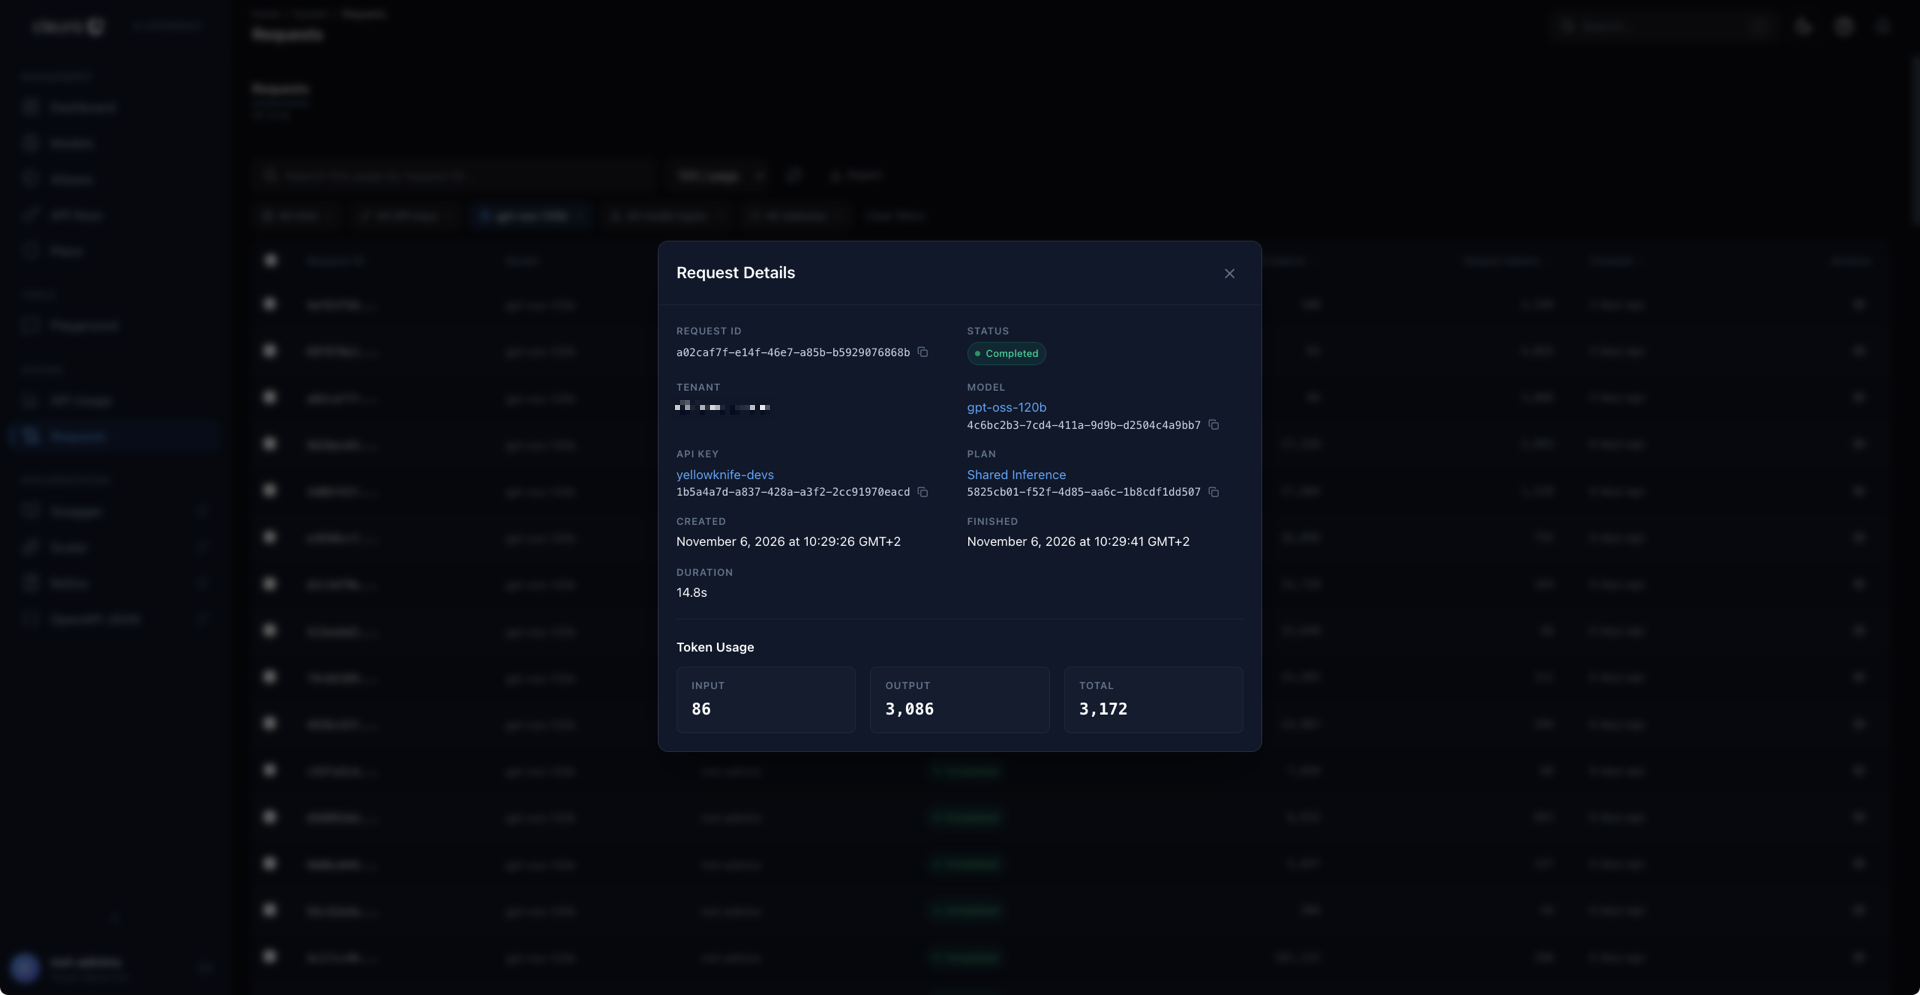
To see the details of a request, click the icon in its Actions column. The Request Details dialog opens, showing the request’s ID, status, model, and API key, among other details.