Managing API keys
Invite-only access
Access to Cleura AI Services is currently invite-only.
Whether you want to integrate a specific set of Cleura AI Services LLMs into your application or website, access the models via a third-party application you prefer, or log into the Cleura AI Inference Dashboard, you first have to create an API key.
Creating an API key
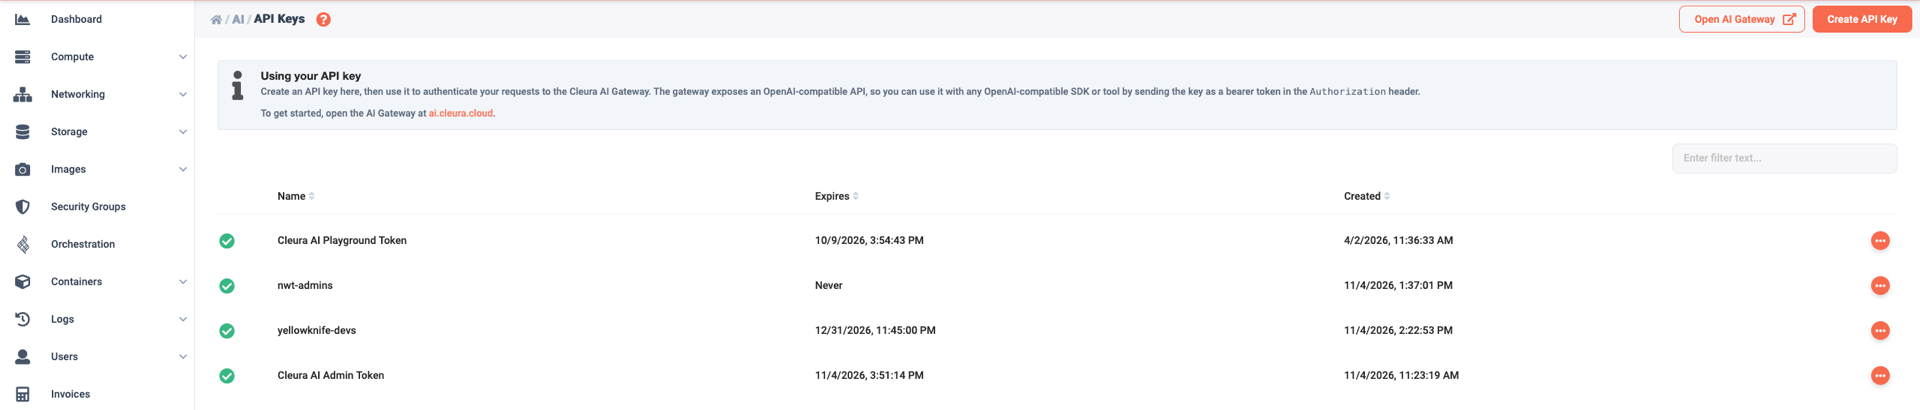
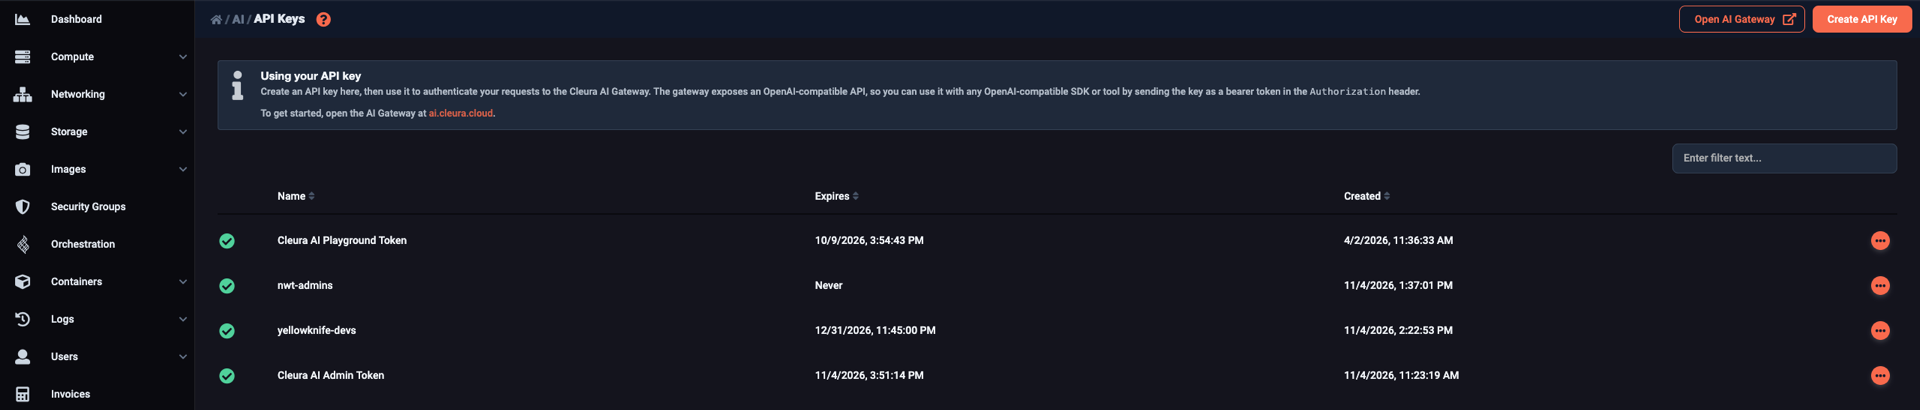
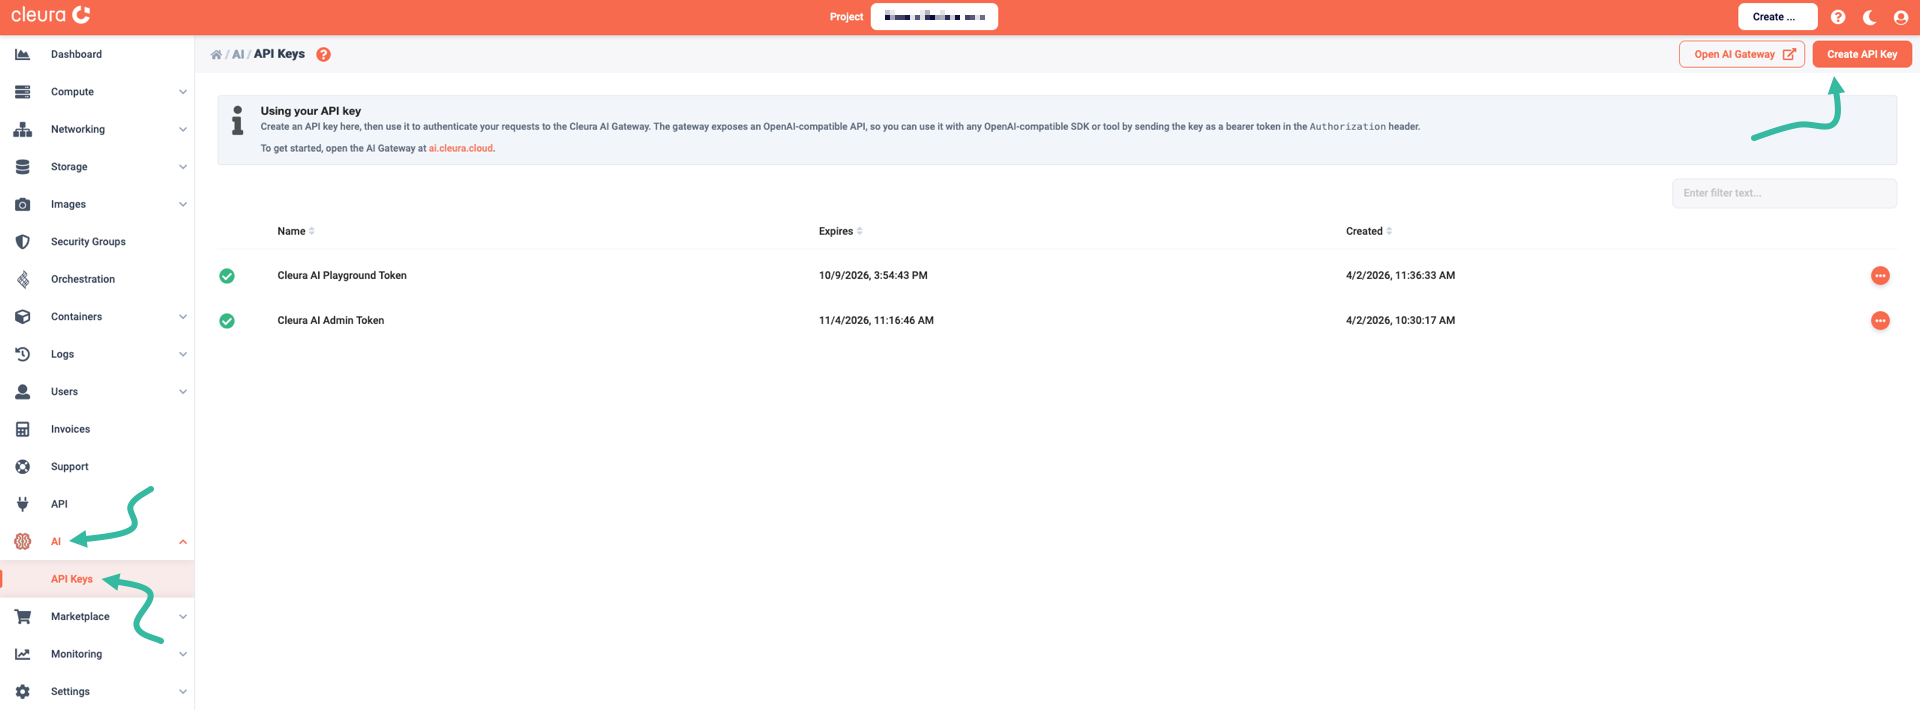
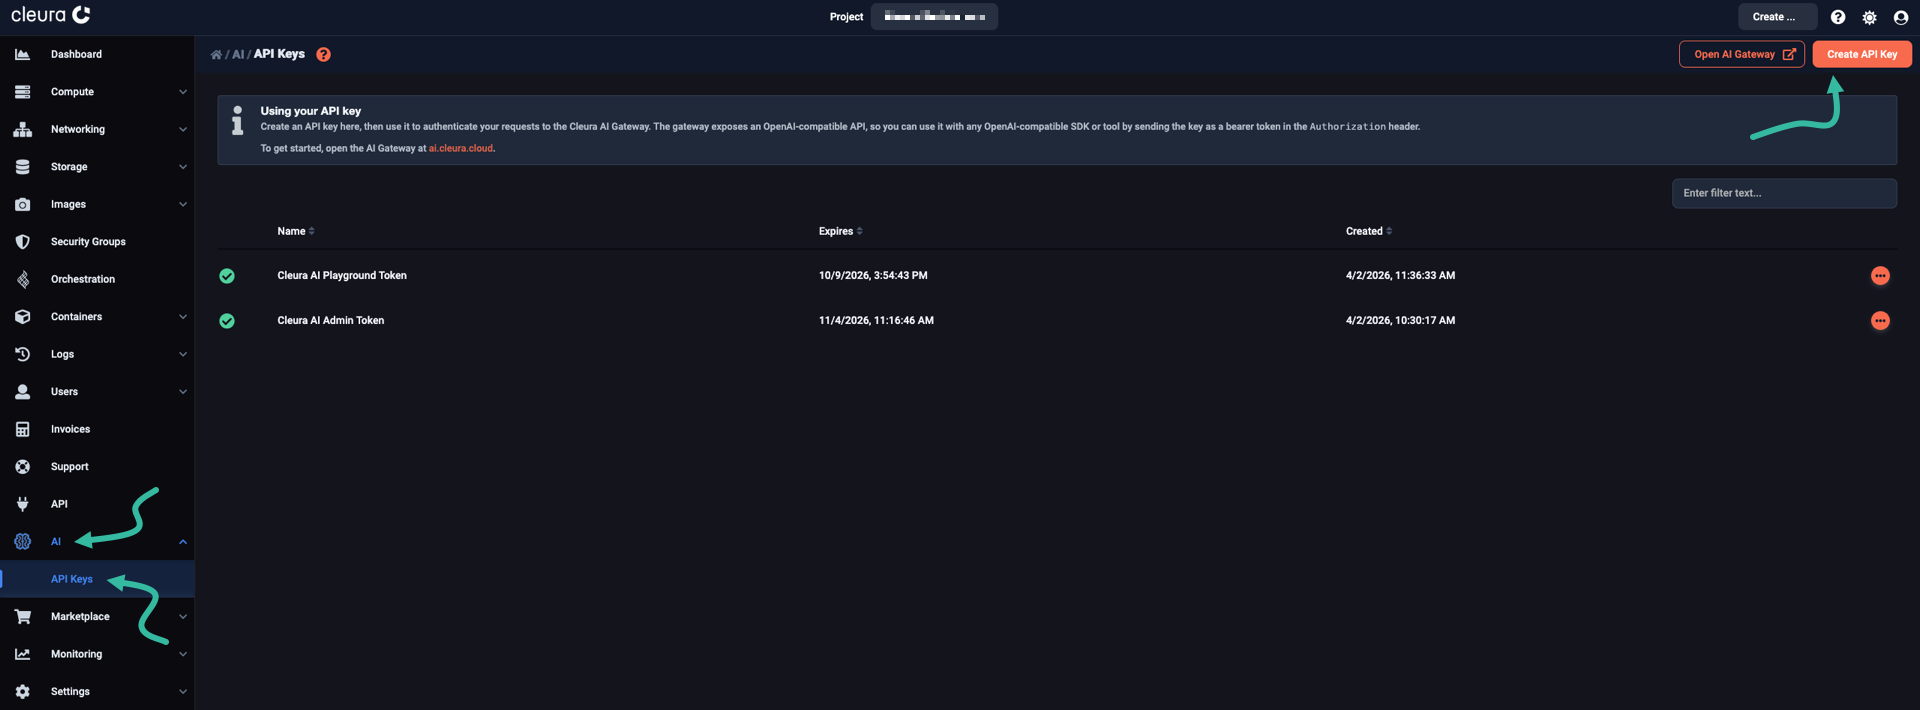
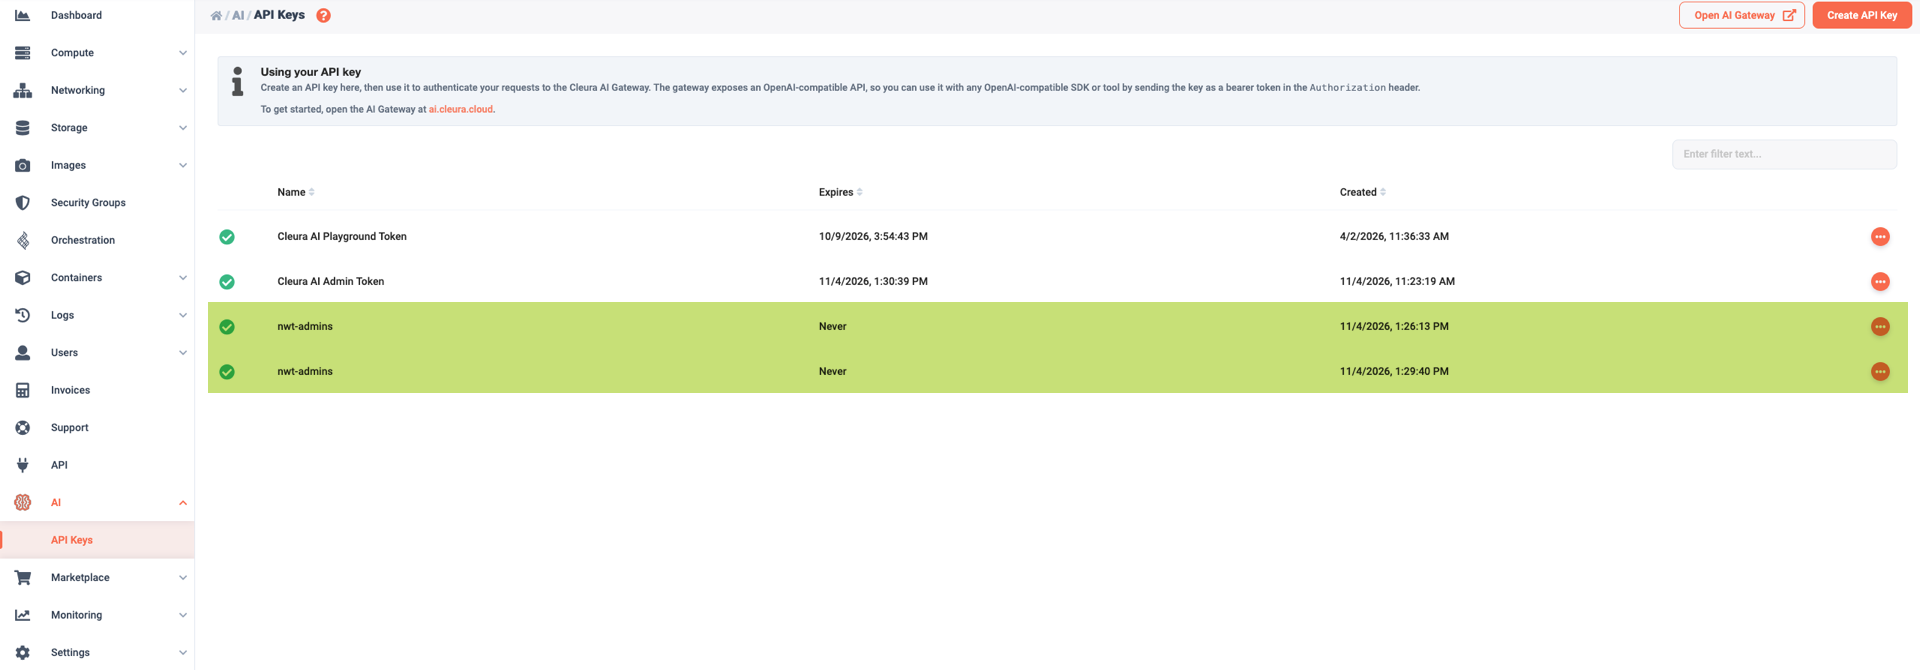
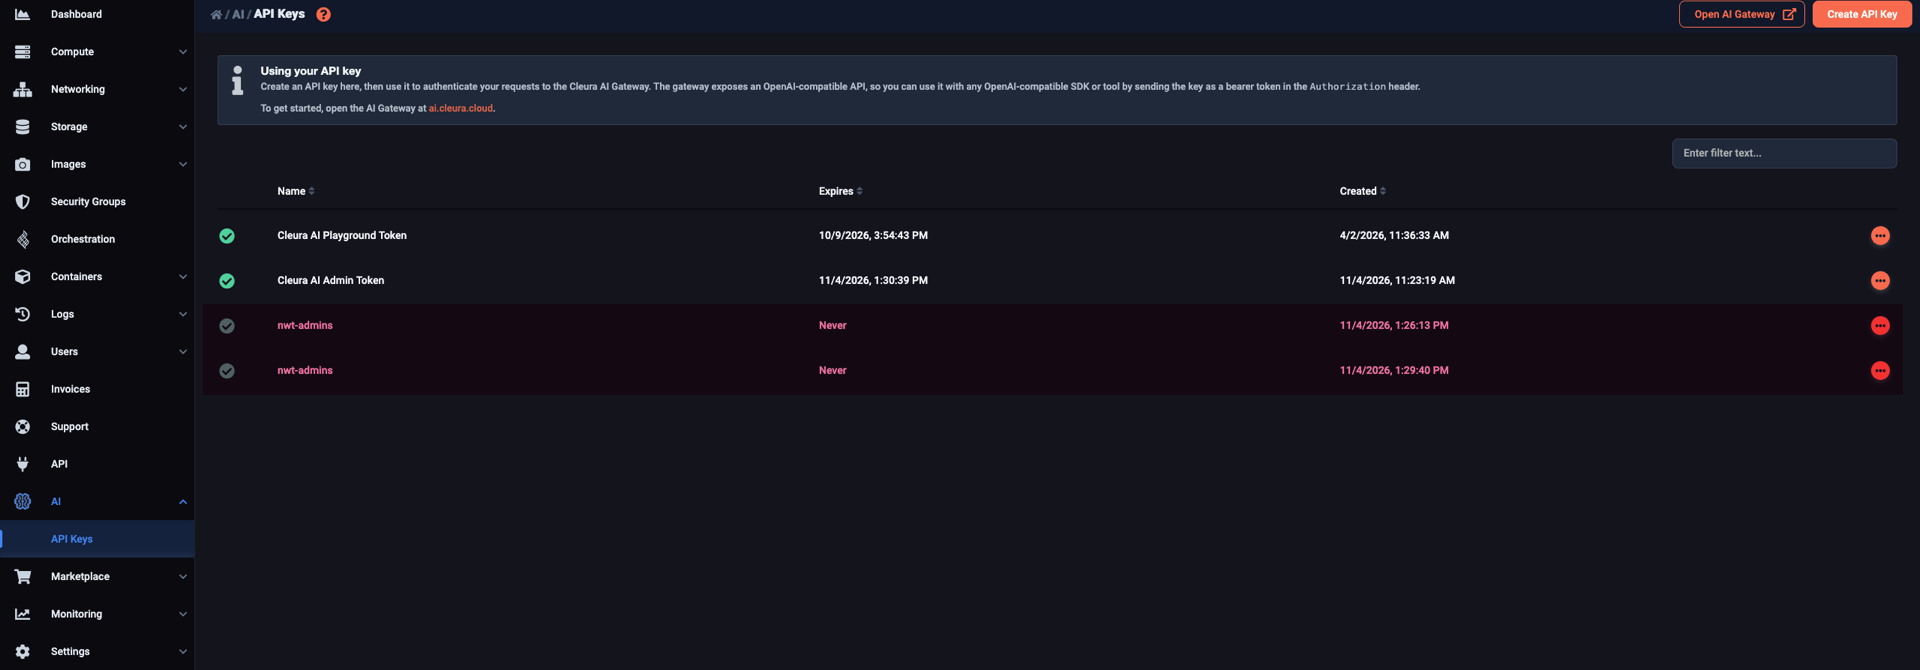
Expand the AI section and select API Keys. On the main pane, all existing API keys appear. To create a new one, click the Create API Key button.
A new pane slides over. Enter a Name for the new API key, and select its Role; this may be either Admin or User.
Using the Model Access Selection drop-down menu, you can have the new key cover All available Cleura AI Services models, specific models only (Inclusive), or all but a few models (Exclusive).
Then, use the Allow access from text box to specify access controls using CIDR notation.
You may, for instance, want to allow access from anywhere, in which case you will type 0.0.0.0/0.
If, on the other hand, you prefer to allow access from a specific network, you will type something like 198.51.100.0/24.
Finally, you can set an expiration date for the API key; beyond that date, access to any model using that key will not be possible.
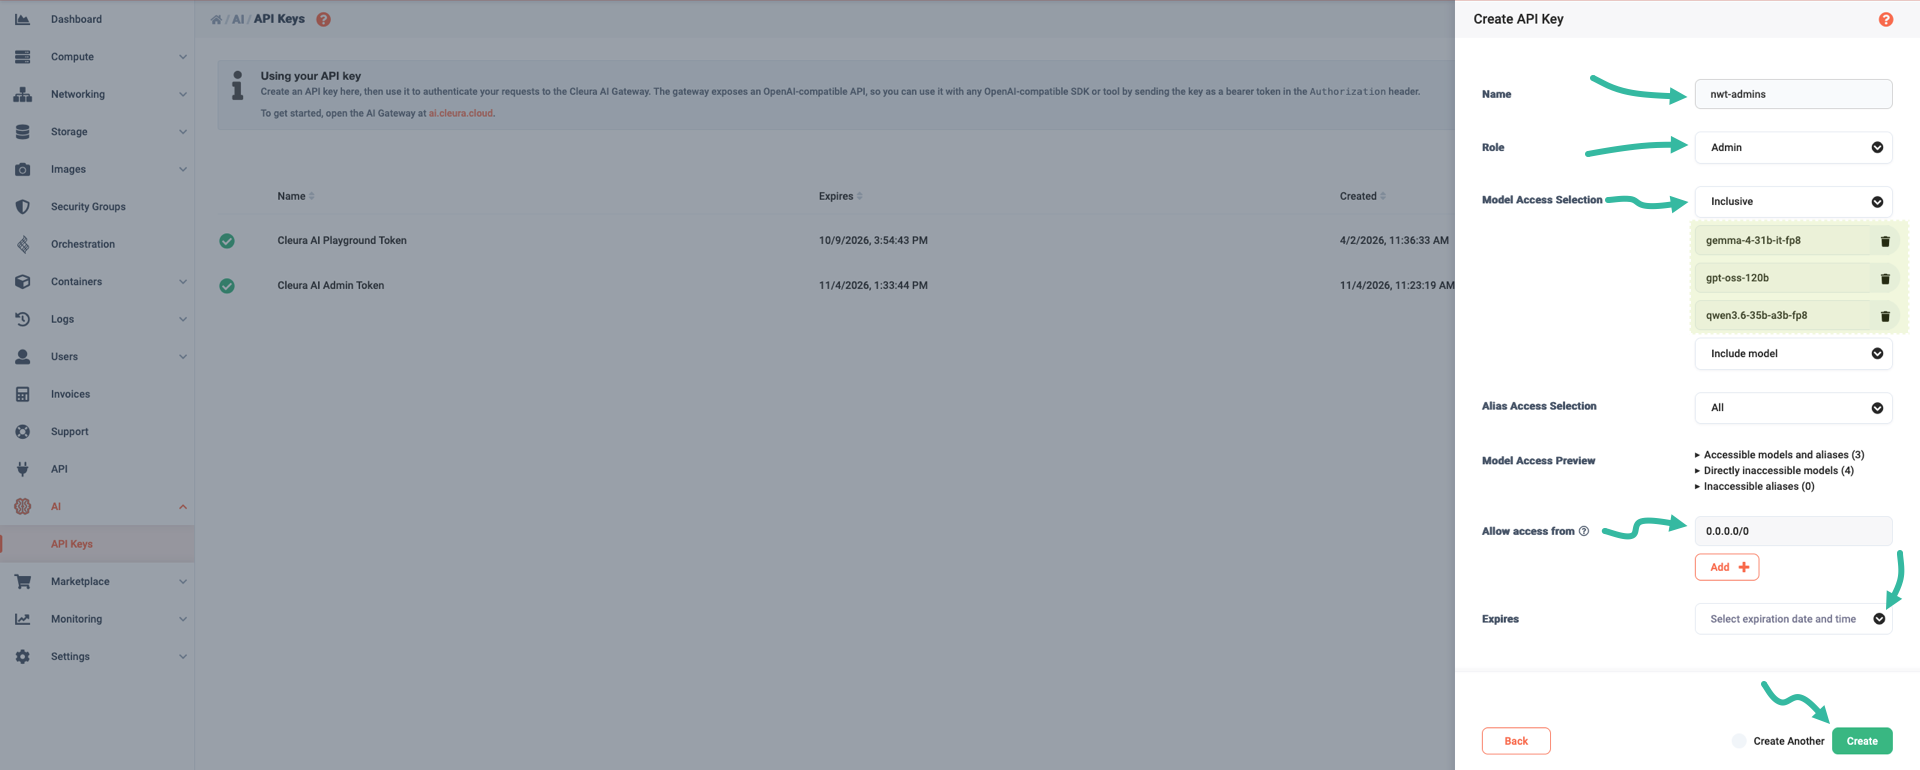
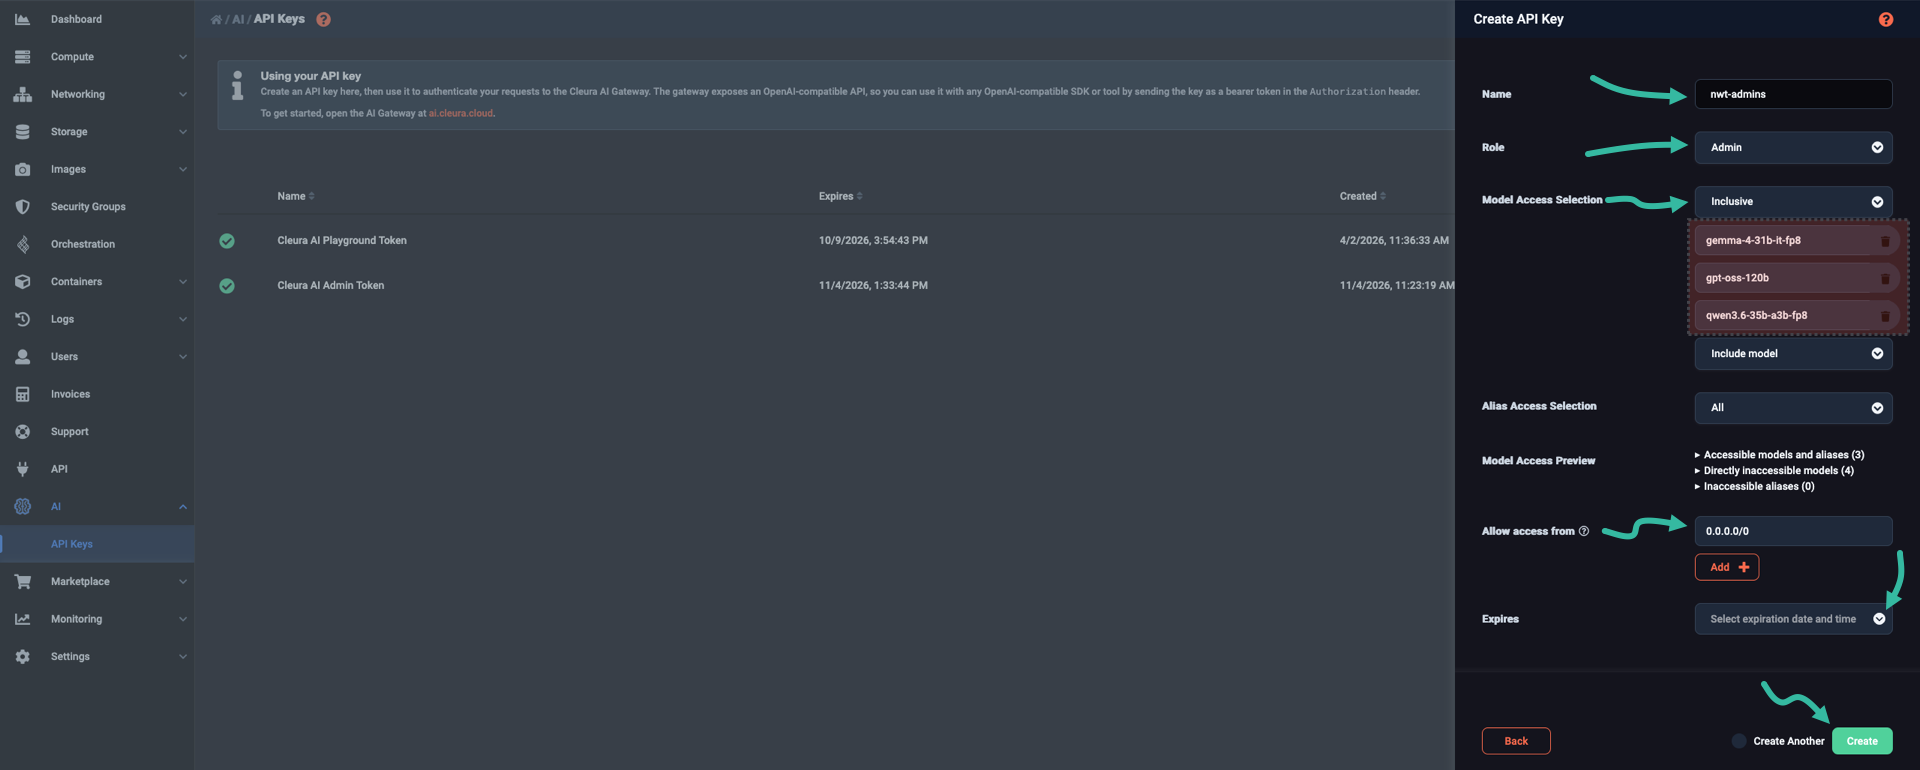
Click the Create button when you are ready.
A new window titled API Key Created Successfully pops up.
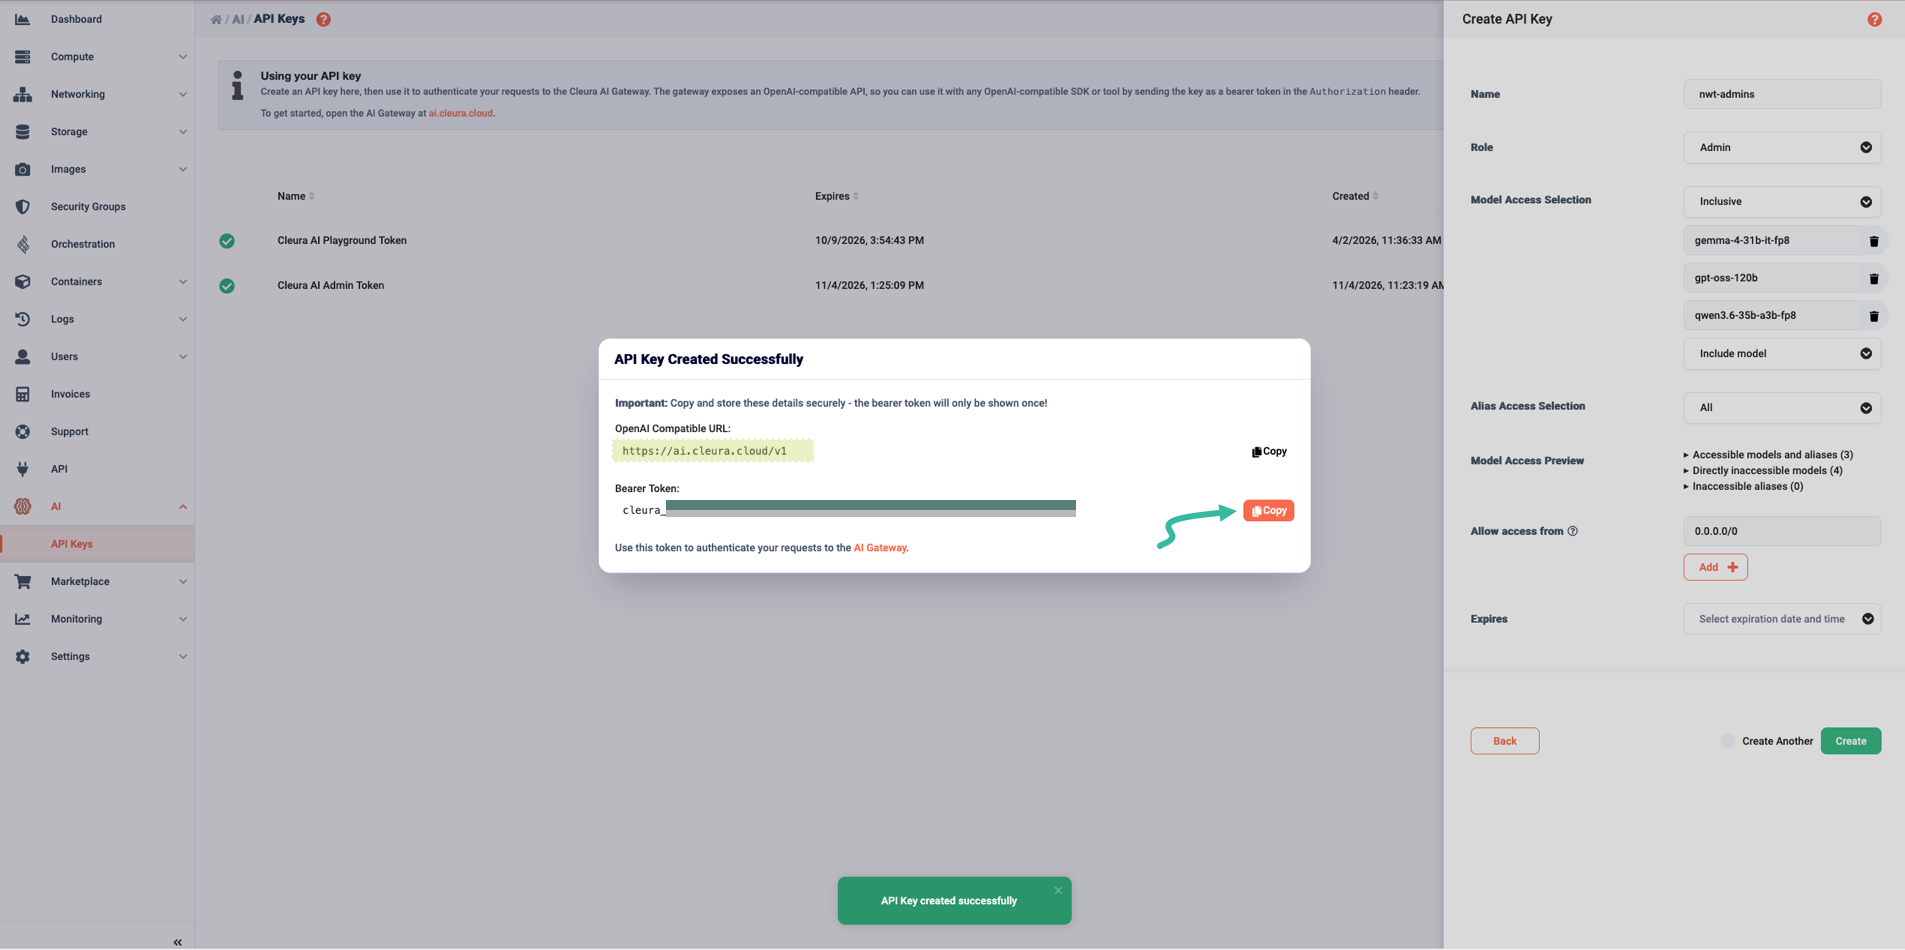
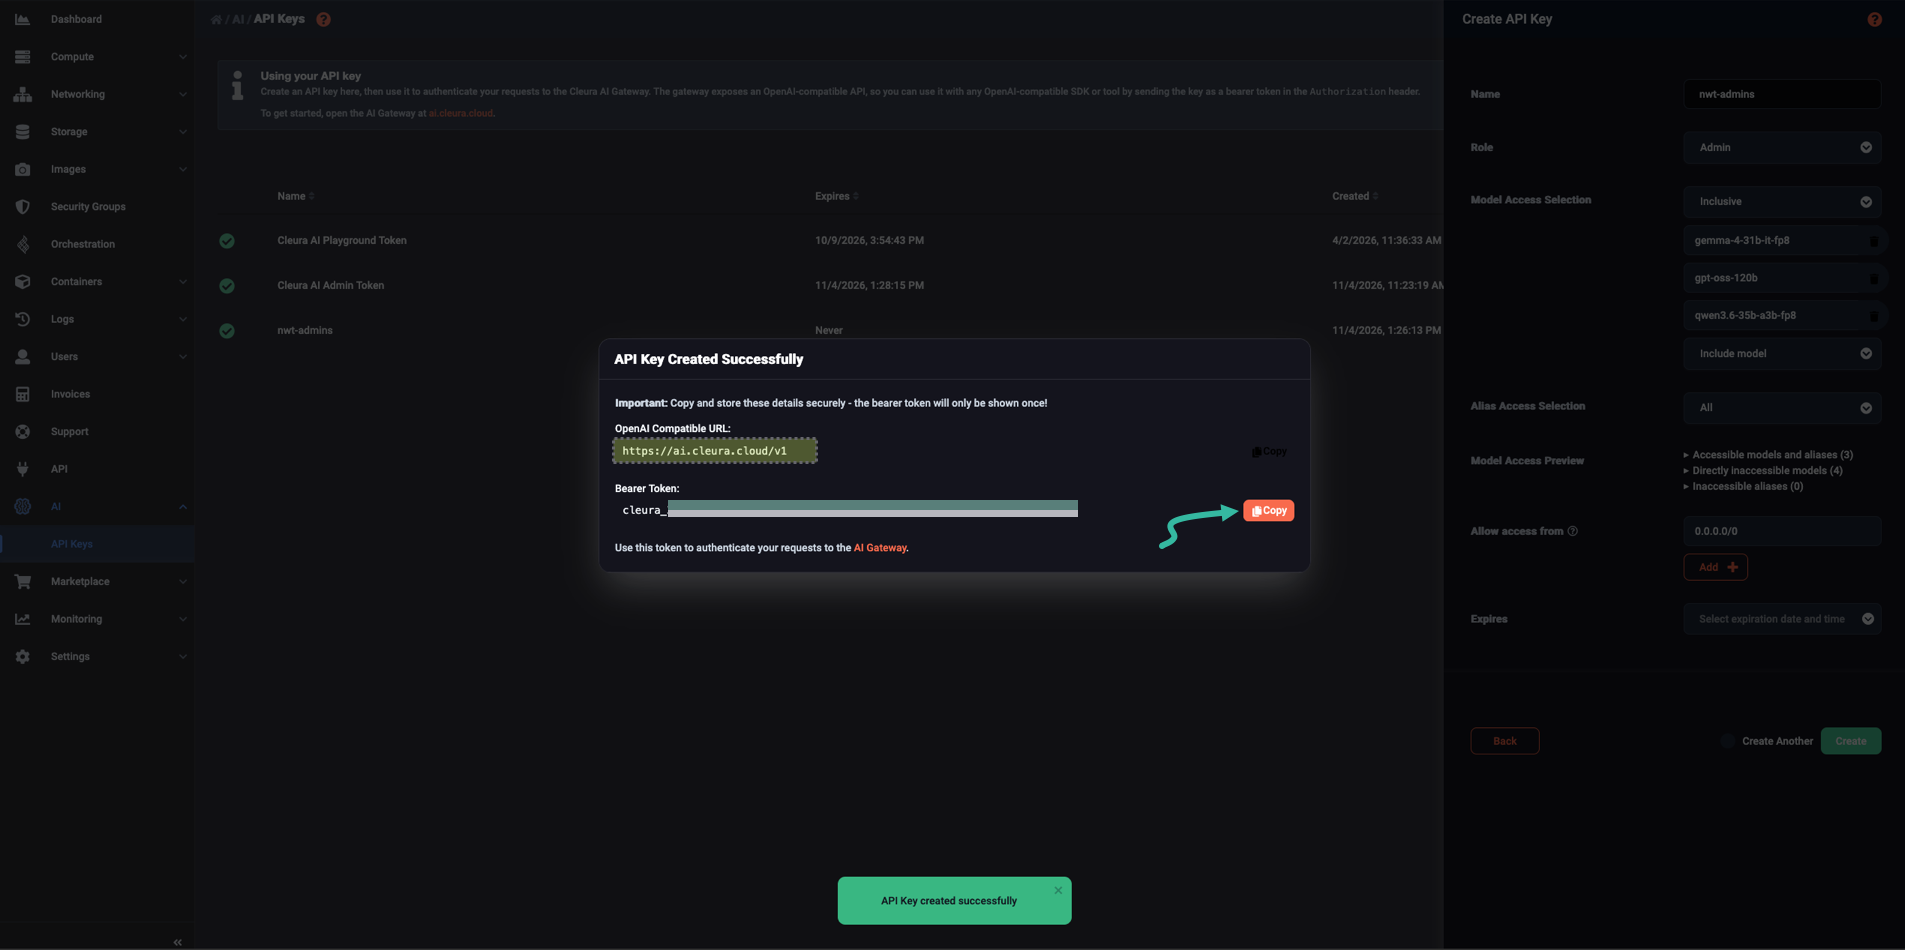
There are two pieces of information on that window that you need to jot down or, better yet, copy to a suitable password manager entry:
- The OpenAI Compatible URL, and
- the Bearer Token.
The bearer token is displayed only once, and once you close the pop-up window, you won’t see it again.
When you have secured the bearer token, click anywhere outside the pop-up window to close it. You will then see all the API keys, including the one you just created, listed on the main pane.
Deleting API keys
To delete an API key, first go to the API Keys pane of the Cleura Cloud Management Panel. Locate the key you wish to delete, click the icon at the right of its row, and select Delete.
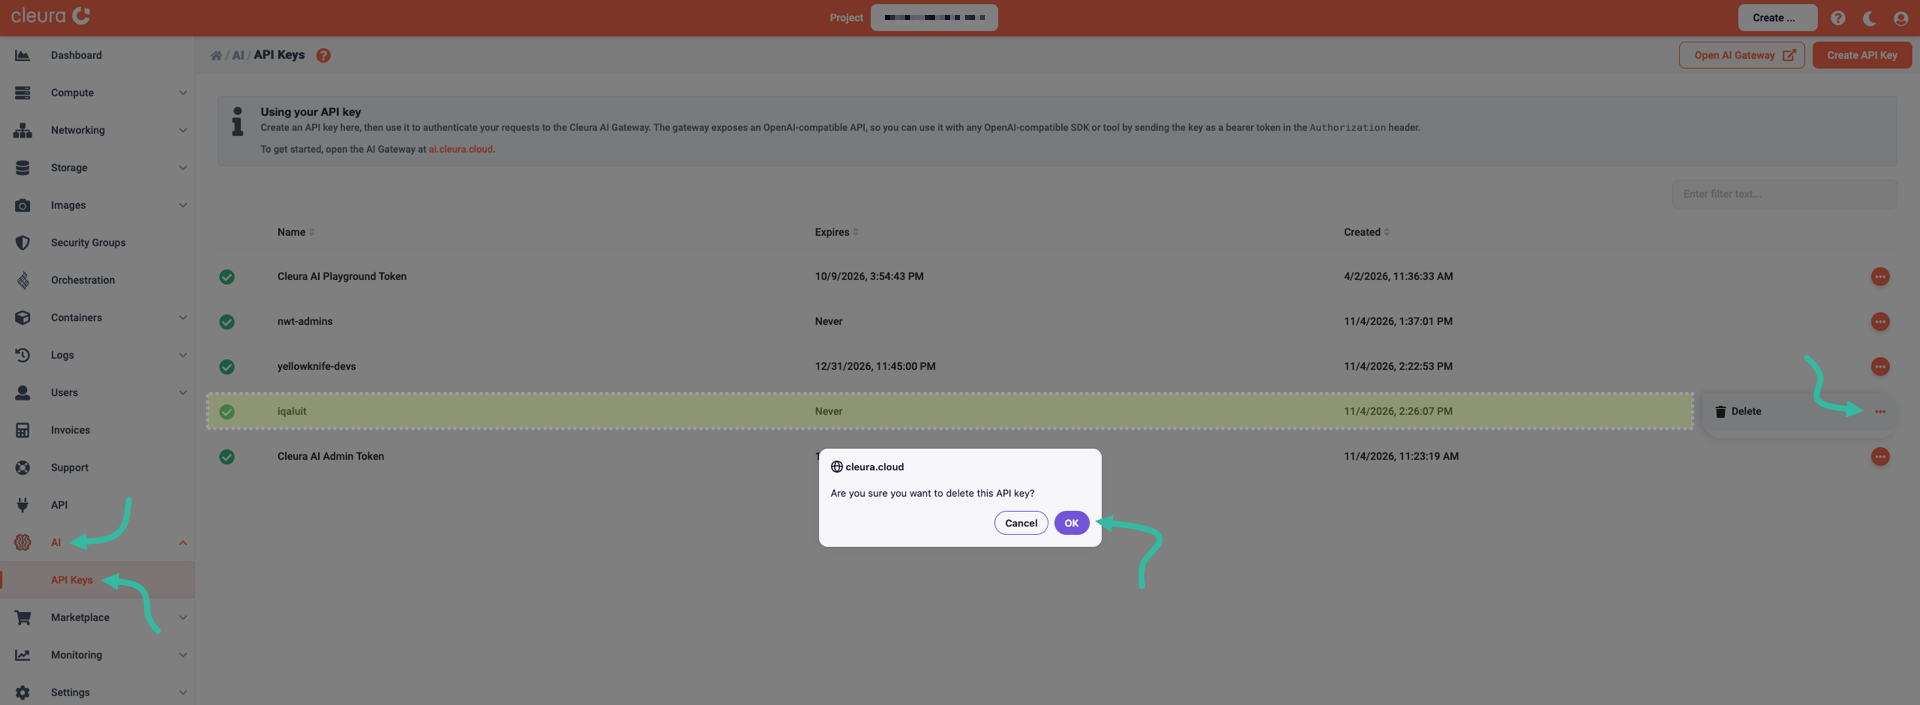
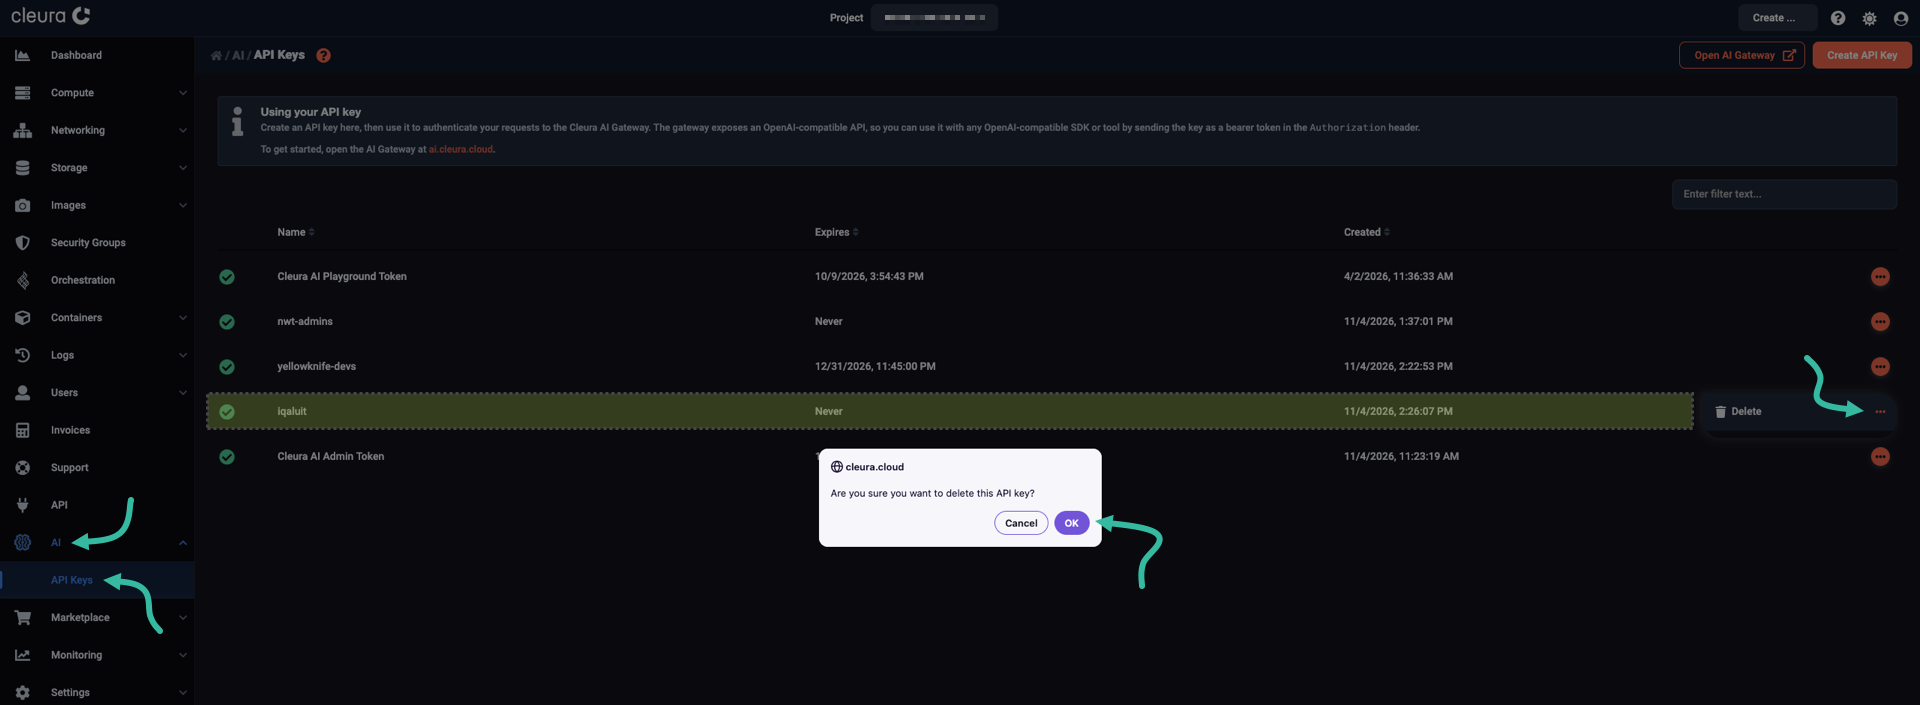
A window pops up, asking if you really want to delete the key. If you no longer need the key, click the OK button.
The list of keys on the main pane is now shorter.