Rescuing a server
This guide will walk you through the required steps to access a server in rescue mode when you need to.
You can use rescue mode to access the server’s operating system disk to fix a corrupted file system, reset access credentials on the server, and do other emergency recovery tasks.
Prerequisites
You need to have previously created a server that you now wish to rescue. Additionally, if you prefer to work with the OpenStack CLI, then make sure to properly enable it first.
Initiating the rescue
Navigate to the server list.
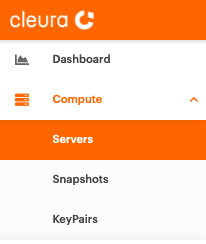
Find the server you want to rescue in the list, and on the right-hand side, click on its menu button.

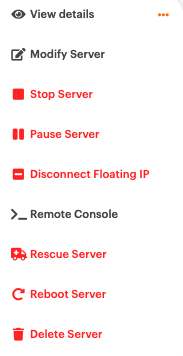
Click on Rescue Server.
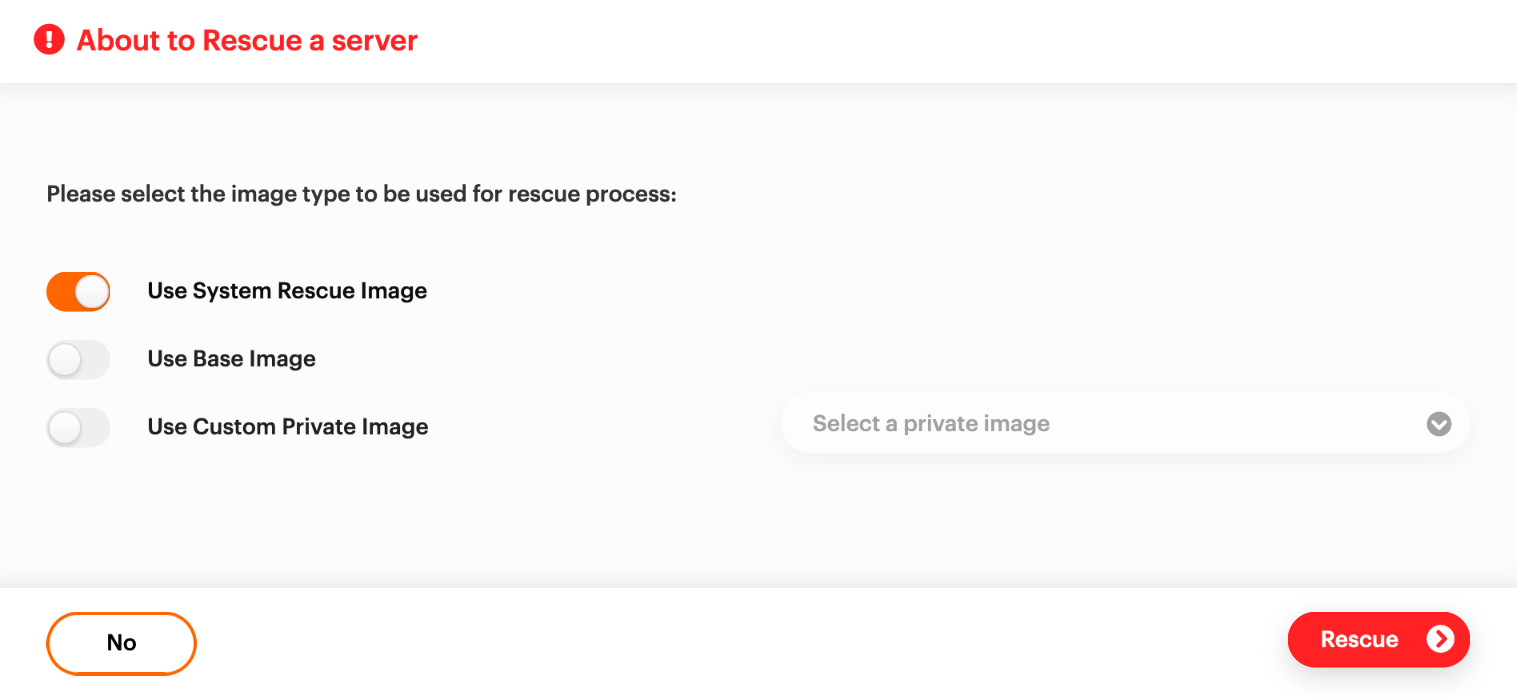
Once selected, the rescue dialog appears. Leave the default option, Use System Rescue Image.
Click No to cancel or Rescue to proceed.
When a server has been switched to rescue mode, its status icon appears with an exclamation mark:

You must first select a system rescue image from the available images:
$ openstack image list --tag system-rescue
+--------------------------------------+---------------+--------+
| ID                                   | Name          | Status |
+--------------------------------------+---------------+--------+
| cb2217f3-1ca7-4440-b10e-df7ff2d92cae | system-rescue | active |
+--------------------------------------+---------------+--------+
To start the server using the system rescue image, use the following command, substituting the correct ID for the system-rescue image in your Cleura Cloud region:
openstack --os-compute-api-version 2.87 \
  server rescue \
  --image cb2217f3-1ca7-4440-b10e-df7ff2d92cae <server_id>
While the rescue is ongoing, the server should have the OS-EXT-STS:vm_state of rescued and the status of RESCUE.
$ openstack server show -v OS-EXT-STS:vm_state -c status <server_id>
+---------------------+---------+
| Field               | Value   |
+---------------------+---------+
| OS-EXT-STS:vm_state | rescued |
| status              | RESCUE  |
+---------------------+---------+
Accessing the server in rescue mode
You can now proceed to accessing the remote console of your server, as you would with any other newly launched server.
Please refer to the System Rescue documentation documentation for details on the available tools and features bundled with System Rescue.