Changing your account data
You may at any time change the contact person, address, company name, and purchase order number associated with your Cleura Cloud account.
To get started, navigate to the Cleura Cloud Management Panel and log into your account. Expand the vertical pane on the left, click on Settings, and then on Manage Account.
In the central pane, named Account Settings, click on the Customer Info tab. There, you can change and manage your customer information.
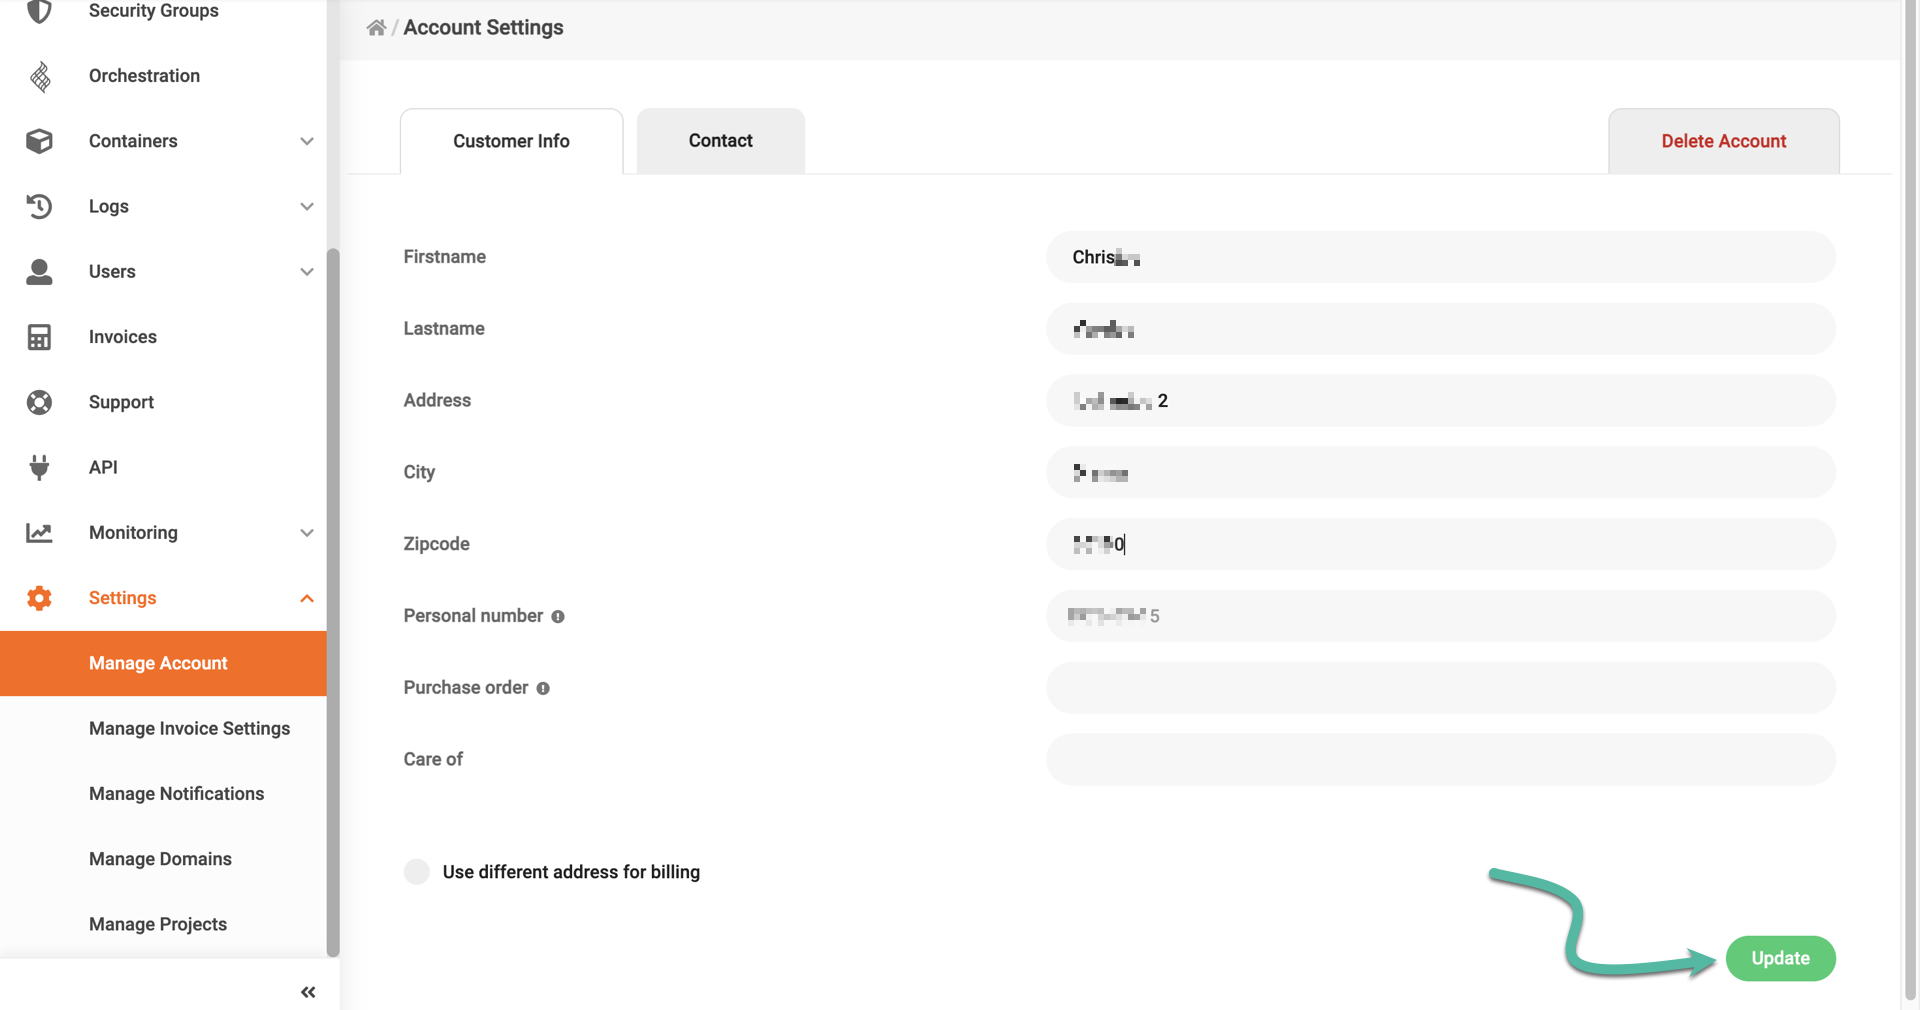
Finalize your changes by clicking the green Update button at the bottom.
Adding or removing email addresses
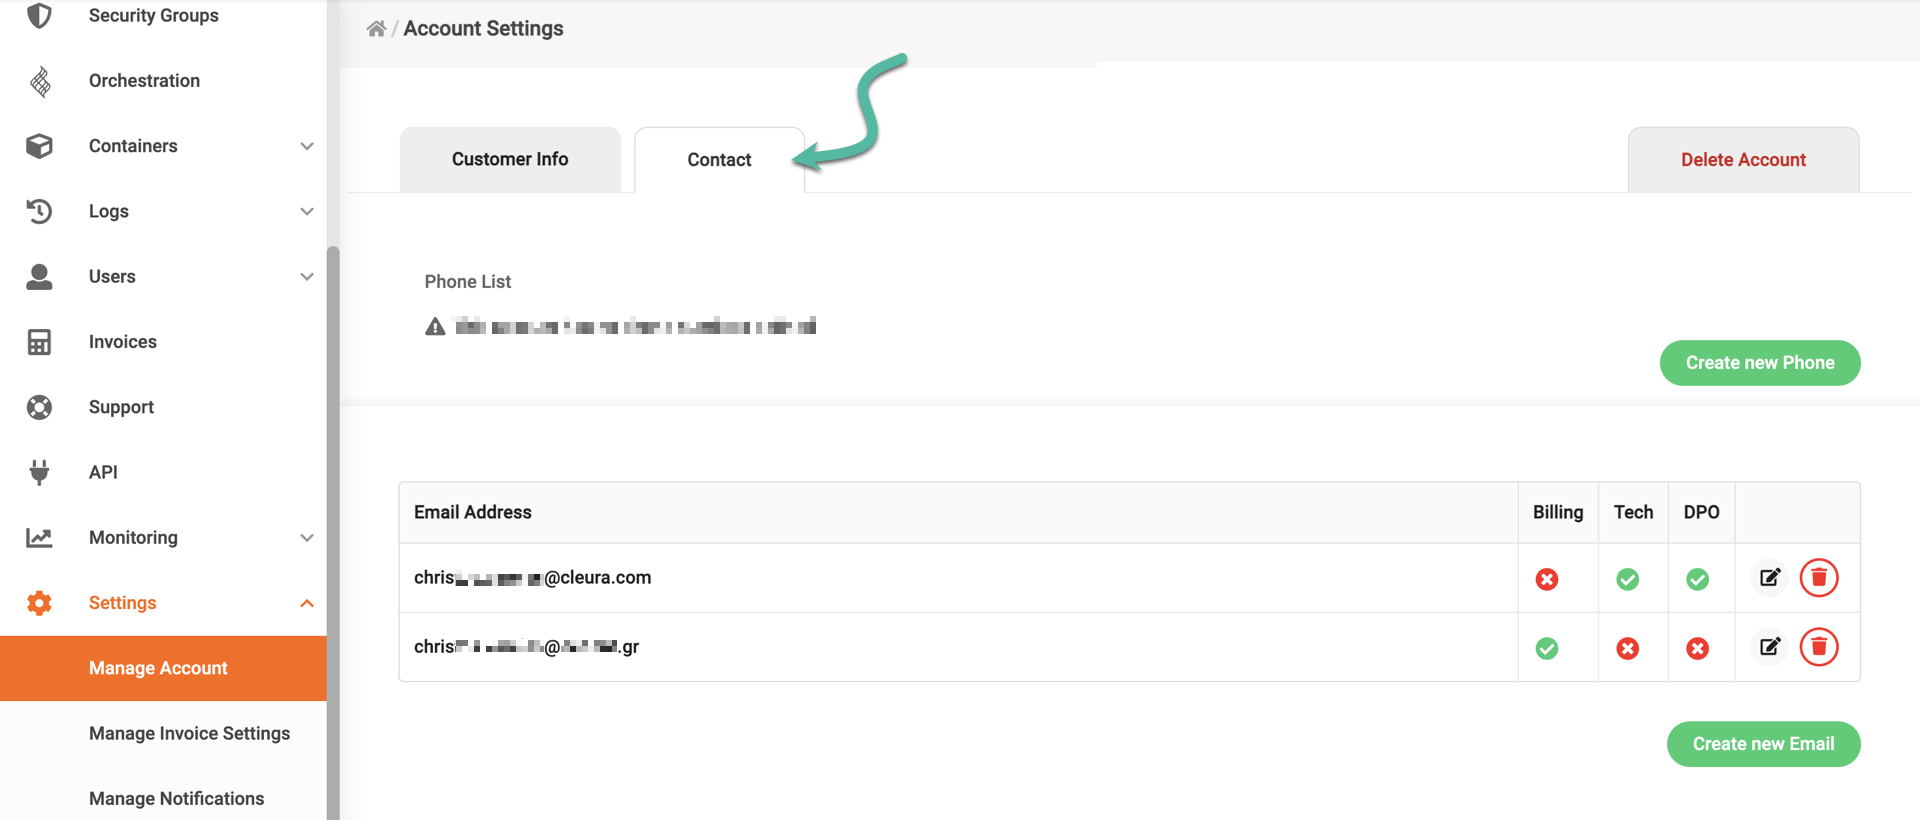
In the Account Settings pane, click the tab labeled Contact. This will show your currently configured email addresses. If there is only one email address, it will have all available roles enabled.
Adding a new email address
Click on the green button labeled Create new Email (see above).
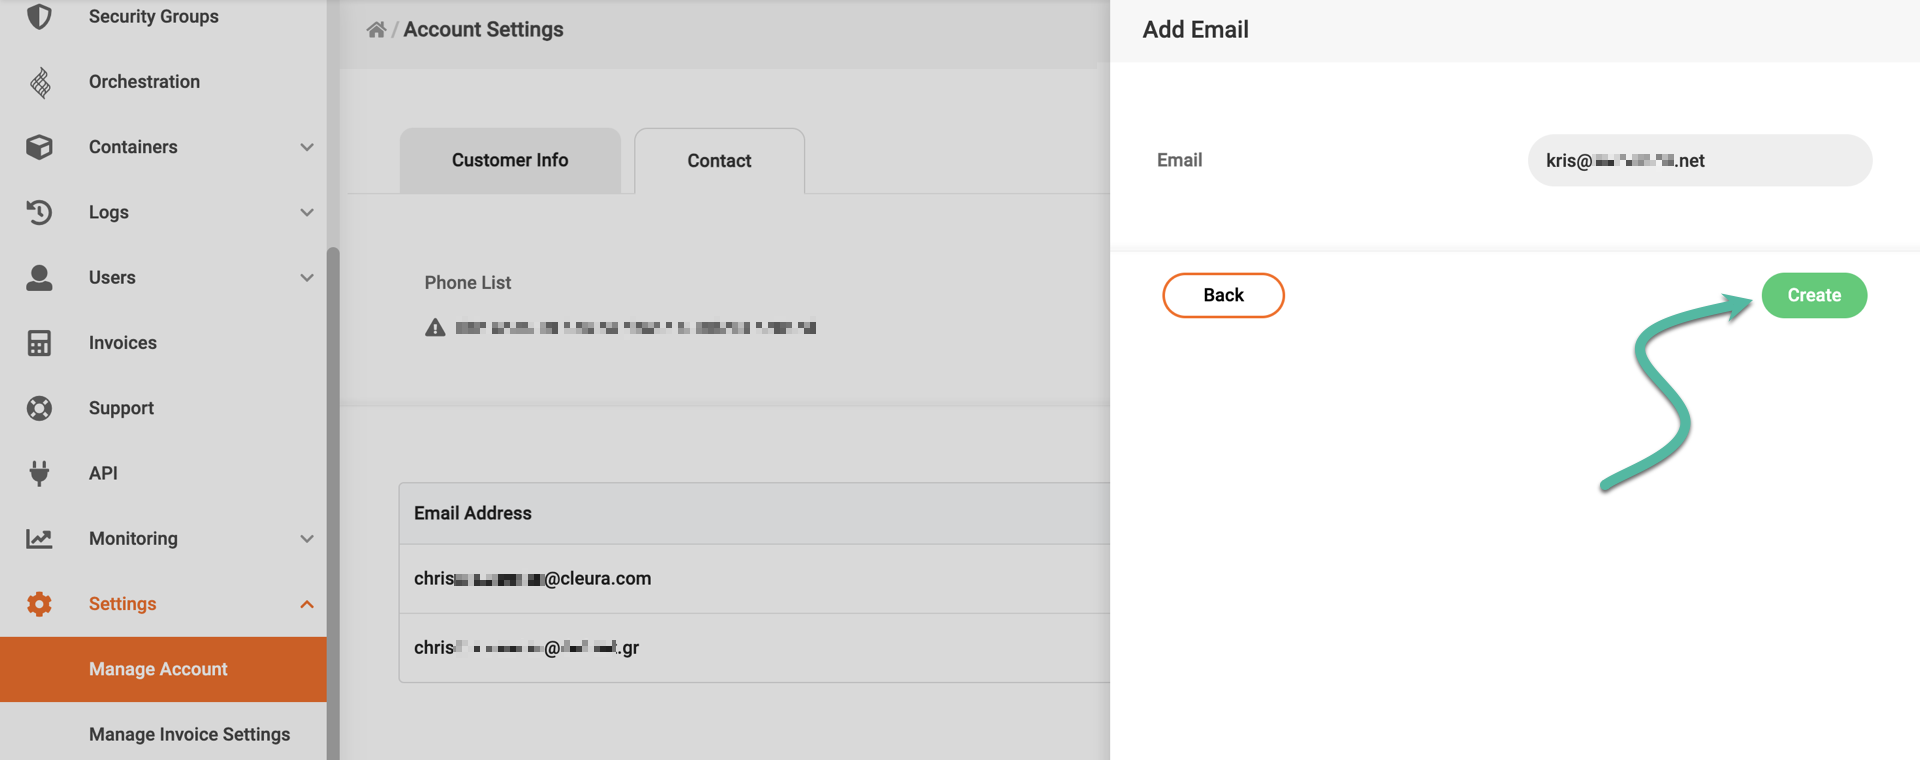
A new vertical pane will slide over from the right-hand side of the Cleura Cloud Management Panel. Enter your new email address and click the green Create button.
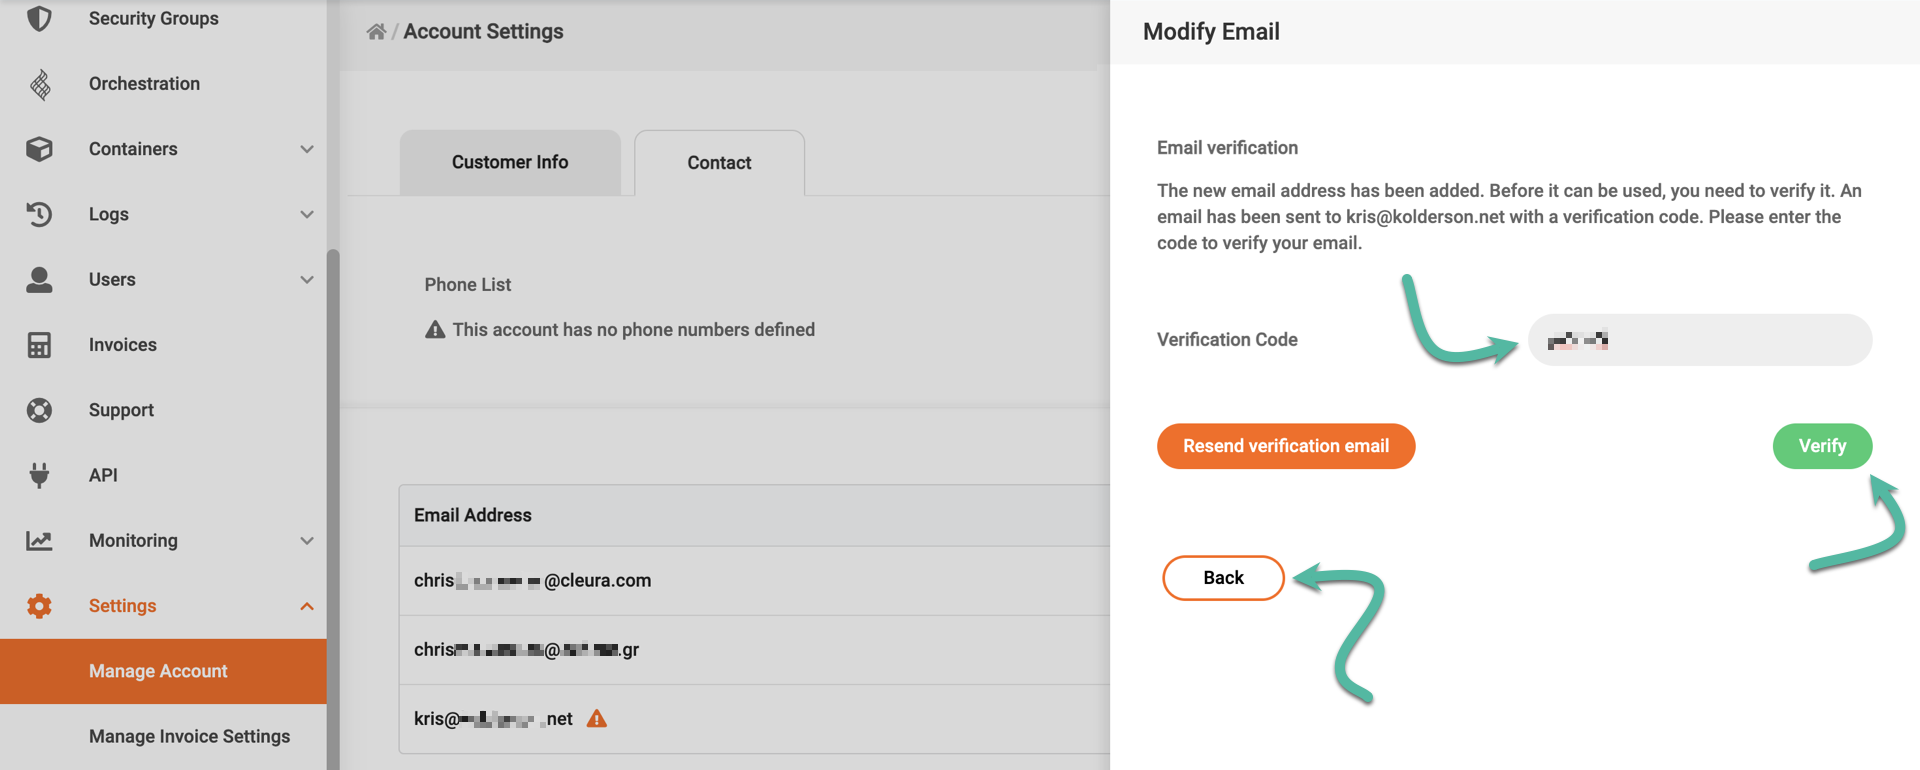
The system will then send an automated email containing a verification code. The verification email looks like the example below, with the subject line Please confirm your new address - Cleura Account.
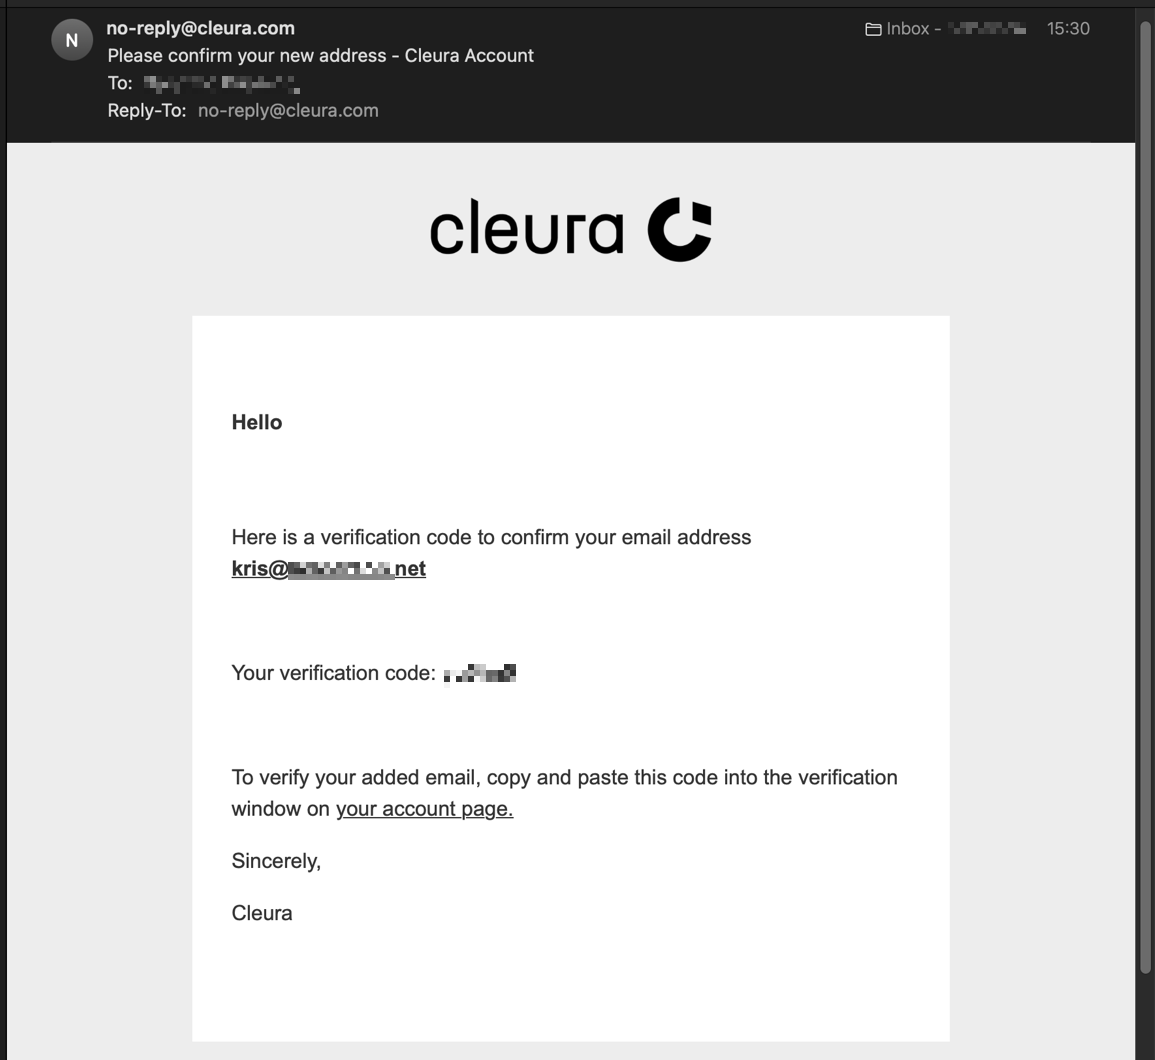
Please enter this code to verify your email address. Then click the green button labeled Verify.
Choose a role association for the new email address, and click the Back button.
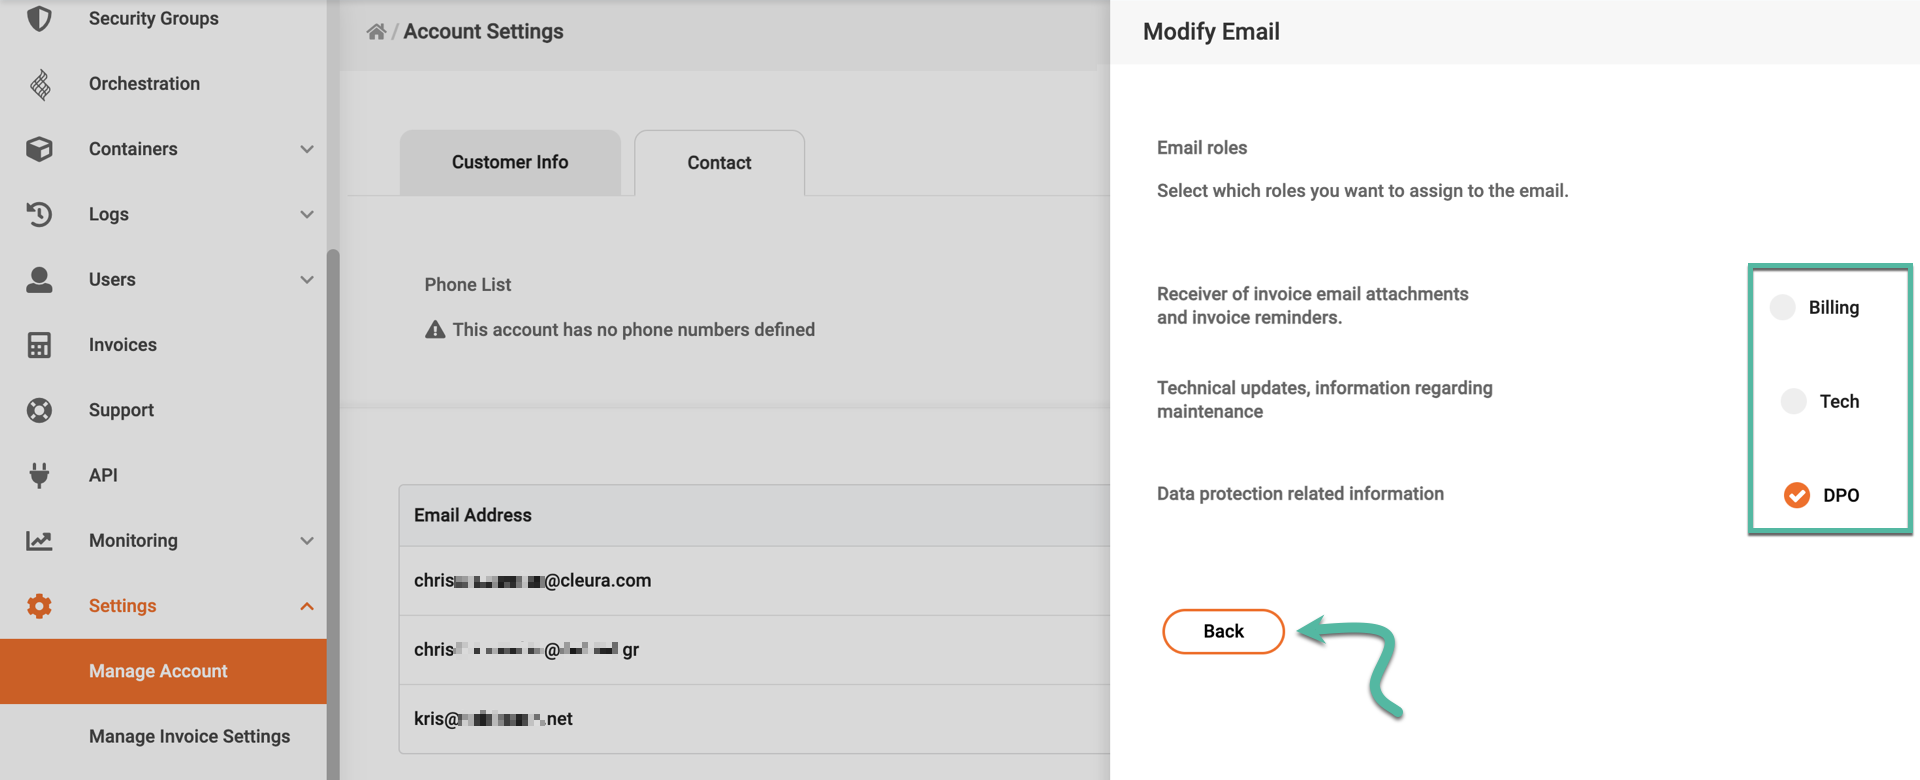
You have now added one more email address and selected a role.

Removing an email address
Click on the red Trash icon next to the email address you want to remove.

A pop-up window appears. Click on the red button labeled Yes, Delete.
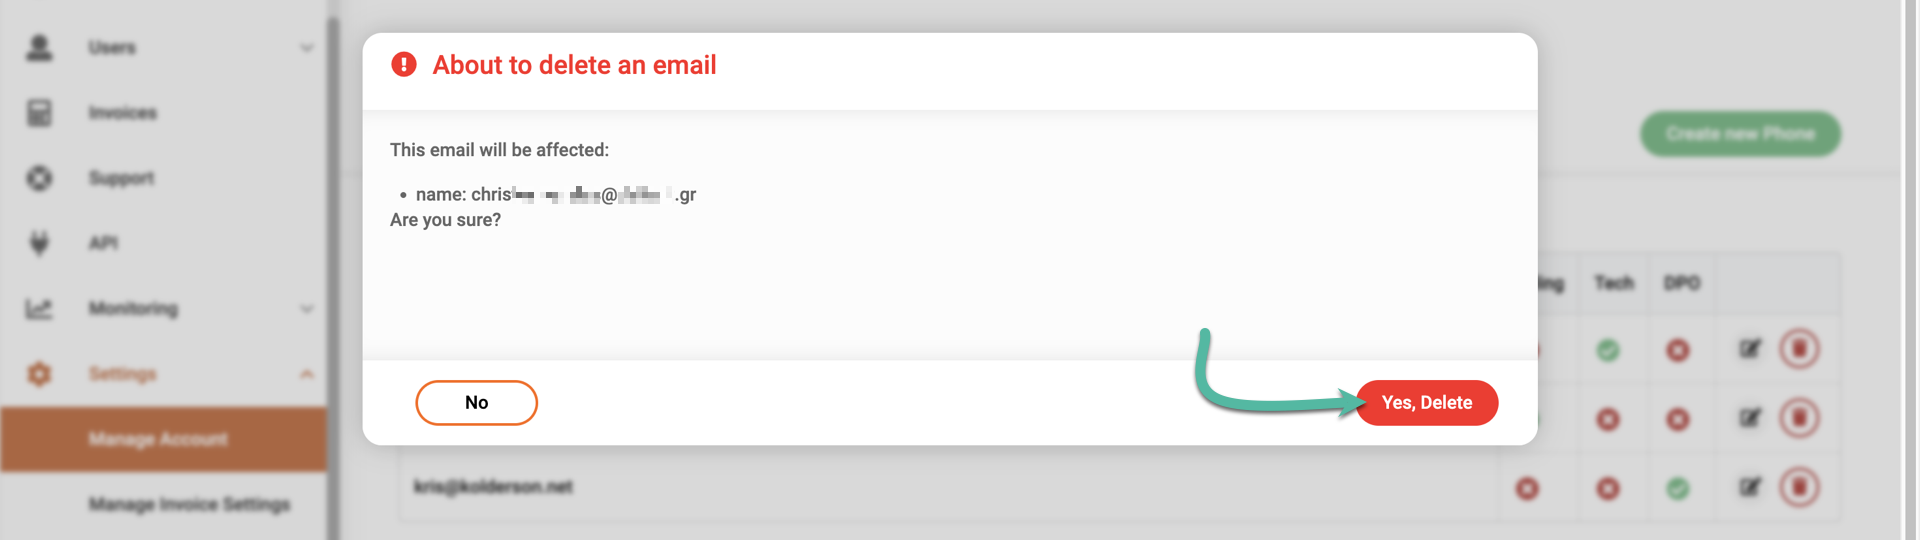
You have now removed one email address.

Assigning an email address to a new role
Click on the Modify button next to the email address you want to assign to a different role.

Change the role by clicking one or all of Billing, Tech, or DPO.
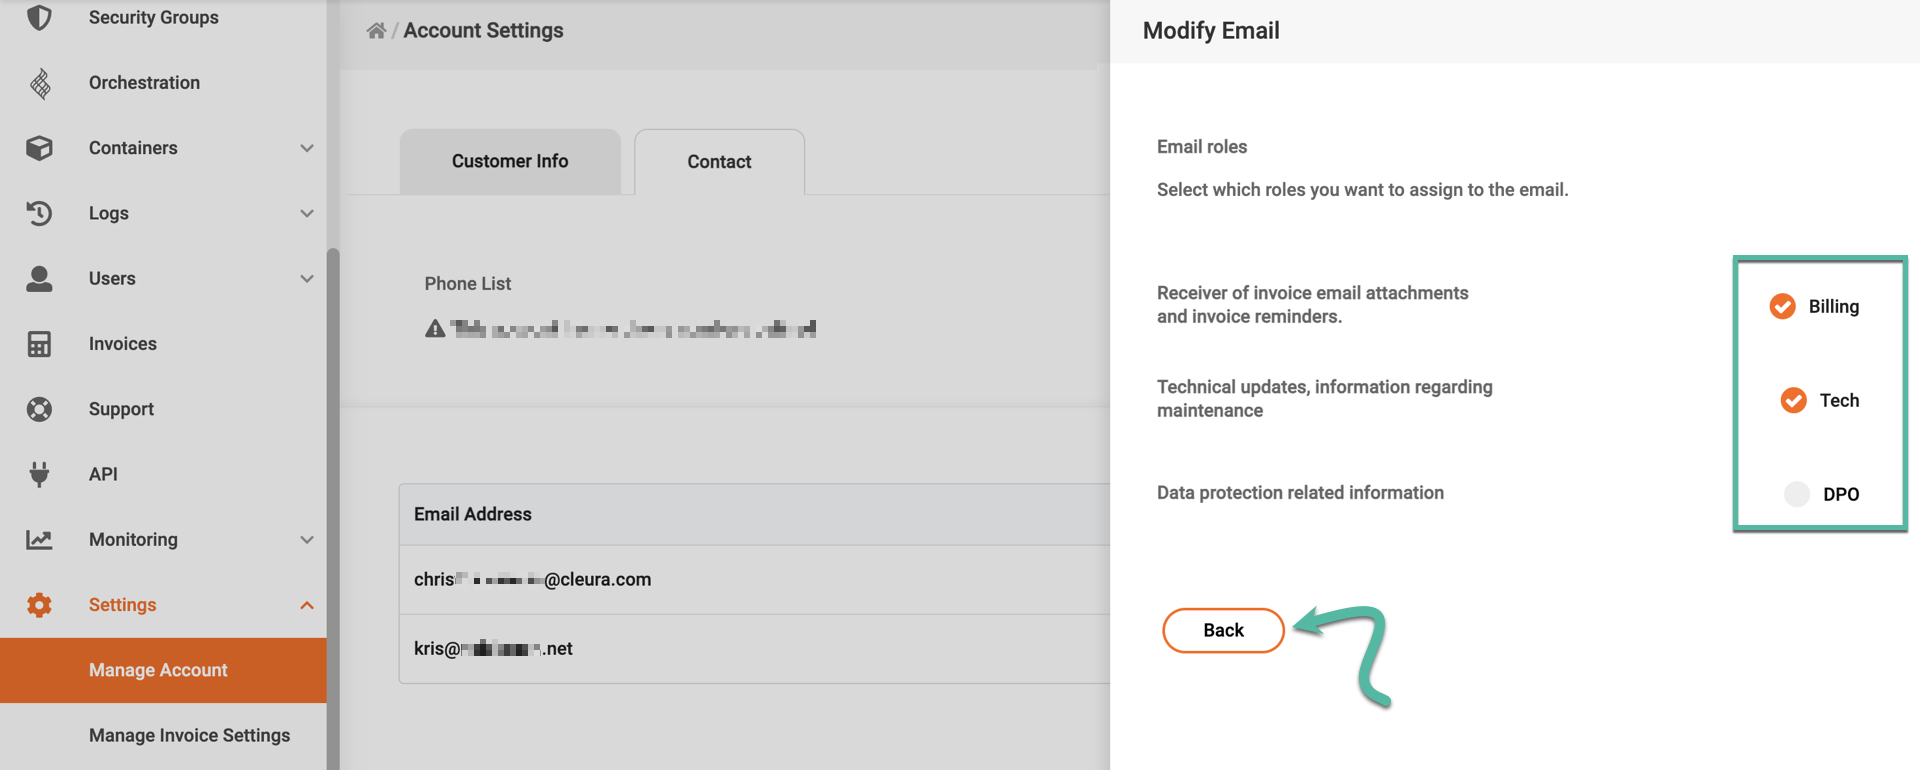
At this point, the roles associated with the email address have been changed:

Changing an account’s organization number
Please note that you cannot readily change your organization number (for business accounts) or your personal number (for individual accounts) in the Cleura Cloud Management Panel.
In case you do wish to change any of those, you will have to submit a Transfer Form via our Service Center.