Managing invoices
You may quickly review your invoices regarding the monthly usage of Cleura Cloud resources, selectively pay outstanding invoices, and save any number of them in PDF format.
Using your favorite web browser, navigate to the Cleura Cloud Management Panel start page and log into your Cleura Cloud account.
Listing invoices
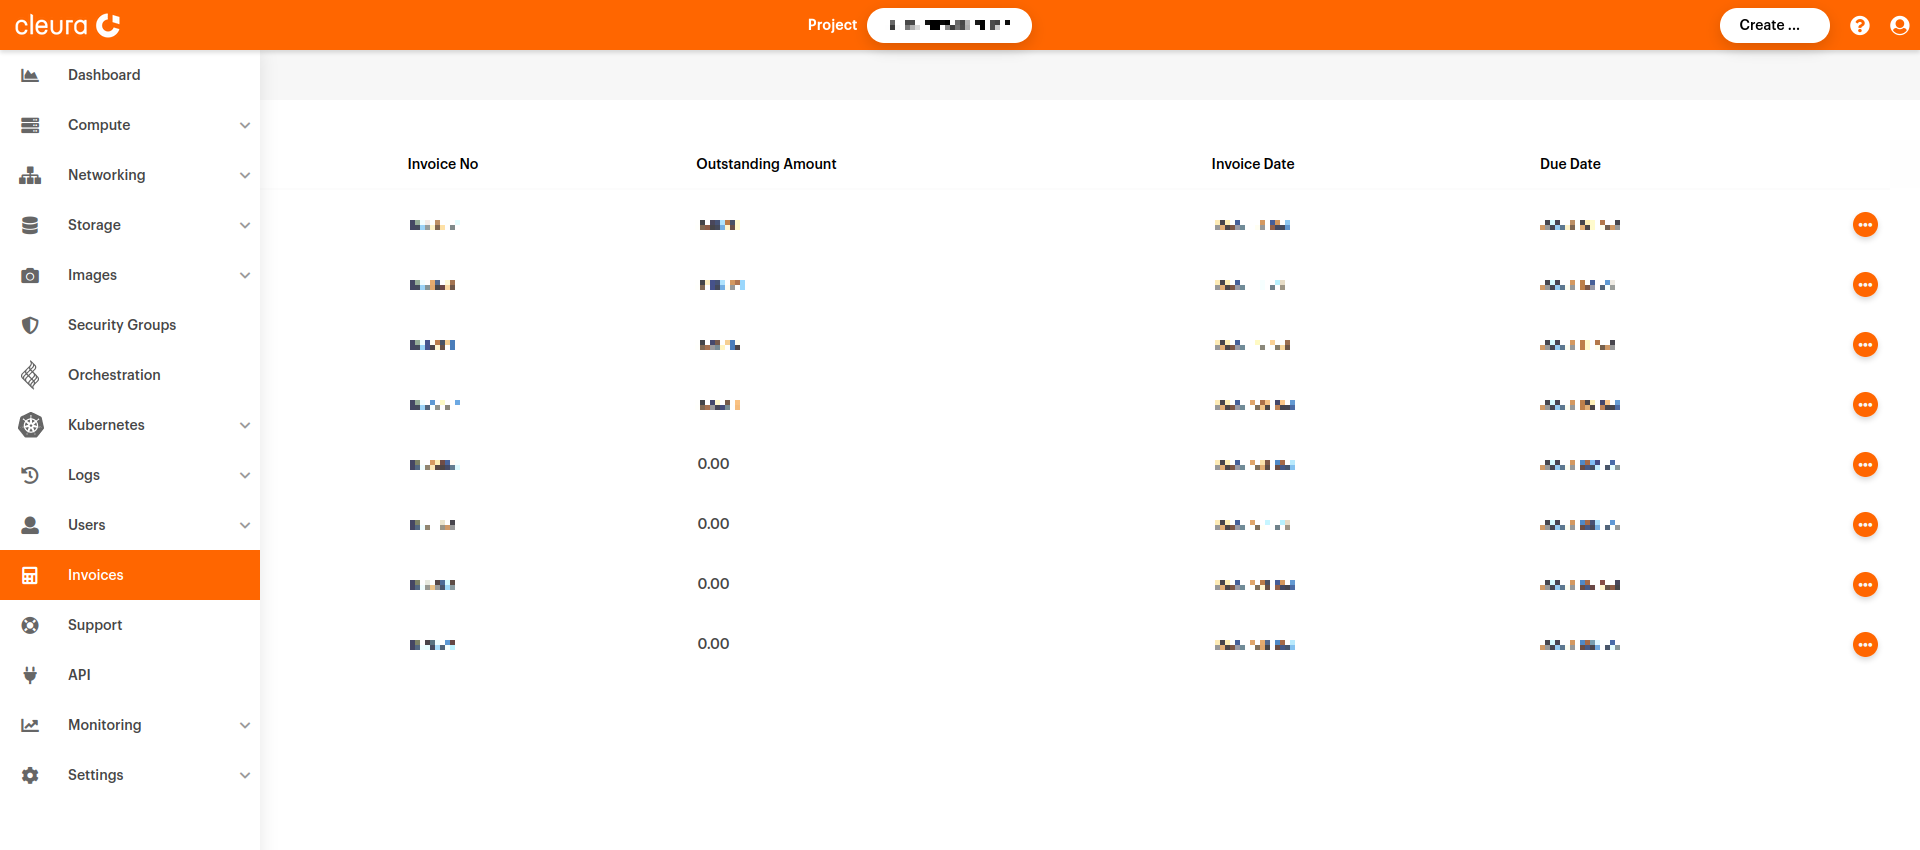
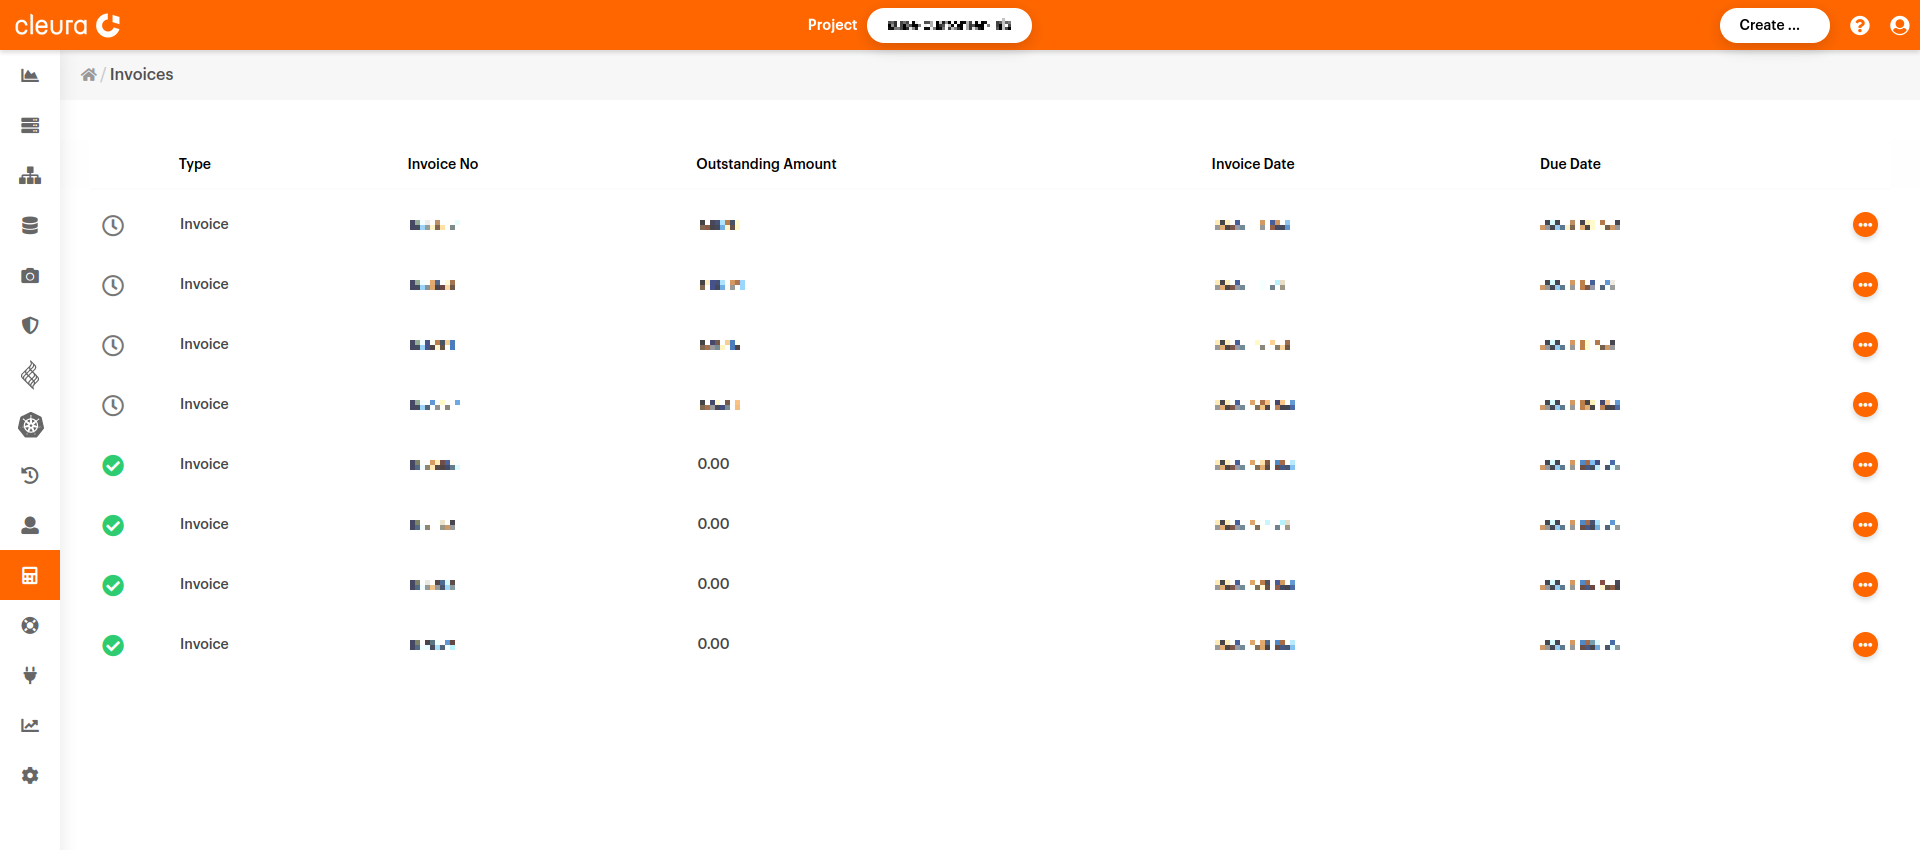
Make sure the vertical pane on the left-hand side of the dashboard is expanded. Click on Invoices, right below Users. In the main pane of the dashboard, you will see a list of paid and outstanding invoices.
Any paid invoice has a green icon at the left of its row.
At the Outstanding Amount column, for each paid invoice there is a value of 0.00.
Displaying invoice details
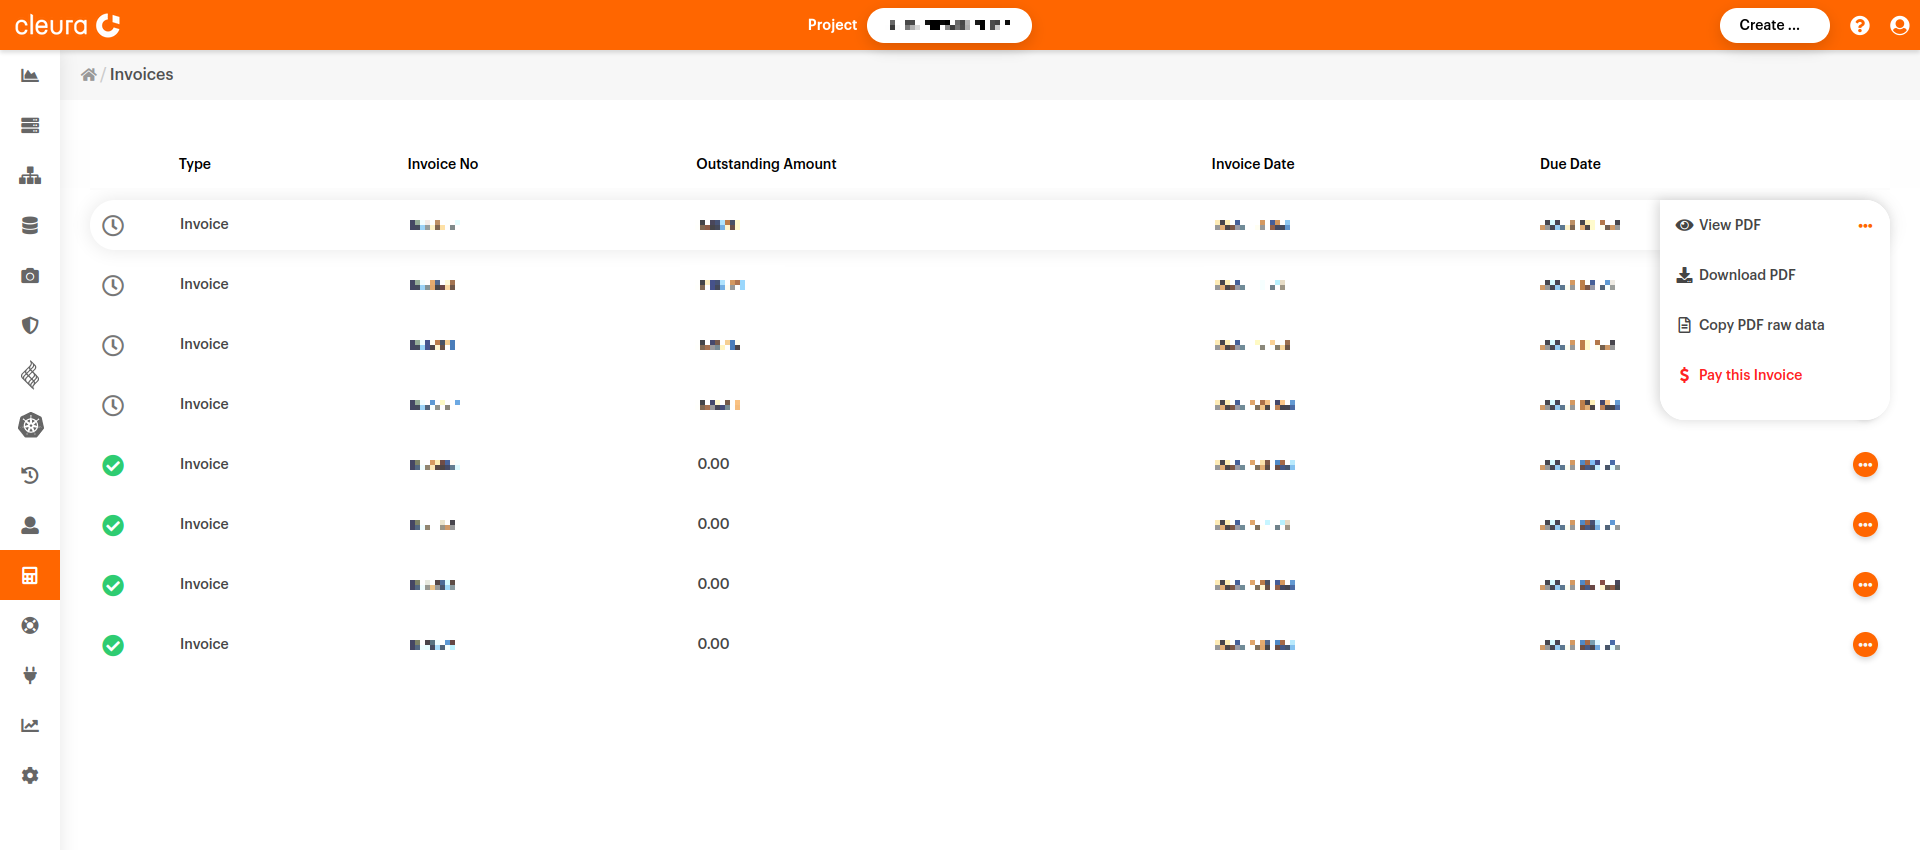
Notice the orange icon at the right of any invoice row. By clicking on it, you get a pop-up with specific options regarding the corresponding invoice. For example, you can view the invoice or download it onto your computer in PDF format.
Paying outstanding invoices
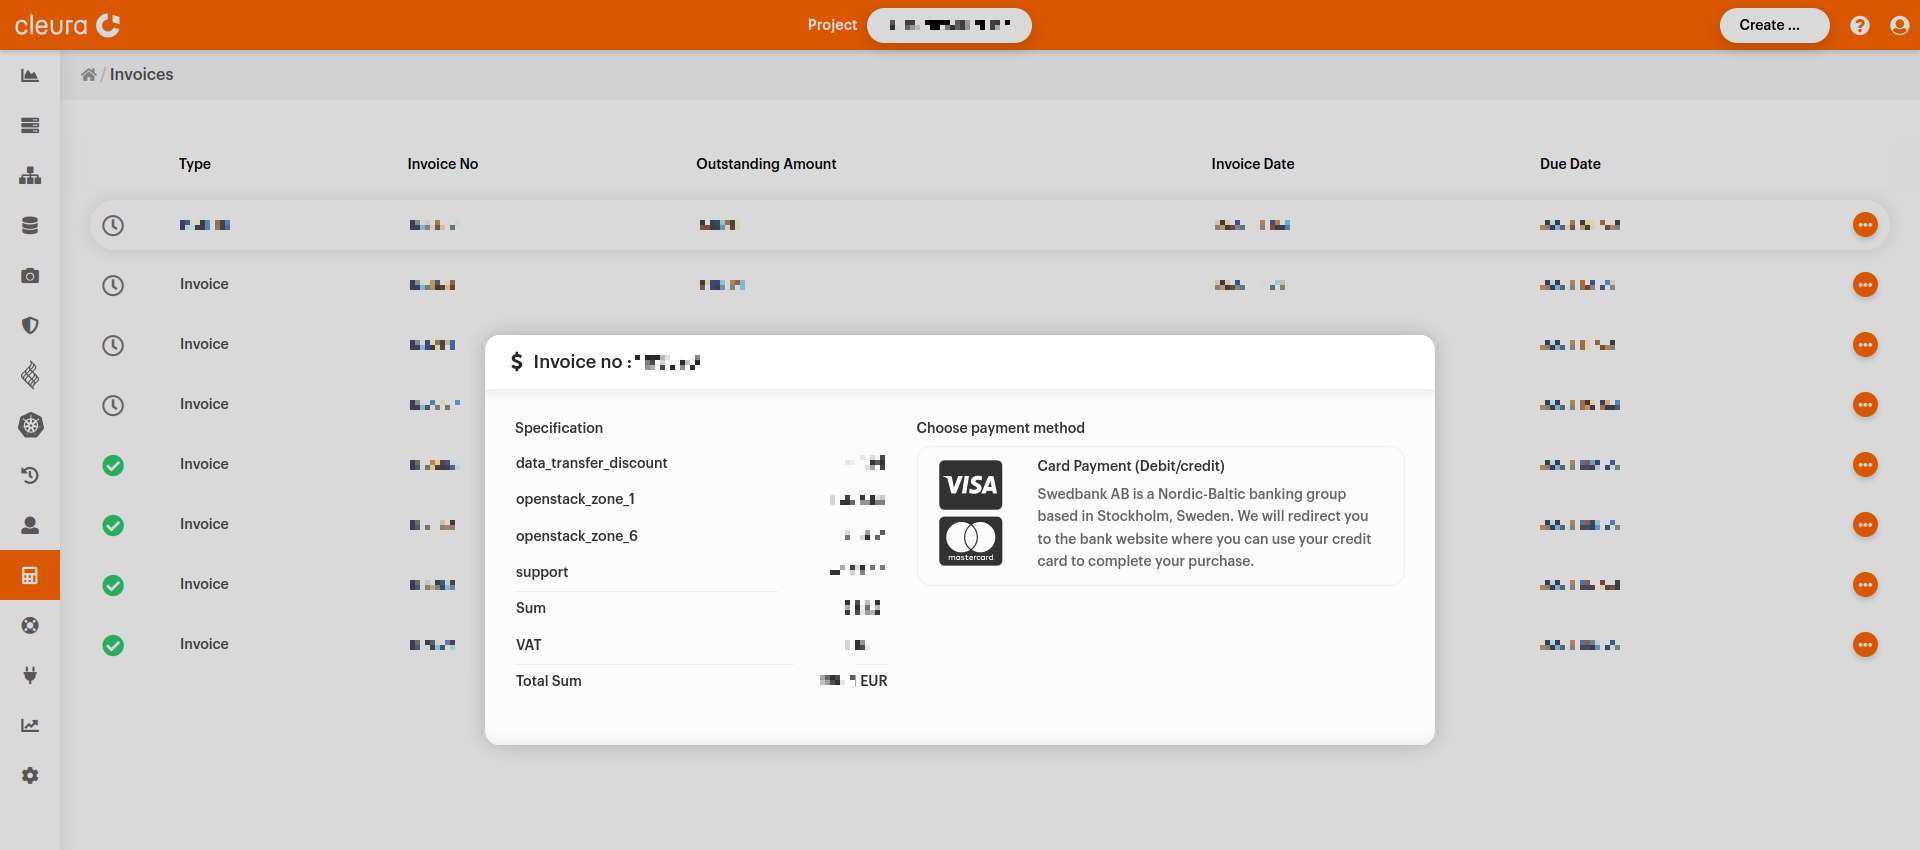
There is also the Pay this invoice option. Choose it for an outstanding invoice, and you will get a pop-up with a detailed rundown of the dues, together with available payment methods.
Activate automatic payments
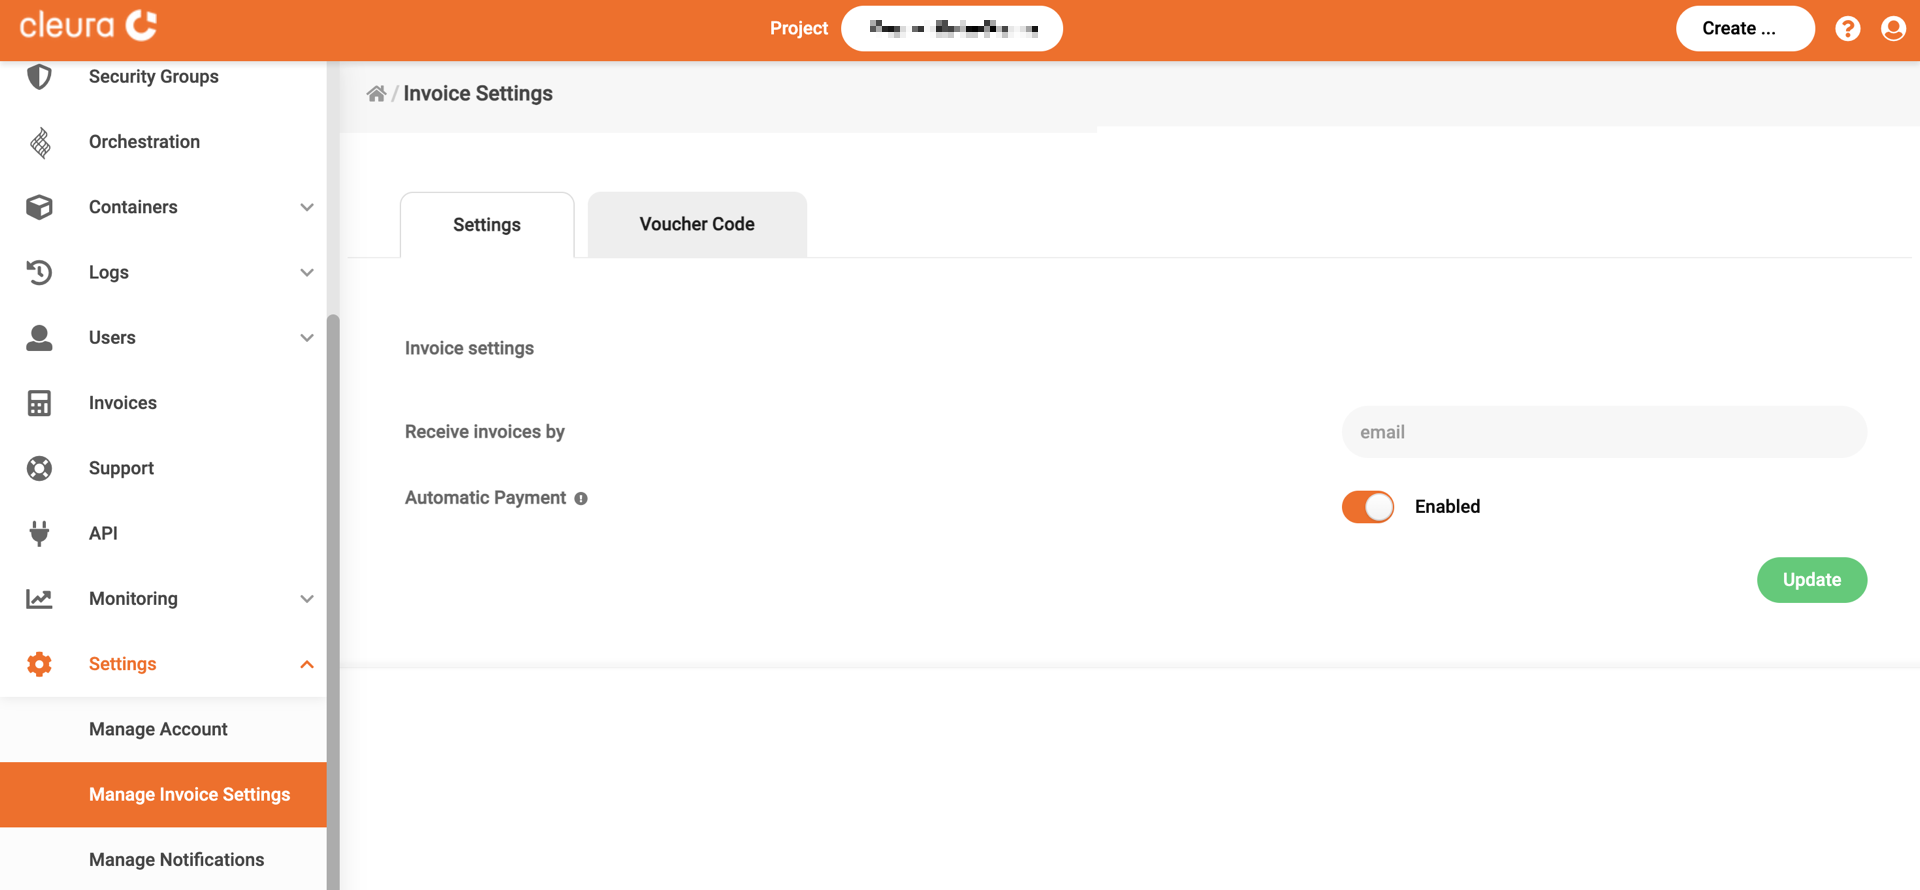
You may activate automatic payments for pending invoices.
From the left-hand side vertical pane, click on Settings and then on Manage Invoice Settings. In the central pane, make sure you are in the Settings tab. Use the radio button on the right of Automatic Payment to enable automatic payments, and then click the green Update button. If the automatic payments are already enabled, you may disable them by using the same radio button.
