Creating new servers
Once you have an account in Cleura Cloud, you can create virtual machines — henceforth simply servers — using either the Cleura Cloud Management Panel or the OpenStack CLI.
Prerequisites
You need to have at least one network in the region you are interested in. Additionally, if you prefer to work with the OpenStack CLI, then make sure to properly enable it first.
Creating a server
To create a server from the Cleura Cloud Management Panel, fire up your favorite web browser, navigate to the Cleura Cloud Management Panel start page, and log into your Cleura Cloud account. If you prefer to work with the OpenStack CLI, be sure to source the RC file first.
On the top right-hand side of the Cleura Cloud Management Panel, click the Create button. A new pane titled Create slides into view.
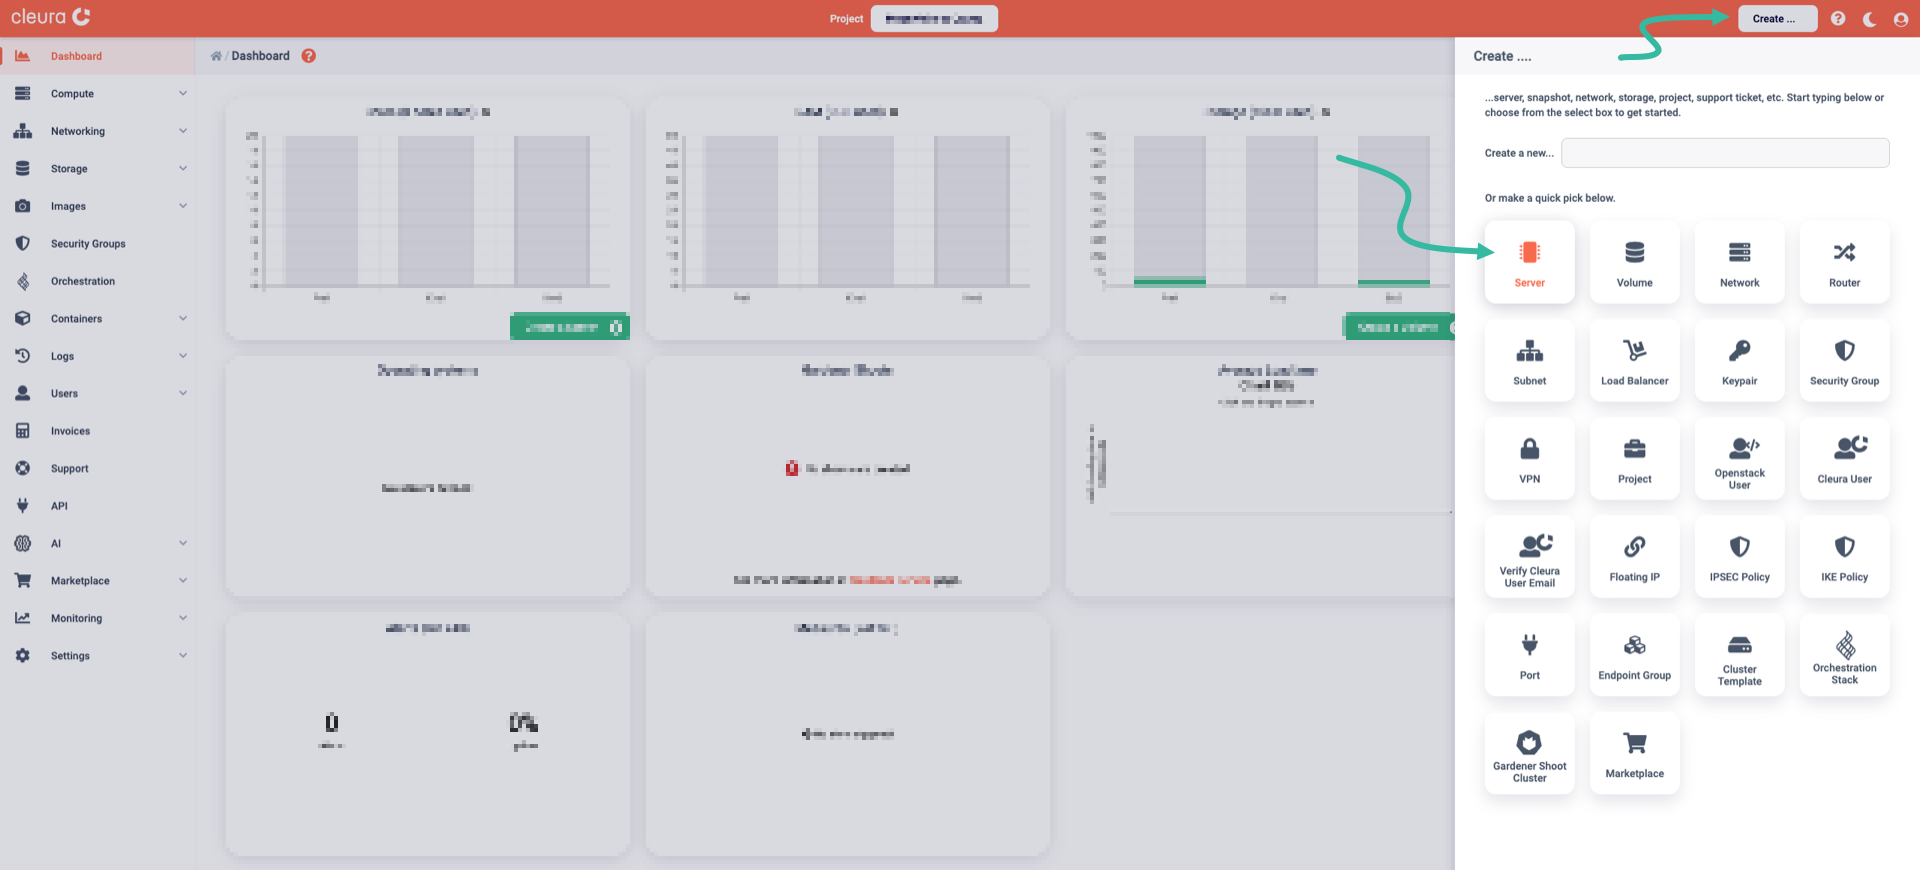
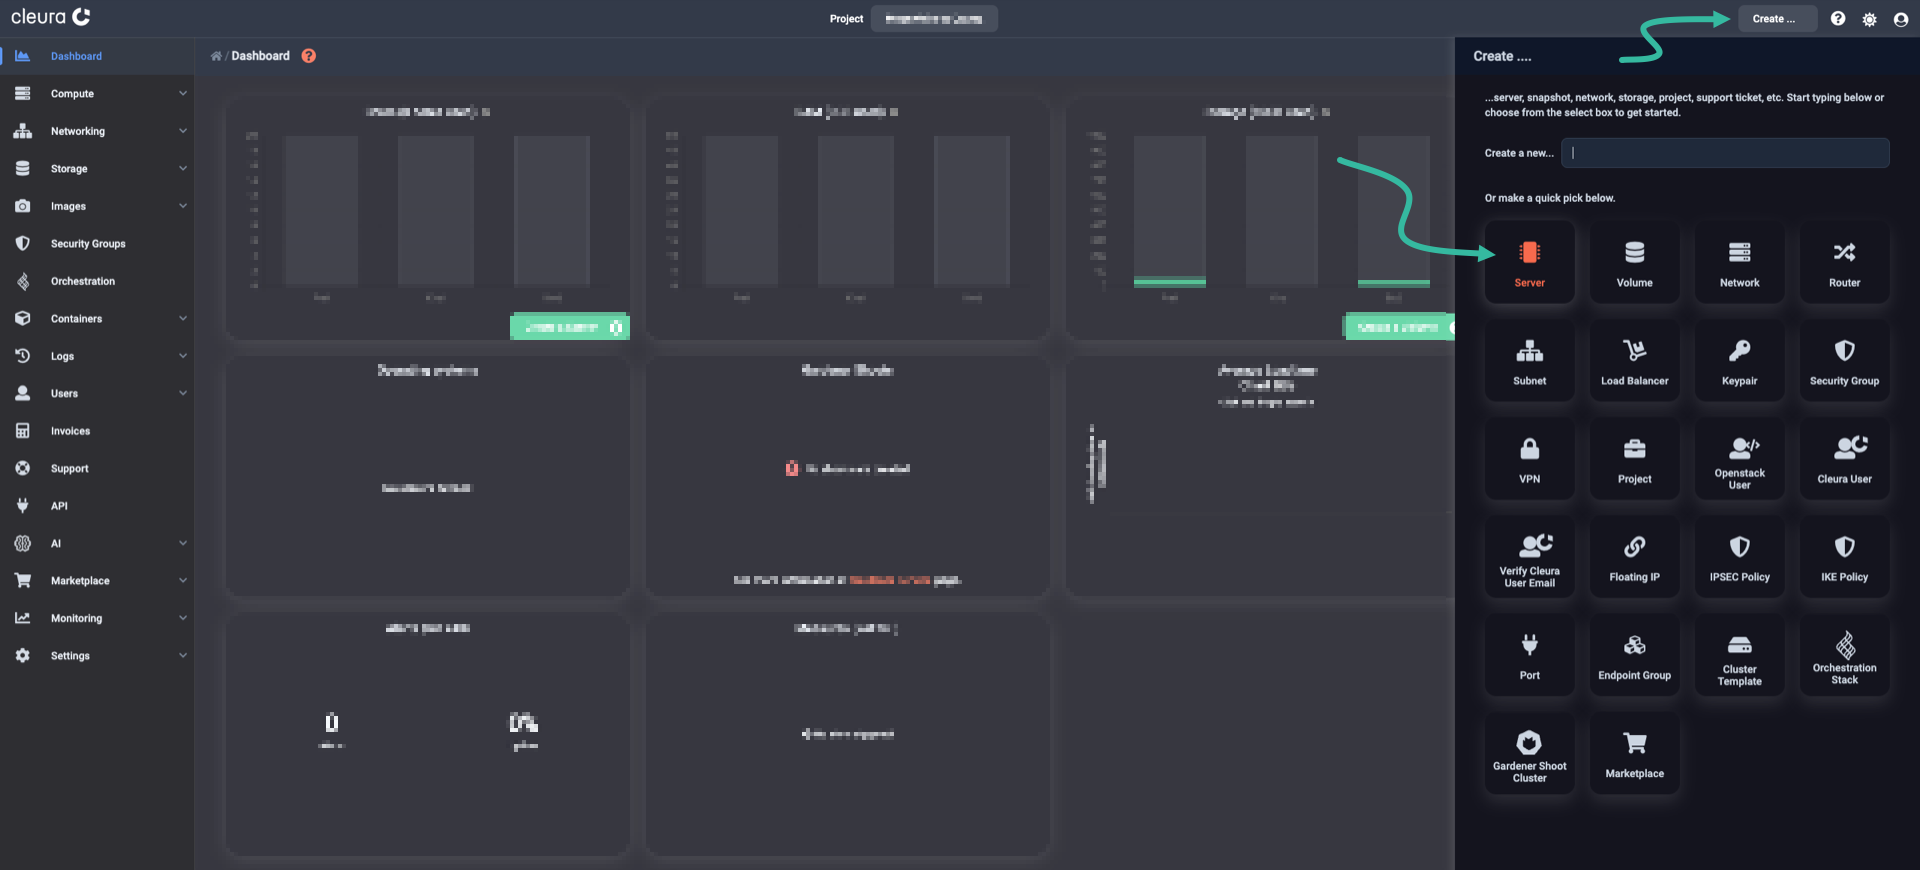
Notice all these rounded boxes on that pane, each for defining, configuring, and instantiating a different Cleura Cloud object. Go ahead and click the Server box.
Another pane, titled Create a Server, slides over. At the top, enter a name for the new server and select an available region.


Set the Connect to parameter to Network. Select at least one available network to attach the new server to.
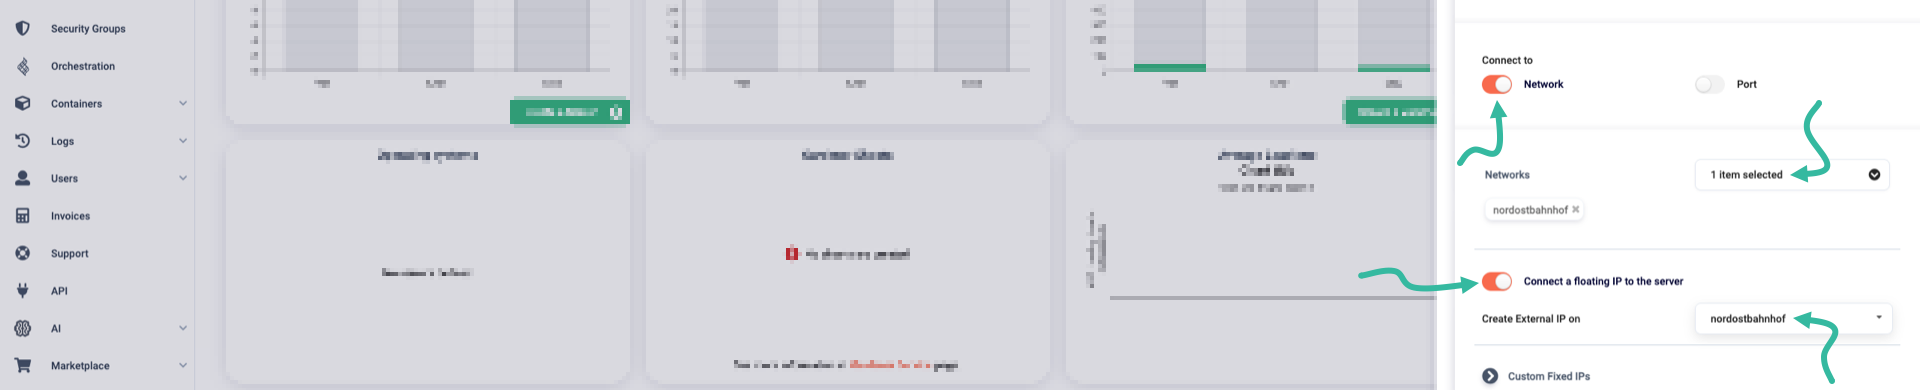
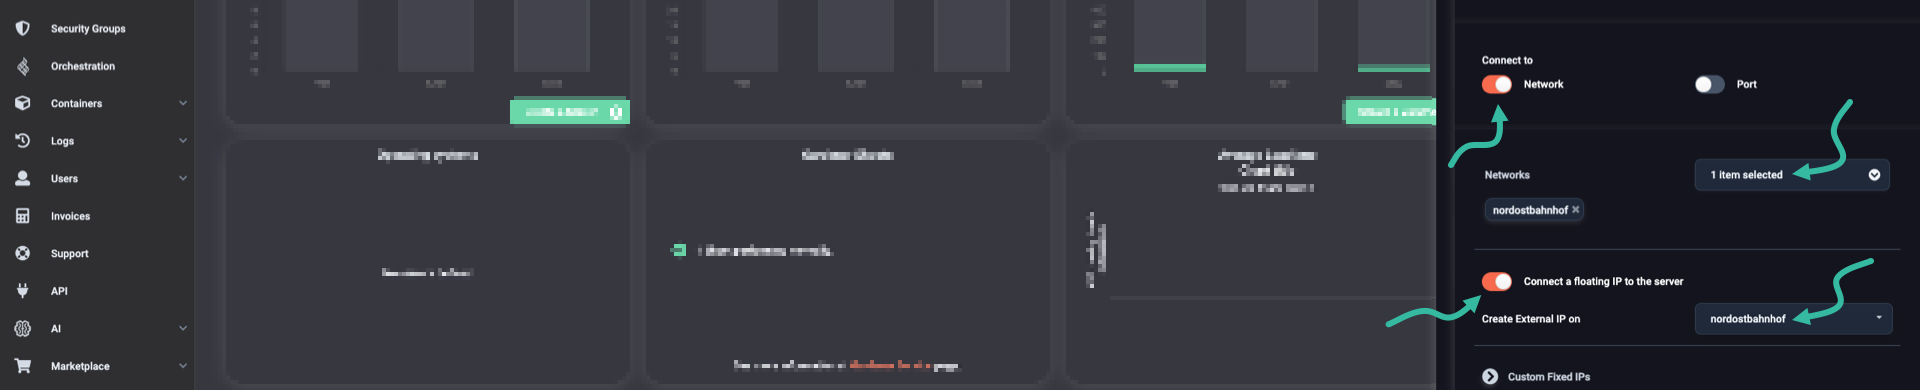
If that network is dual-stack or has one IPv4-based subnet, you may want the server to be publicly accessible via an IPv4 address. In that case, make sure to activate the Connect a floating IP to the server switch. Then, use the dropdown menu below to set the Create External IP on parameter to the network you have already attached the server to.
Now, pay attention to the Server profile parameter.


From the corresponding dropdown menu, you must select a profile. Currently, the following profiles are available:
- Generic,
- High CPU, and
- Low Latency Disk.
Selecting one of those gives you access to a subset of all available flavors.
As the profile names suggest, each profile but the Generic points to a subset of flavors suitable for servers intended to run specific types of applications:
- the Generic profile is for general-purpose cloud servers,
- the High CPU profile is for servers designed to host CPU-intensive applications, and
- the Low Latency Disk profile is for servers created with a local low-latency disk.
Some profiles may not be available in all regions. For now, choose the Generic profile, which is available in any region.
In the Boot source section below, click the dropdown menu on the left and make sure you select Image, so you can choose one of the readily available OS images to boot the new server from.


To pick a specific image, click on the dropdown menu on the right. In this example, we have chosen ubuntu in general and Ubuntu 24.04 Noble Numbat x86_64 in particular.
Next, notice that the Boot Target is preselected for you. Depending on the server profile you have already selected, the boot target will be either Volume or Ephemeral. Specifically:
- for the Generic and High CPU profiles, the boot target is Volume, and
- for the Low Latency Disk profile, the boot target is Ephemeral.


For the server’s CPU core count and memory, set the Flavor accordingly. We suggest selecting a flavor that specifies 1 CPU core and 1 GiB of RAM.
Note that the estimated monthly cost changes depending on the chosen flavor. (While a server is shut off, you are still getting charged for it, but less so.) At any time, this estimated cost is displayed in the rectangular area at the top.
Another factor affecting cost is the size of the root device. Take a look at the Volume parameter below, and notice the default (in gibibytes). You may leave the root device size unchanged or increase it slightly above the default.
Later, when you decide to delete the server, you can do so but keep its boot volume (for example, you may want to attach that volume to a new server). Disable the Delete on termination option if you want this kind of flexibility. On the other hand, if you want your root volume to be automatically deleted when the server is deleted, the Delete on termination option is already enabled for you. In any case, use this option with caution.


Also, notice the Storage classes (types) parameter, which actually deals with volume types. By default, this parameter is set to cbs.
Next, you may choose to leave the Recovery service option enabled. If you do, daily server snapshots will be created, and you will have the option for easy, fast roll-ups to previous snapshots.
Take note of the Retention Days parameter, which by default is set to 10 days; that means that each snapshot will be kept for 10 days, and only then deleted automatically.
You can also enable the Immutable switch. If you do, you will not be able to manually delete snapshots before the retention period ends. You also won’t be able to delete the server volume until all immutable snapshots are deleted.
Please be aware that enabling the recovery service increases the server’s estimated monthly cost (again, it is displayed in the rectangular area at the top).


To control network access to the server, use the dropdown menu to the right of Security Groups and choose one.


If you already have one or more keypairs in your Cleura Cloud account, you can now select a public key to be included in the ~/.ssh/authorized_keys file of the server’s default user.
(For the image you have selected, that would be the ubuntu user.)
That way, you can securely log in remotely via SSH without typing a password.


In case there are no keypairs to choose from, activate the Set password option and set a password for the default user account (ubuntu).


A configuration script is automatically prepared based on the choices you have already made. That script runs during boot and performs housekeeping tasks like creating user accounts, enabling acceptable authentication methods, and configuring remote package repositories. Click on Advanced Options to see the default script. You can also optionally enable the Upgrade packages option, so it applies any available package upgrades during system boot.
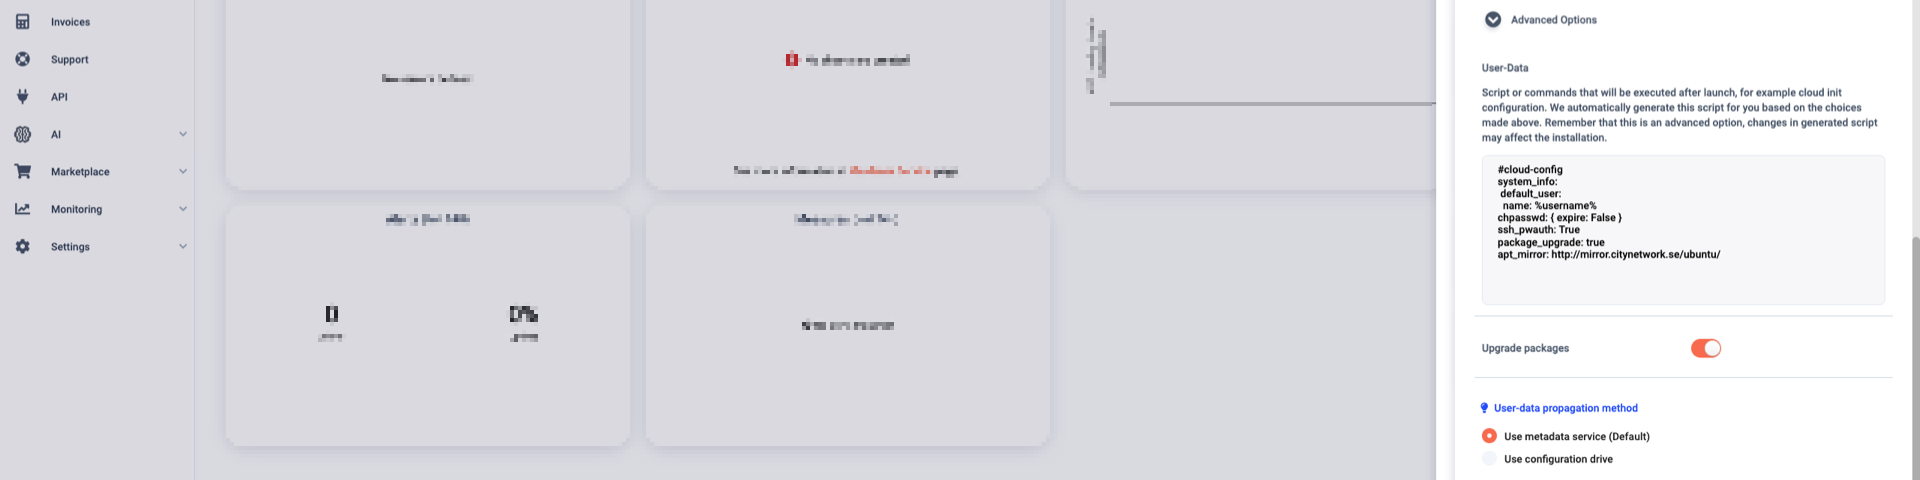
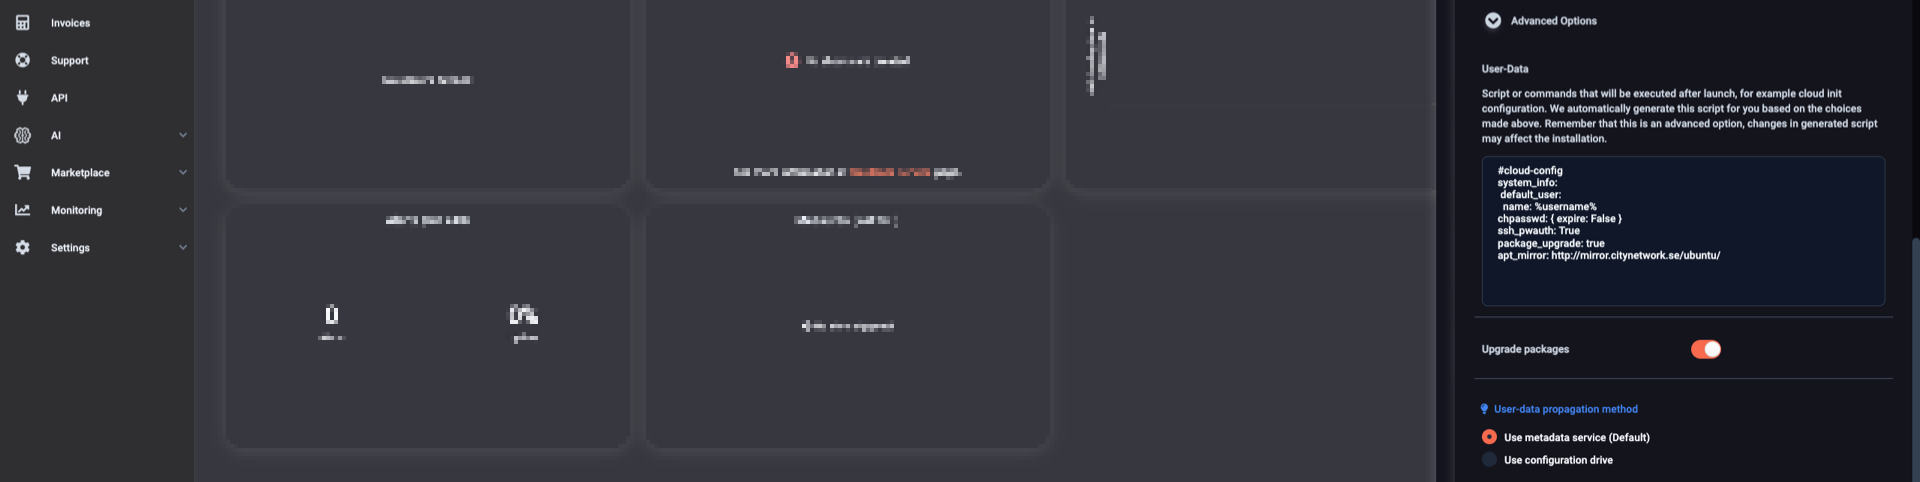
Regarding the User-data propagation method above, notice that the Use metadata service is pre-selected for you. For more on what this is and why you might want to select the Use configuration drive method, please read our guide on launching a server with a configuration drive.
It is now time to create your Cleura Cloud server. Click the Create button, and the new server will be readily available in a few seconds.


An openstack command for creating a server may look like this:
openstack server create \
    --flavor $FLAVOR_NAME \
    --image $IMAGE_NAME \
    --boot-from-volume $VOL_SIZE \
    --network $NETWORK_NAME \
    --security-group $SEC_GROUP_NAME \
    --key-name $KEY_NAME \
    --wait \
    $SERVER_NAME
Each variable represents a piece of information we have to look for or, in the cases of KEY_NAME and SERVER_NAME, arbitrarily define.
Let us begin with the flavors (FLAVOR_NAME), which describe combinations of CPU core count and memory size.
Each server has a distinct flavor, and to see all available flavors, type:
openstack flavor list
You will get a pretty long list of flavors.
For our demonstration, we suggest you go with b.1c1gb.
A server with this particular flavor will have one CPU core and one gibibyte of RAM.
Go ahead and set FLAVOR_NAME accordingly:
FLAVOR_NAME="b.1c1gb"
Your server should have an image to boot from (IMAGE_NAME).
For a list of all available images in Cleura Cloud, type:
openstack image list
This time, you get a shorter list, but you can still filter for images with the OS you prefer. For example, filter for Ubuntu:
openstack image list --tag "os:ubuntu"
Continue with the Ubuntu 24.04 Noble Numbat x86_64 image:
IMAGE_NAME="Ubuntu 24.04 Noble Numbat x86_64"
Before you go on, decide on the capacity (in gibibytes) of the server’s boot volume (VOL_SIZE).
We suggest you start with 10 gibibytes:
VOL_SIZE="10"
You need at least one network in the region where you’re creating your new server (NETWORK_NAME).
To get the names of all available (internal) networks, type:
$ openstack network list --internal -c Name

+----------------+
| Name           |
+----------------+
| nordostbahnhof |
+----------------+
Set the NETWORK_NAME variable accordingly:
NETWORK_NAME="nordostbahnhof"
Regarding the security group (SEC_GROUP_NAME), unless you have already created one yourself, you will find only one per region:
$ openstack security group list -c Name -c Description

+---------+------------------------+
| Name    | Description            |
+---------+------------------------+
| default | Default security group |
+---------+------------------------+
Go ahead and set SEC_GROUP_NAME:
SEC_GROUP_NAME="default"
You’ll most likely want a server you can connect to remotely via SSH without typing a password.
Suppose you have a keypair, named bahnhof:
KEY_NAME="bahnhof"
You are almost ready to create your new server. Decide on a name…
SERVER_NAME="zug" # just an example
…and then go ahead and create it:
openstack server create \
    --flavor b.1c1gb \
    --image $IMAGE_NAME \
    --boot-from-volume 20 \
    --network nordostbahnhof \
    --security-group default \
    --key-name bahnhof \
    --wait \
    zug
(For clarity’s sake, and with the exception of $IMAGE_NAME, we used the actual values and not the variables we so meticulously set.)
The --wait parameter is optional.
When you use it, you get back control of your terminal only after the server is ready.
The network your server is attached to might be dual-stack, or it might have an IPv4-based subnet. If so, and you also want the server to be reachable via a public IPv4 address, create a floating IP and assign it to your server. First, create the floating IP:
openstack floating ip create ext-net
See all floating IPs…
openstack floating ip list
…and assign the one you just created to your server:
openstack server add floating ip zug 198.51.100.12
The username of the default user account in the Ubuntu image is ubuntu, so now you can connect to your remote server via SSH without typing a password:
ssh ubuntu@198.51.100.12
Alternatively, you may also use the following command, which is more flexible though slightly longer:
openstack server ssh --public zug -- -l ubuntu
Viewing information about the newly created server
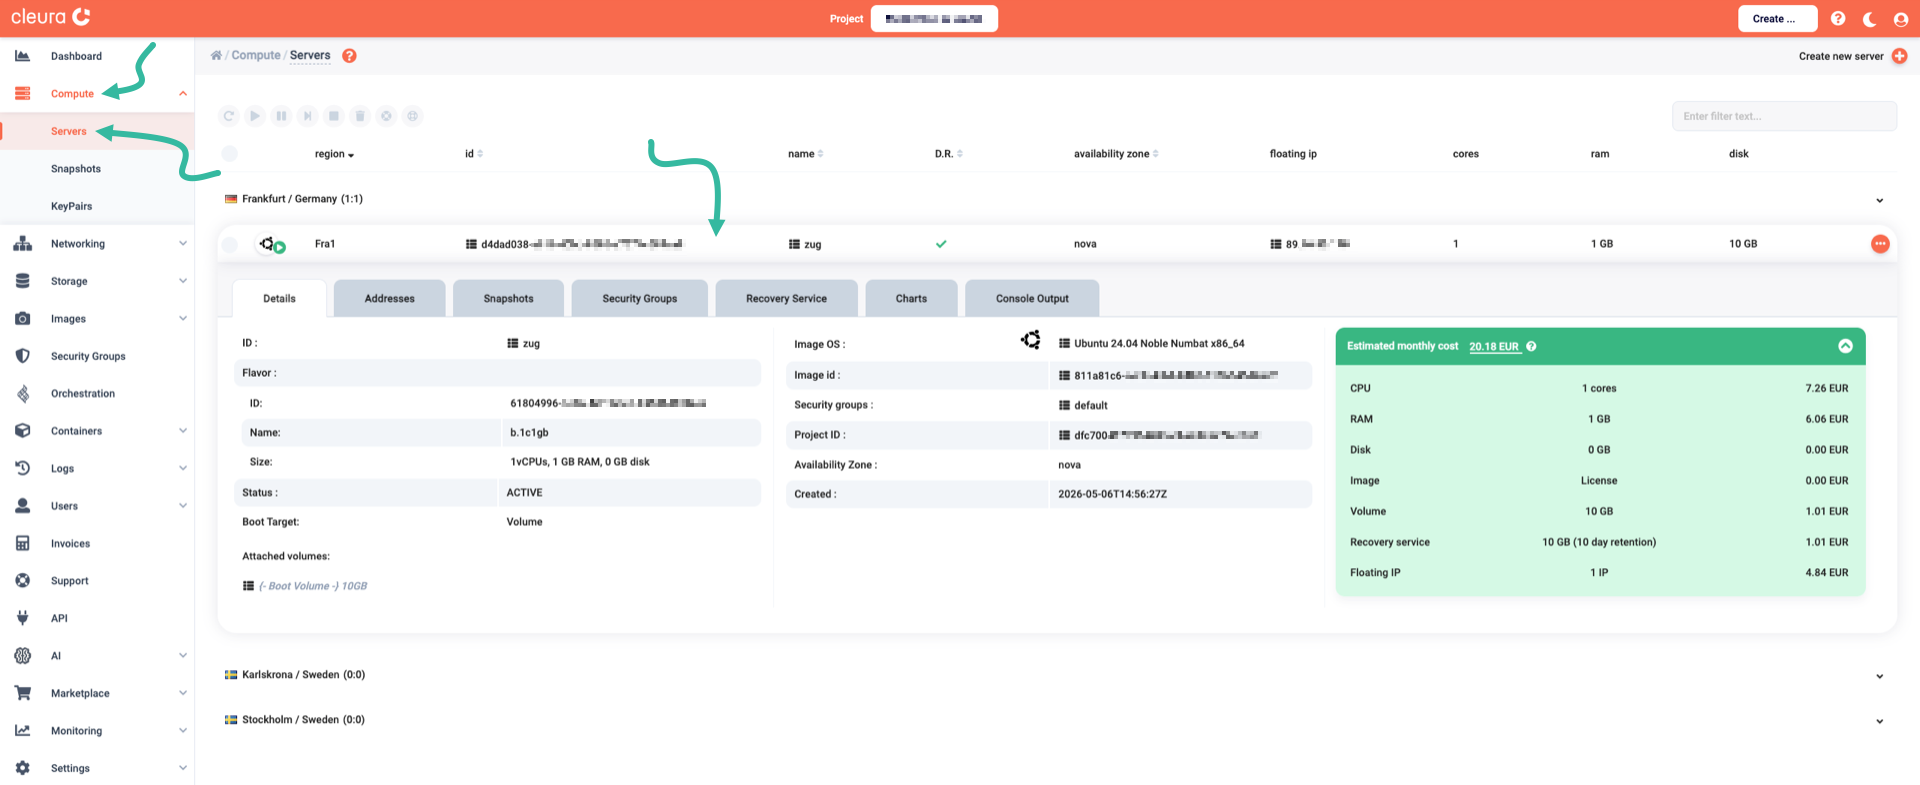
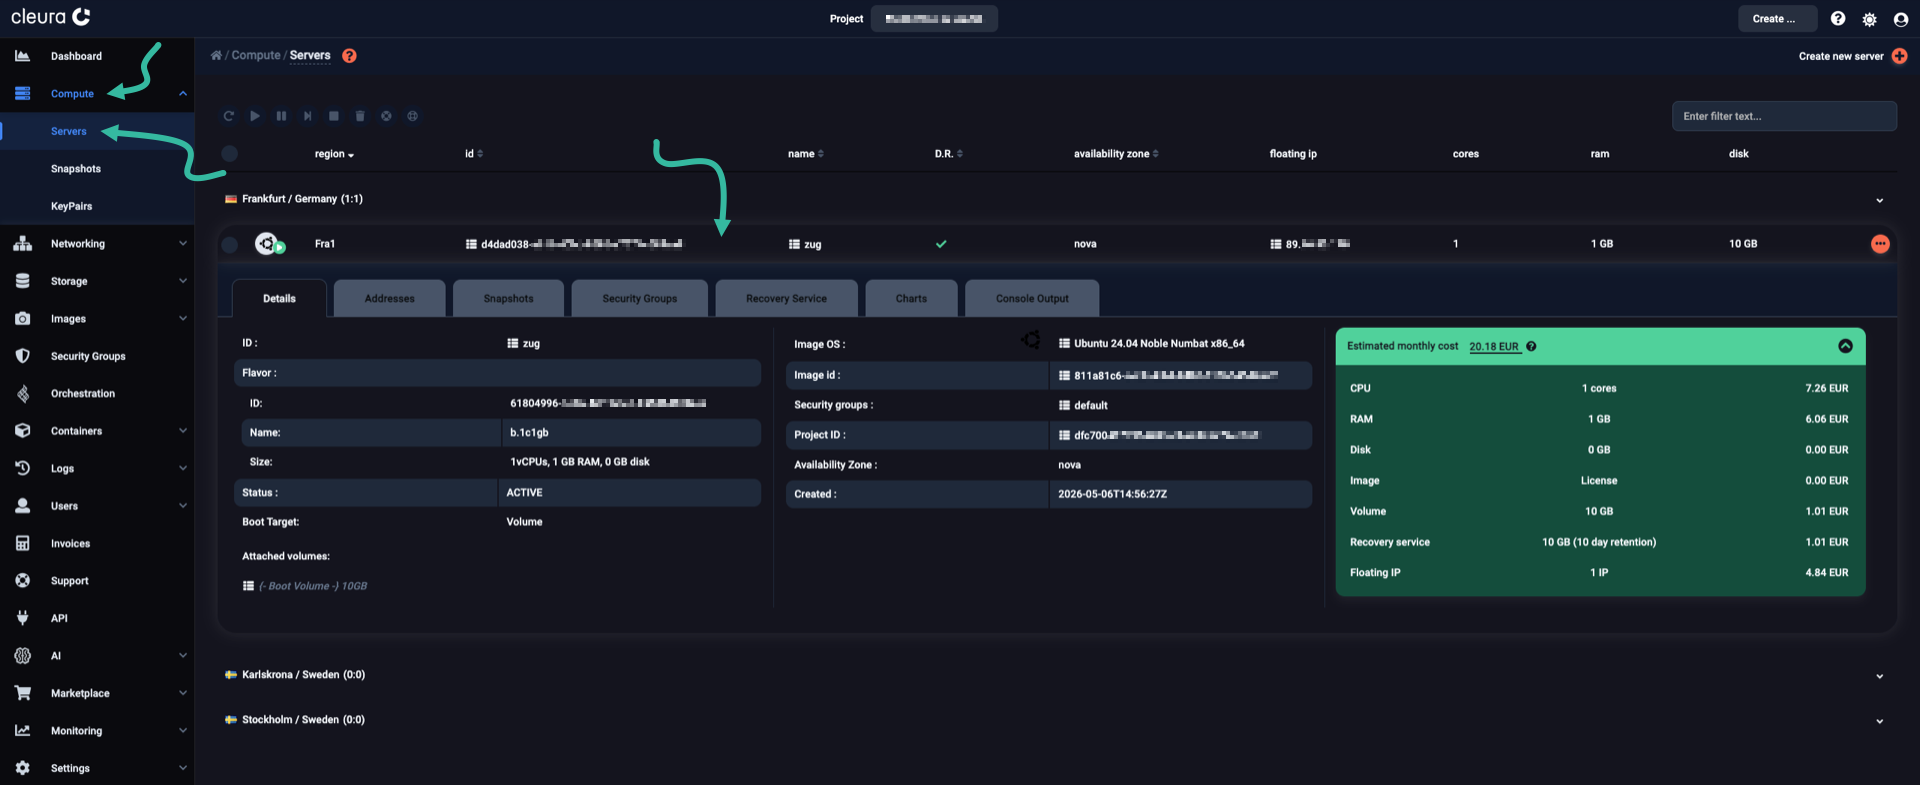
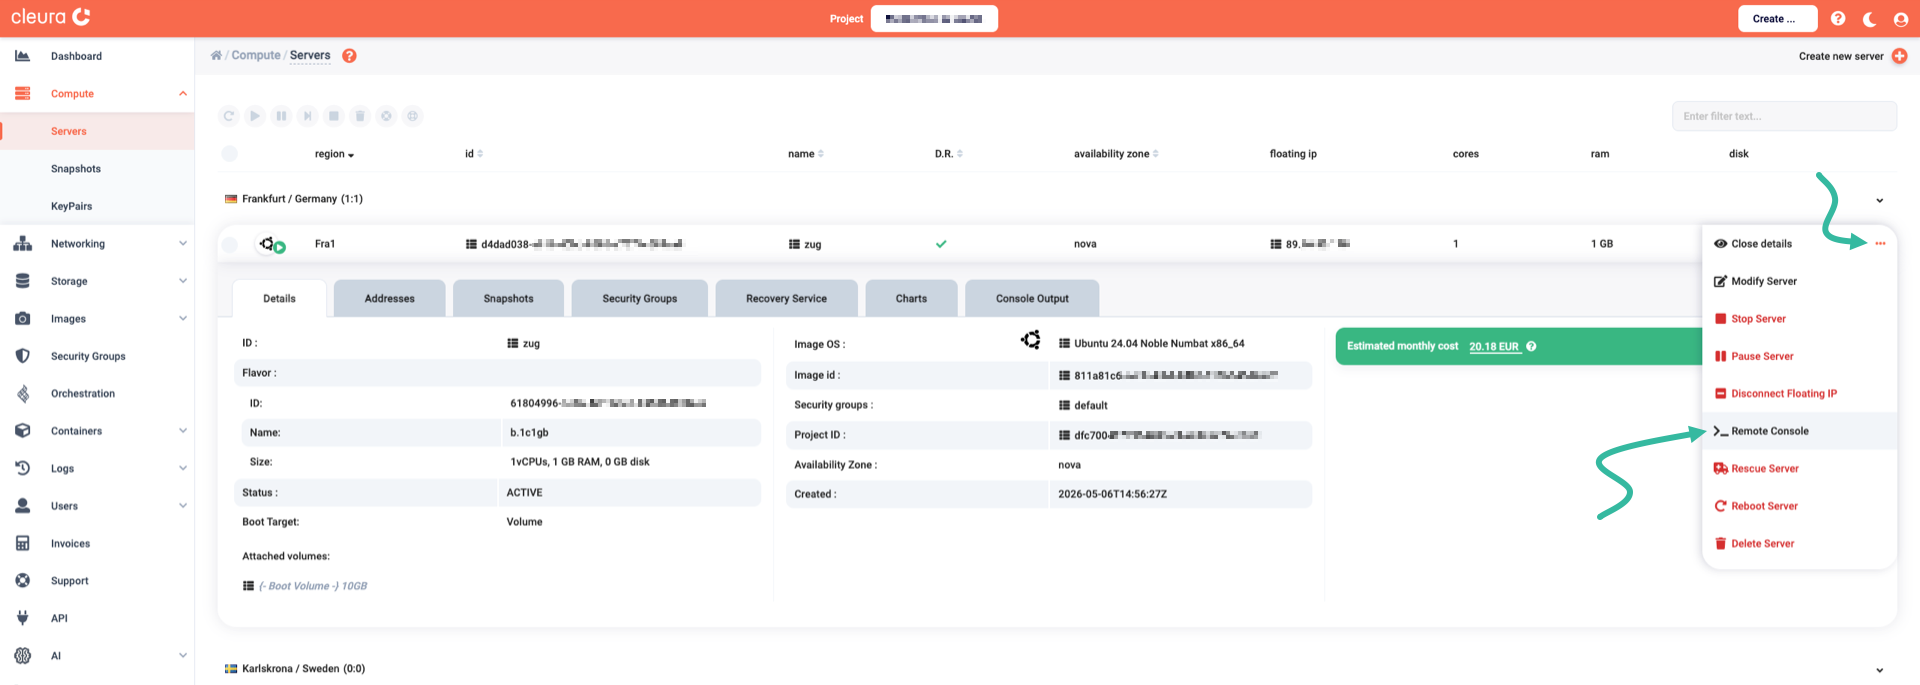
At any time, you can view all servers and see detailed information for each one. Expand the left-hand side vertical pane, click Compute, then Servers, and, in the central pane, select the region and the server you want.
To see all available servers in the region, type:
openstack server list
You can always get specific information on a particular server:
openstack server show zug
Connecting to the server console
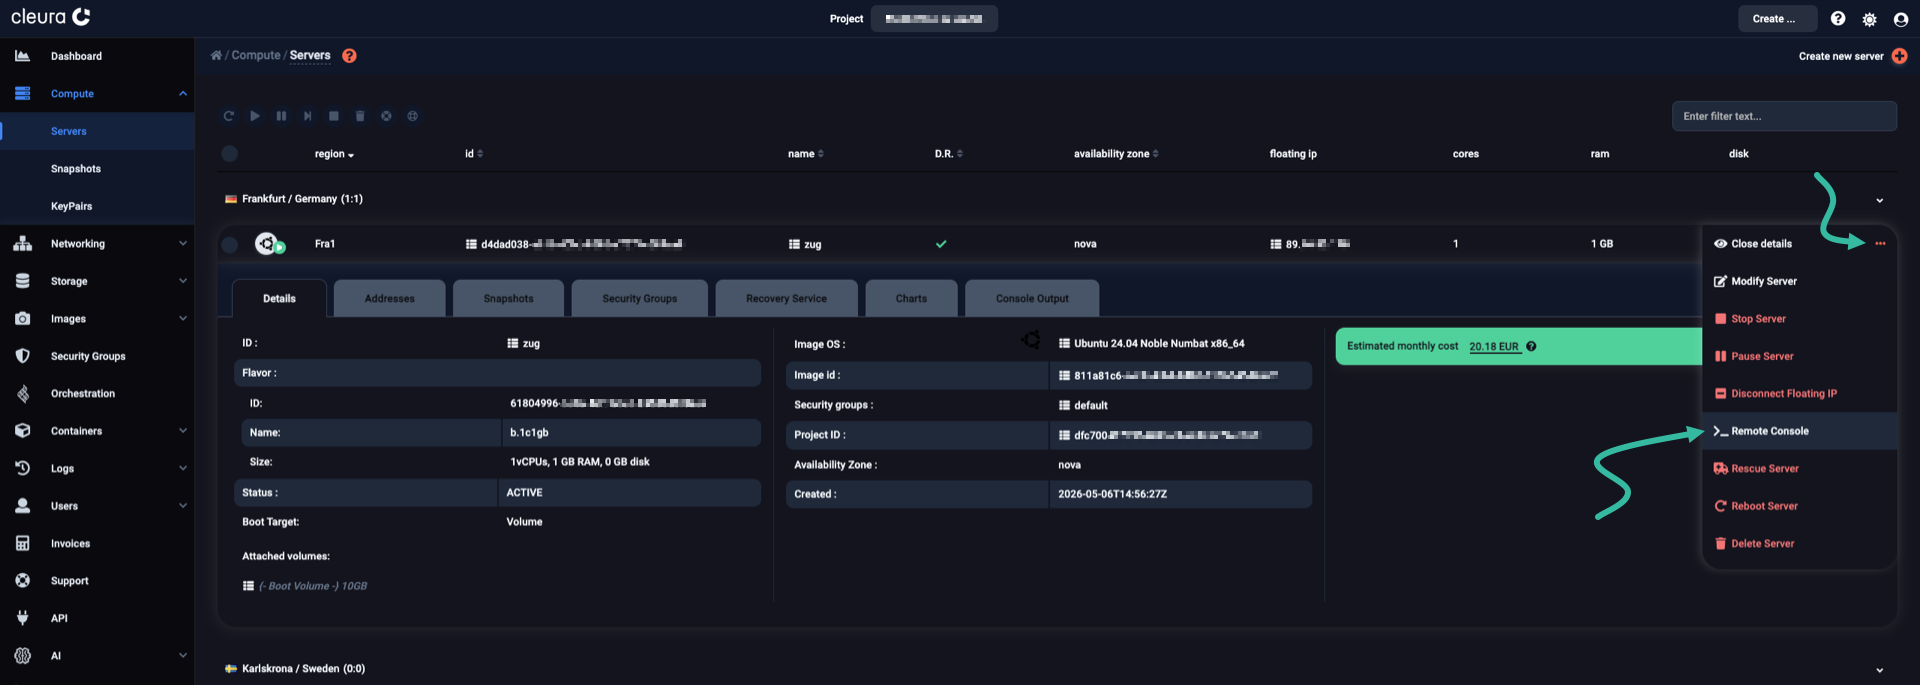
While viewing your server’s information, you can find its IPv6 or public IPv4 address (e.g., in the Addresses tab) and connect remotely via SSH. Alternatively, you may launch a web console and log in. Click the icon on the right of the server row, and from the pop-up menu that appears, select Remote Console.
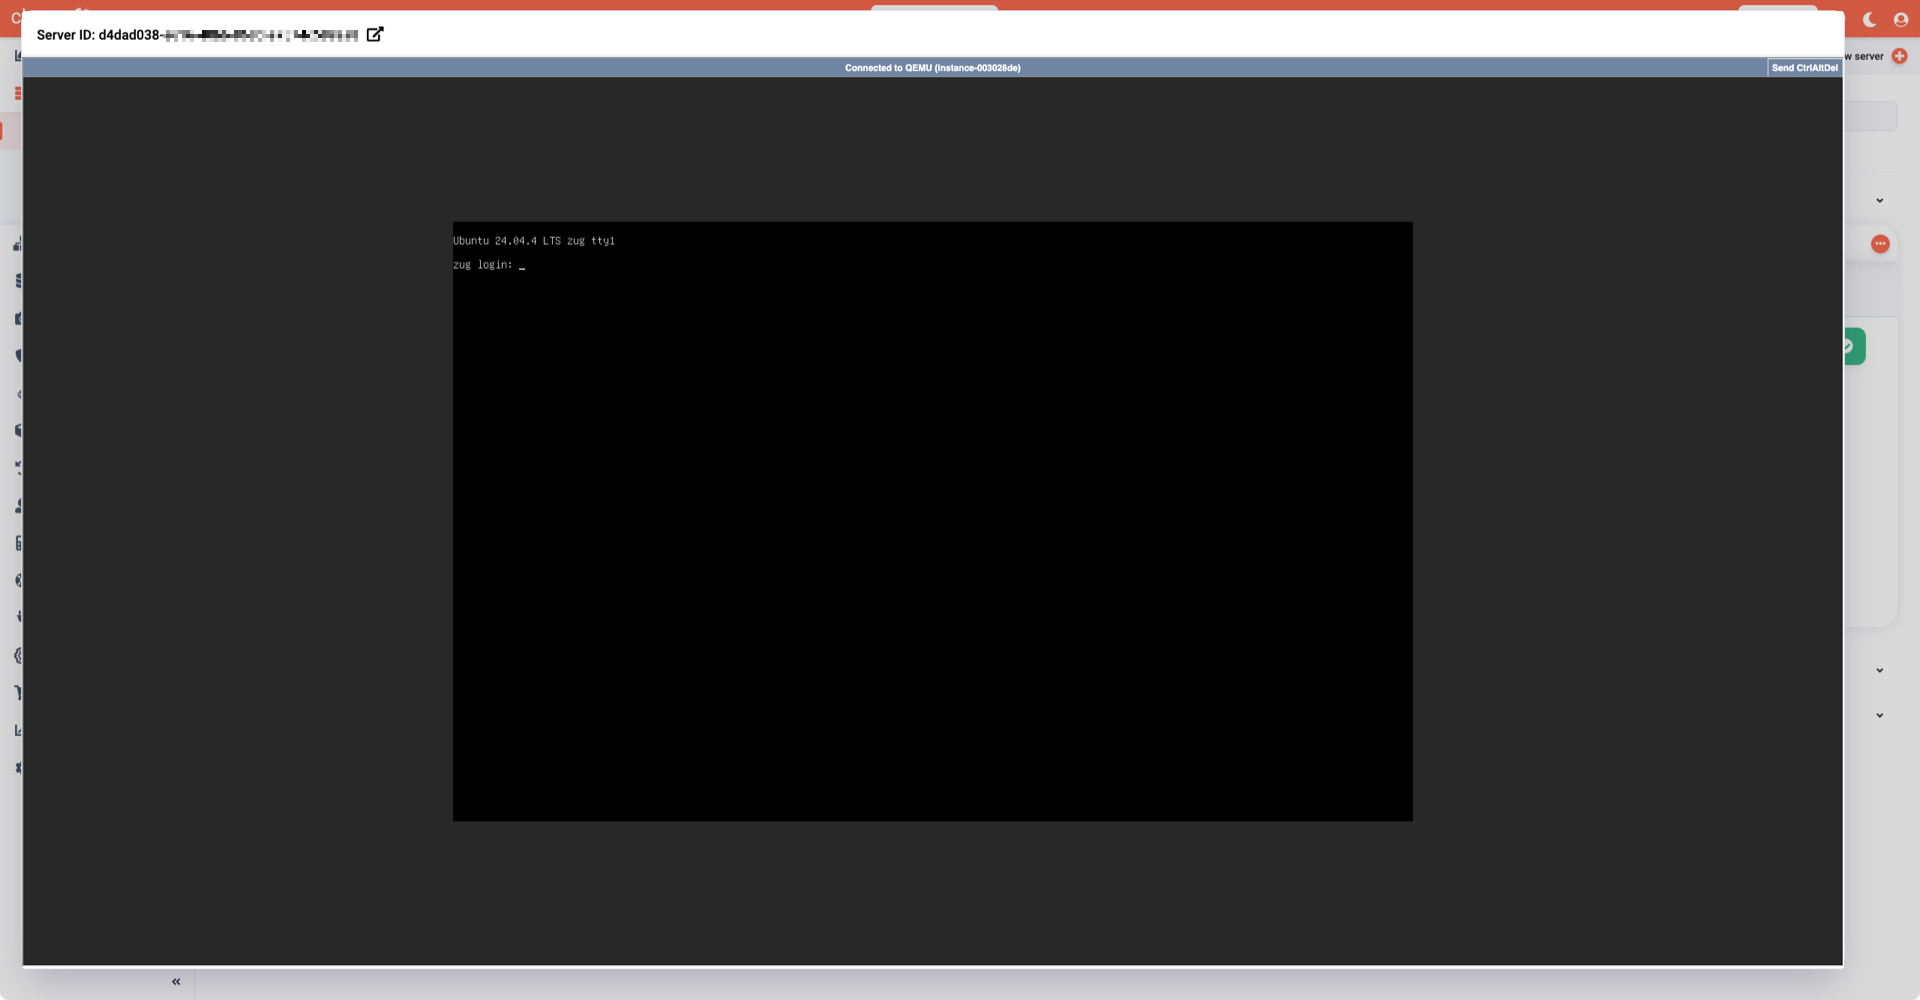
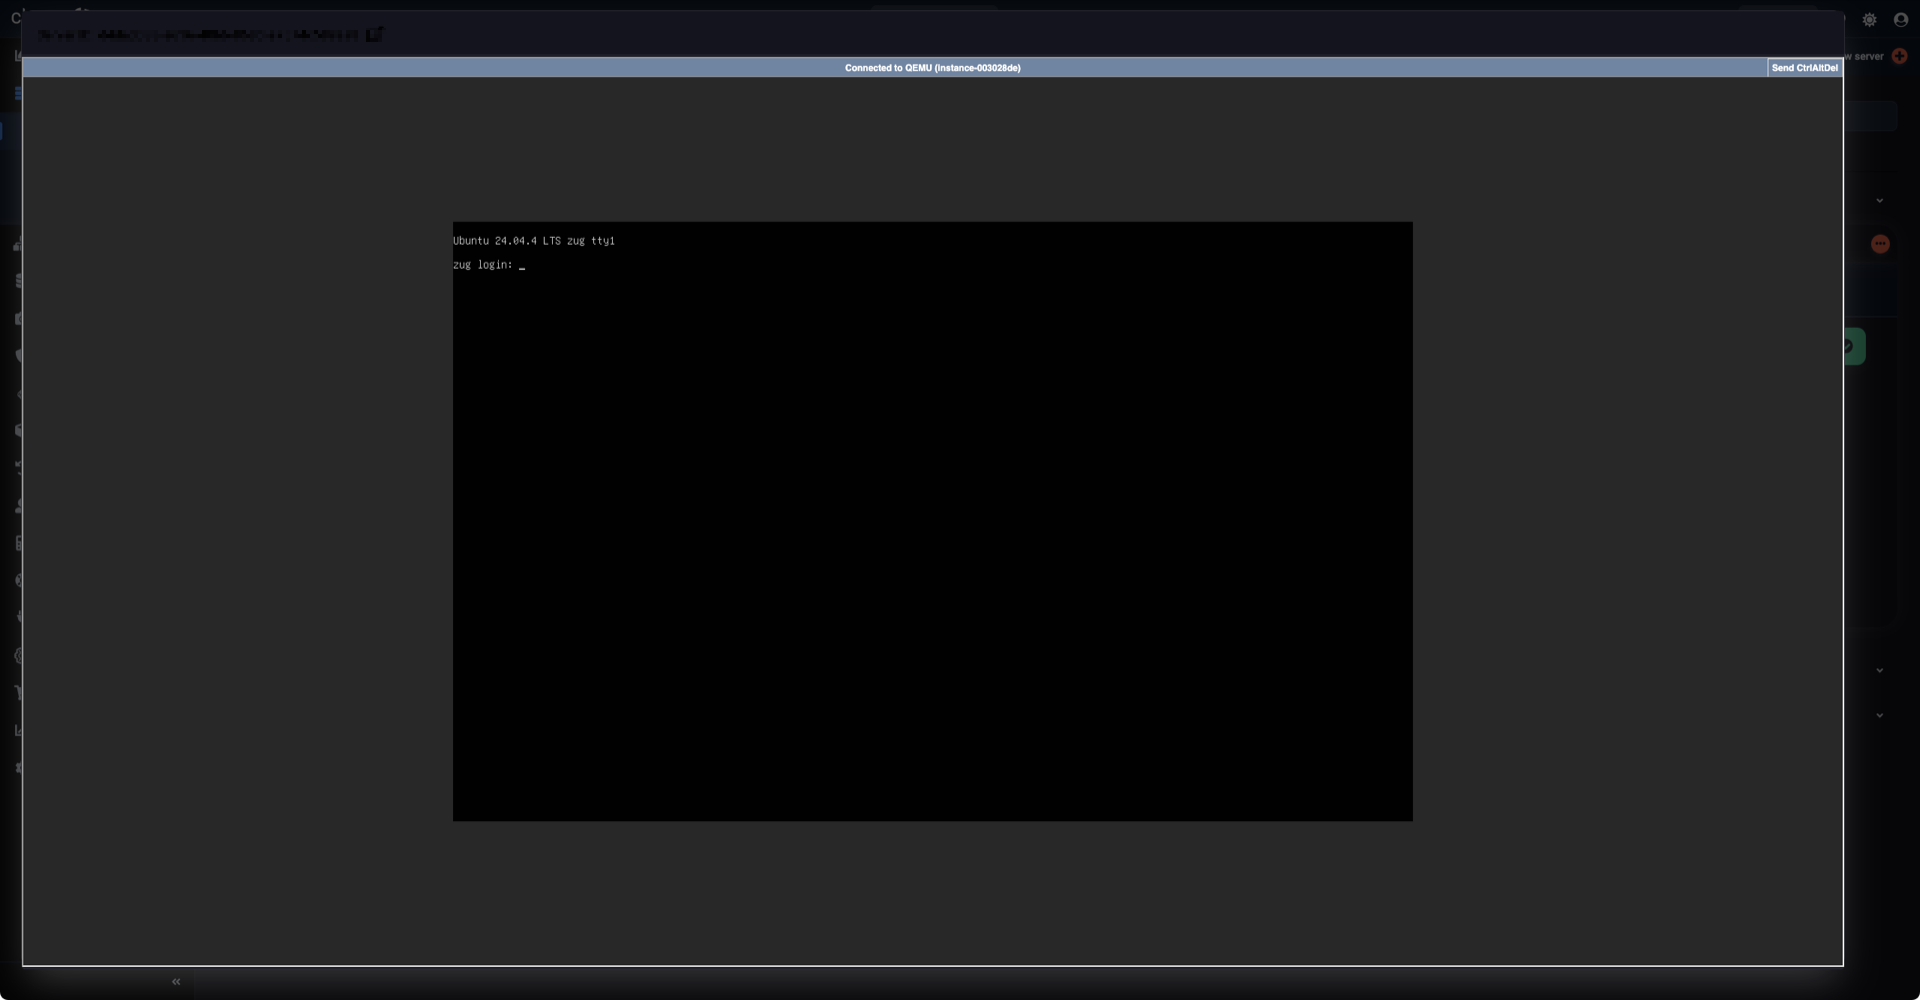
A new window pops up, and that’s your web console to your Cleura Cloud server. Please note that this window cannot be resized, but you can open it in a new browser window or tab.
You may have access to the web console of your server, and you need the corresponding URL for it:
openstack console url show zug
However, we do not recommend using the web console. Instead, securely connect to your server via SSH.